Before starting the tutorial, here are some basic settings (prerequisites) for Adobe Photoshop.
Adobe Photoshop "document resolution setting" for Print
DPI (Dots per Inch): 200 to 300 Pixels/Inch and 24 bit
Background: white or off‐white
Passport Size Photo Size
| Aspects | Width | Height |
|---|---|---|
| Pixels | 350 px to 1000 px | 350 px to 1000 px |
| Inches | 2 inch | 2 inch |
| Centimeter (cm) | 5.08 cm | 5.08 cm |
| Millimeter (mm) | 51 mm | 51 mm |
Stamp Size Photo Size
| Aspects | Width | Height |
|---|---|---|
| Pixels | 236 px | 295 px |
| Inches | 0.787 inch | 0.983 inch |
| Centimeter (cm) | 2 cm | 2.5 cm |
A4 Paper Size
| Aspects | Width | Height |
|---|---|---|
| Pixels | 3600 px | 2400 px |
| Inches | 12 inch | 8 inch |
| Centimeter (cm) | 30.48 cm | 20.32 cm |
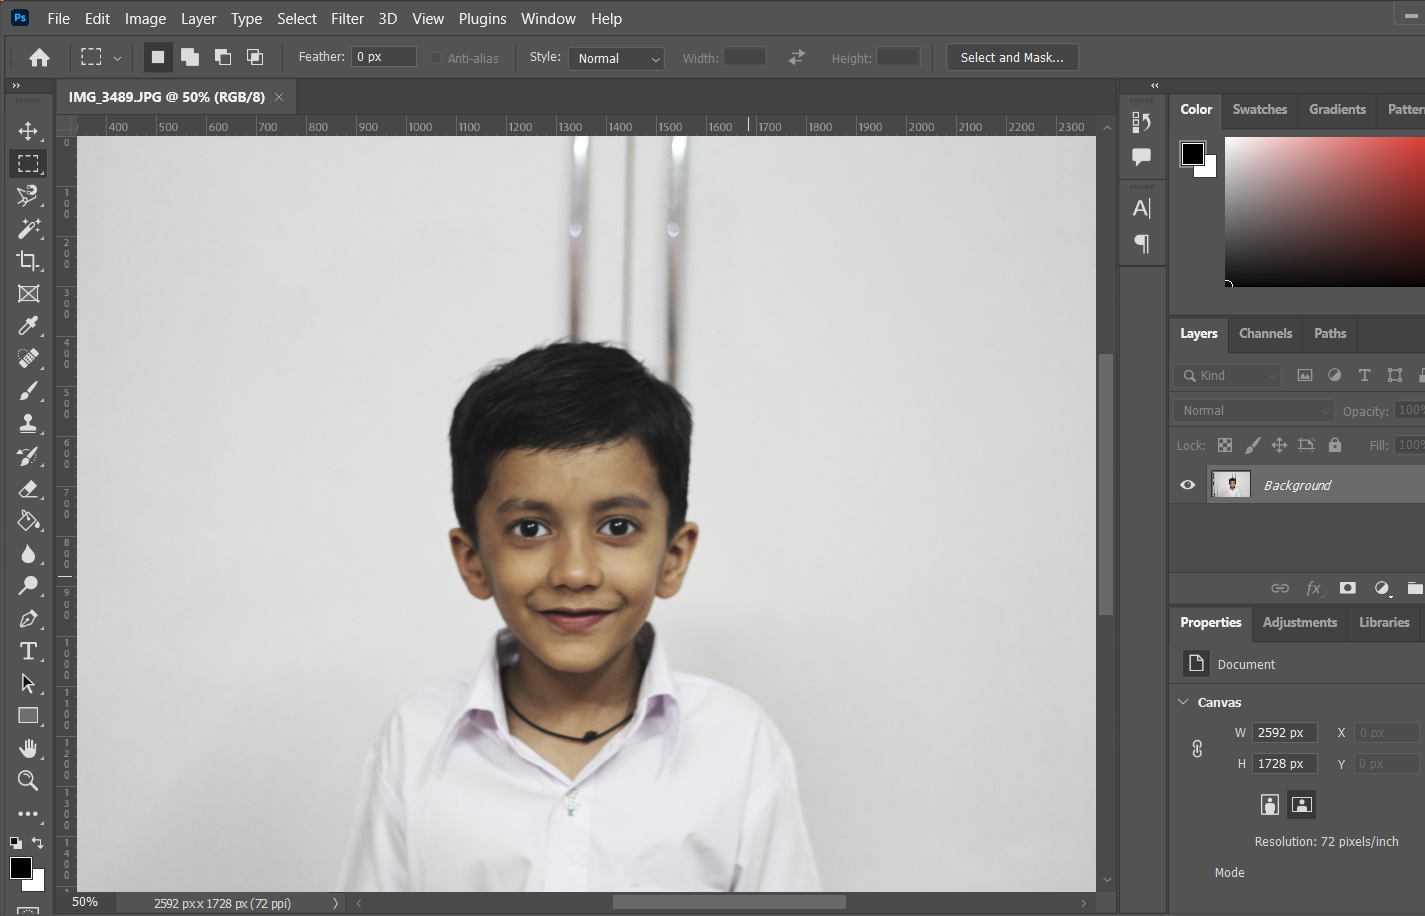
Remove the background of the photo to make it white or off-white
Open the photo from which you want to remove the background and print in the passport size.
Step 1: Select Object
Go to Select >> Subject
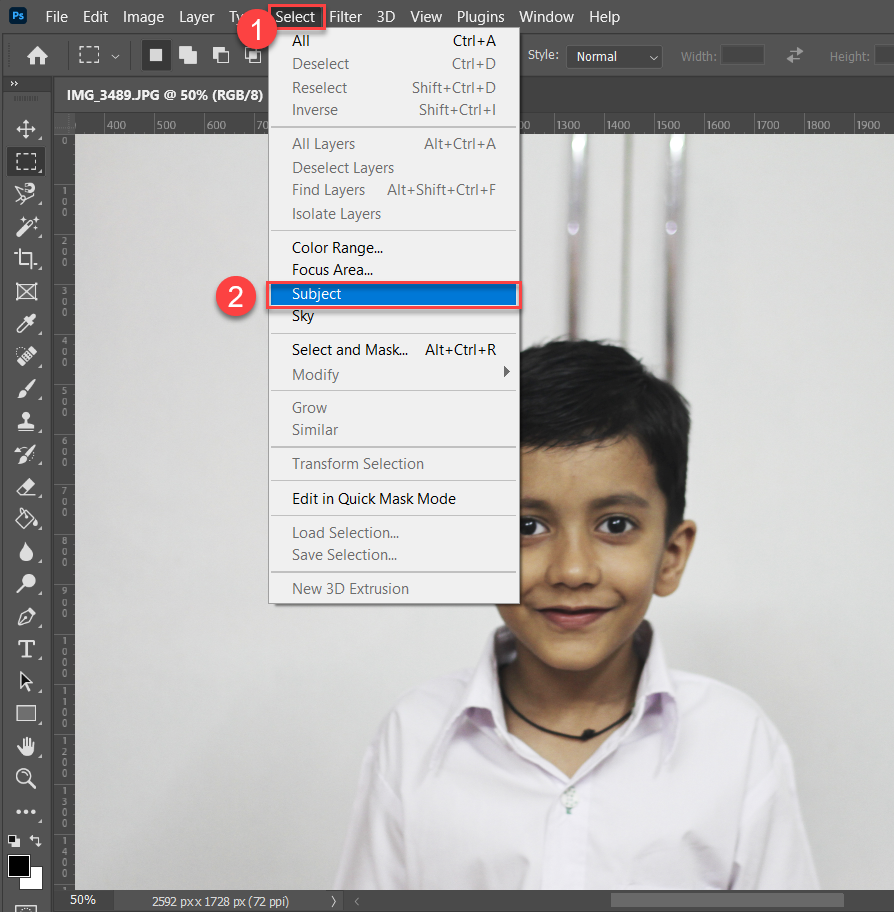
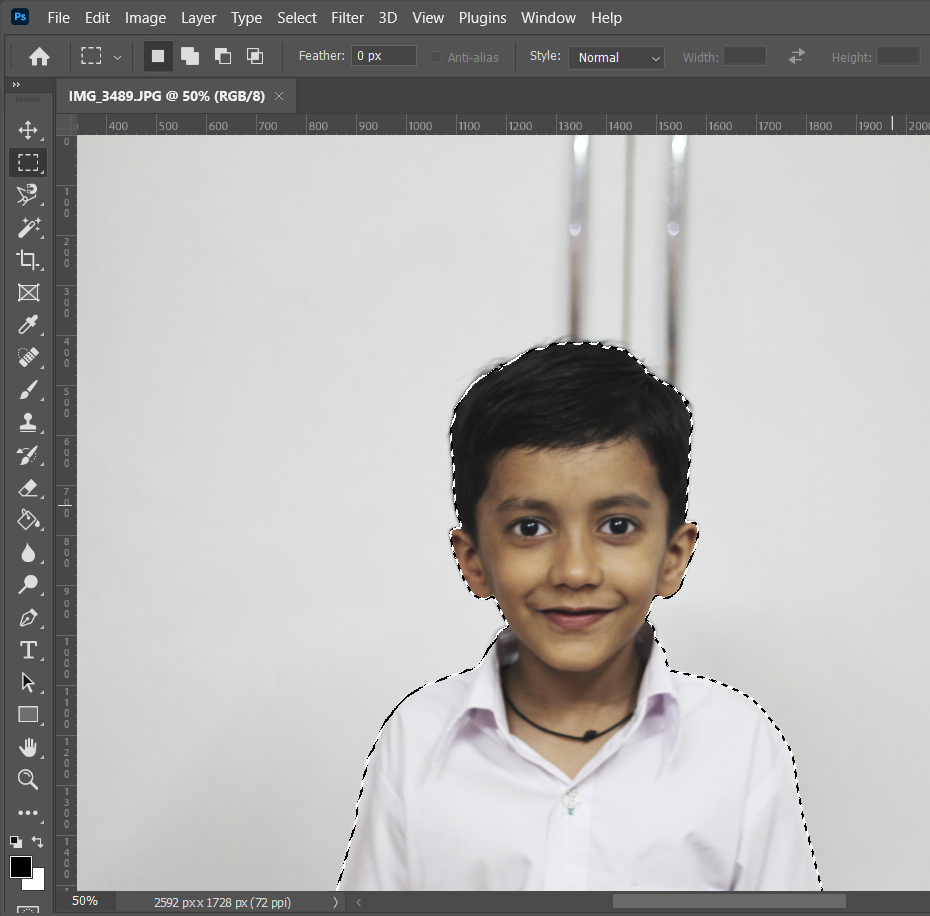
It will select the Subject from the photo as shown in the image
Step 2: Create Subject Mask
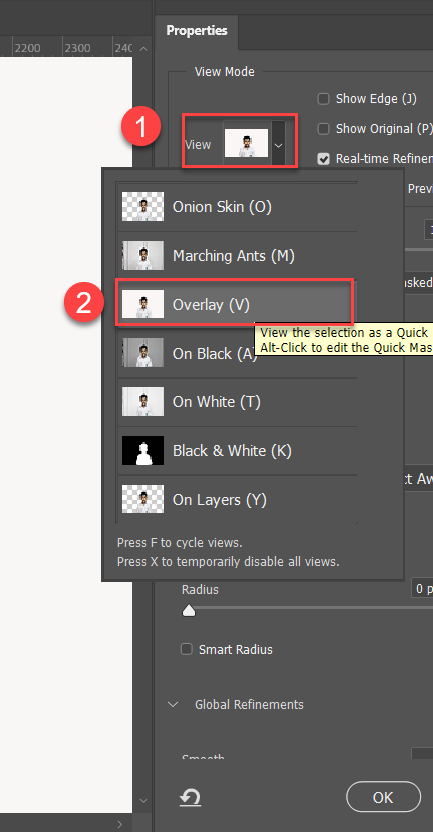
Again go to Select >> Select and Mask
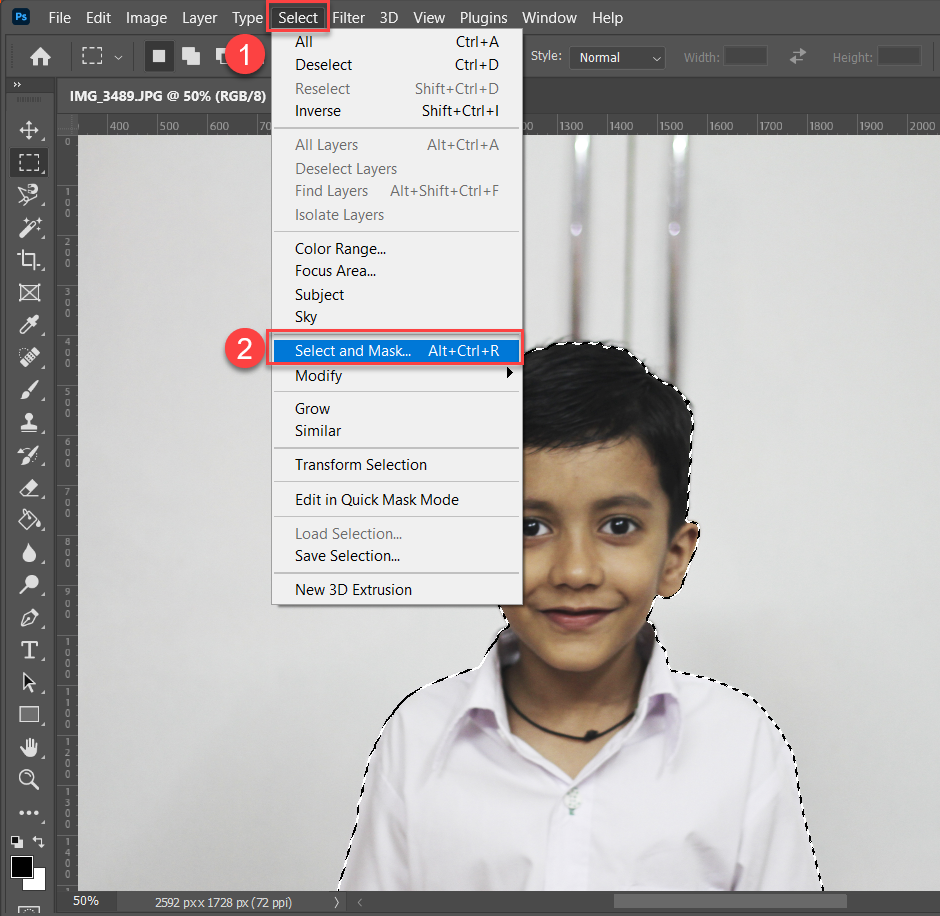
It will Open the Subject Mask Property Window. Then, under View Mode select Overlay
Step 3: Refine Edge
Now we will refine the edge of the object around the hair part of the photo
To refine the edge use the Refine Edge Brush Tool adjust the brush size and apply to the image as shown in the image
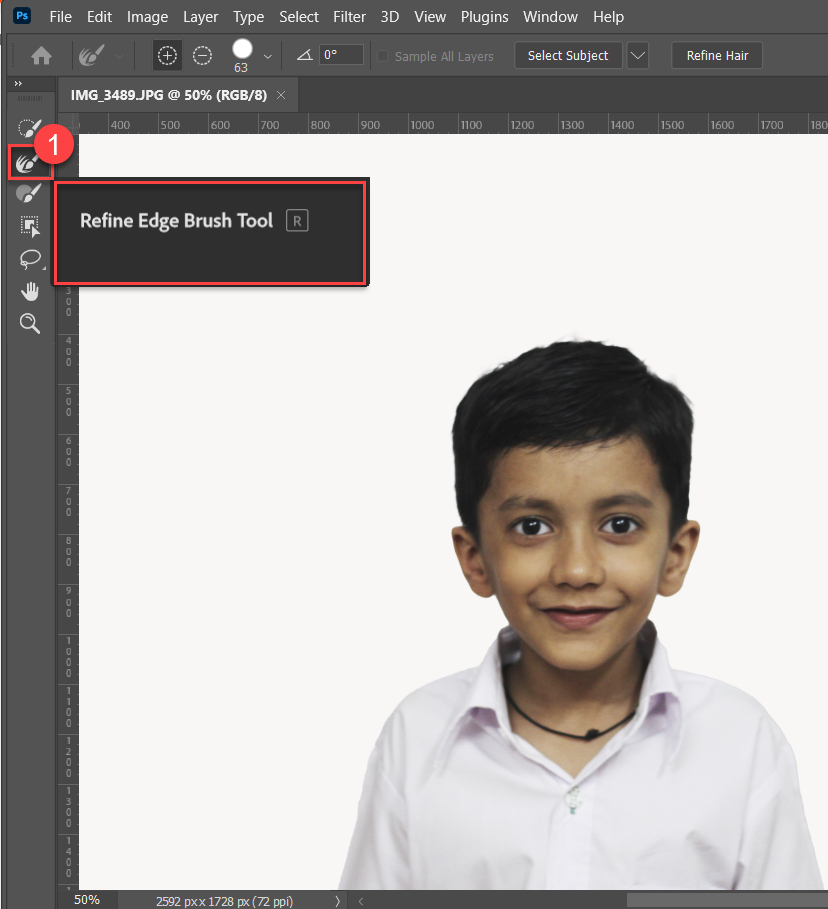
This tool will refine the edge around the hair in the photo.
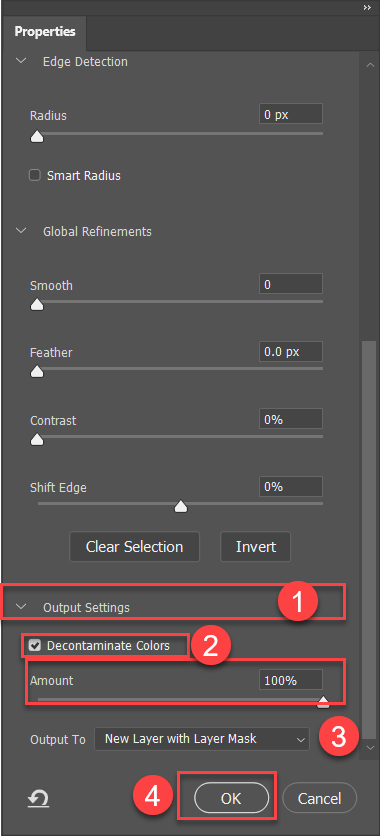
Now to apply the mask go to Output Setting >> Decontaminate Colors
Apply the amount to 100% and press the OK button
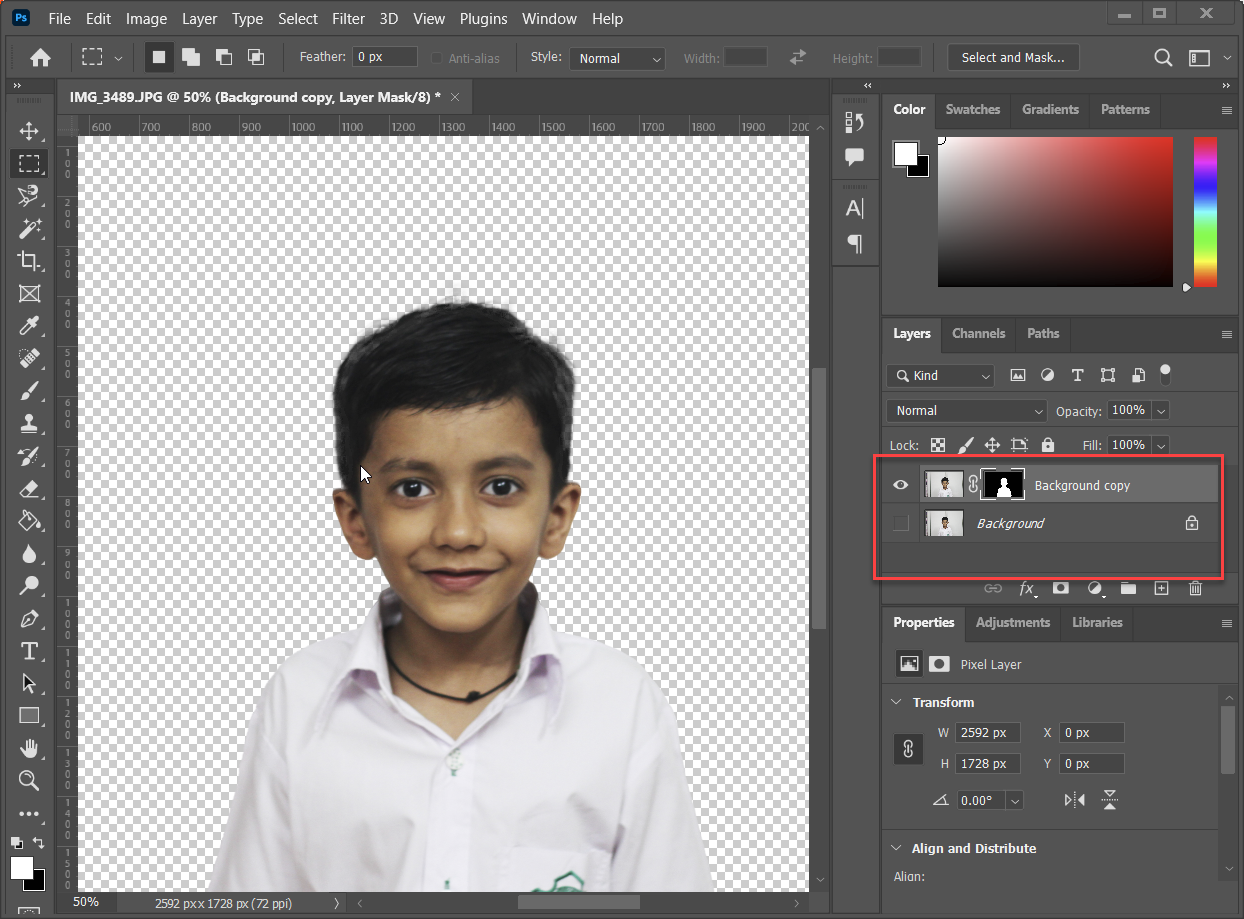
Now the background of the image is removed, in the next step, we will add a white background.
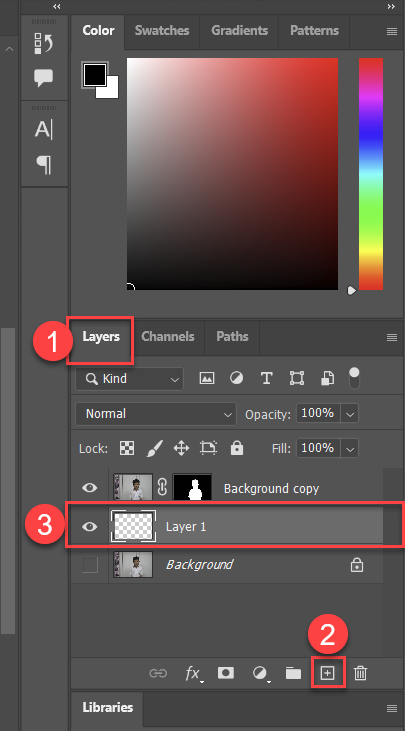
Step 4: Add White background to the image
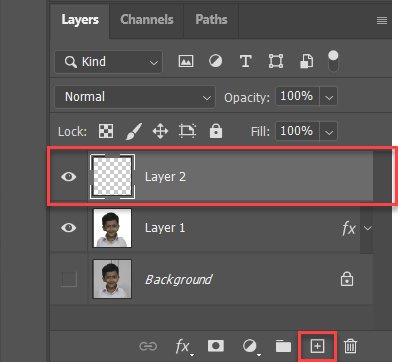
To add a white background to the image go to the Layer panel select the Background layer and click on the Create new layer button
This will create a layer above the background layer.
Now select the Paint Bucket tool or press “G” select the white color from the Set Foreground color from the Tool menu and click on the background of the image.
This will apply white background color to the image.
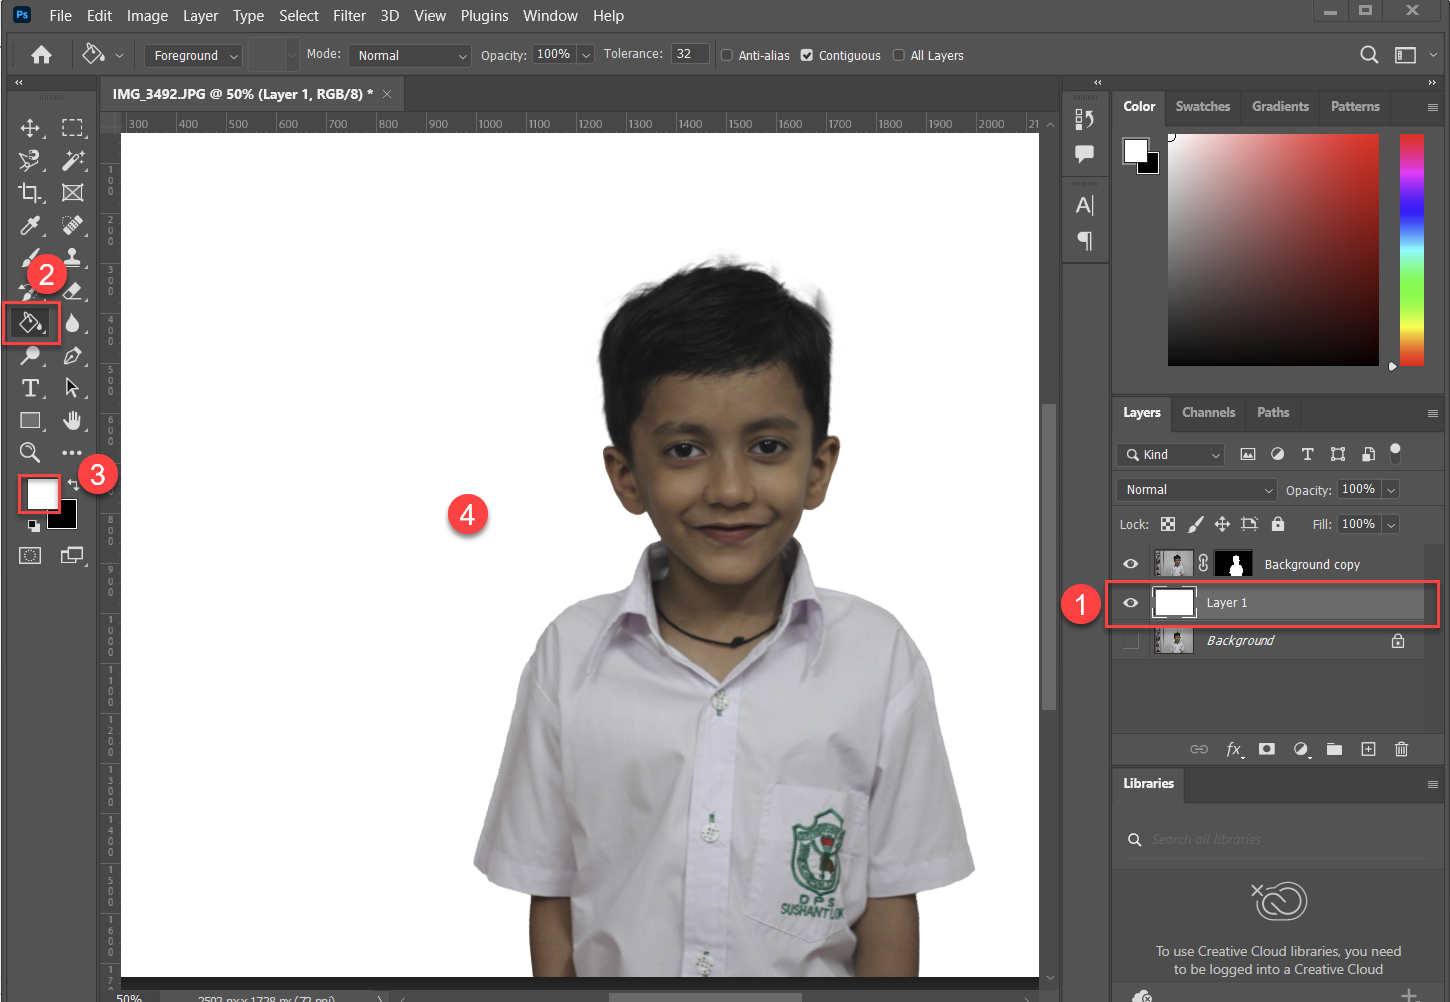
Now you can see that we have removed the background of the image and set the background as white.
In the next step, we will print passport-size photos in A4 Paper.
Print Passport size photos in A4 size paper
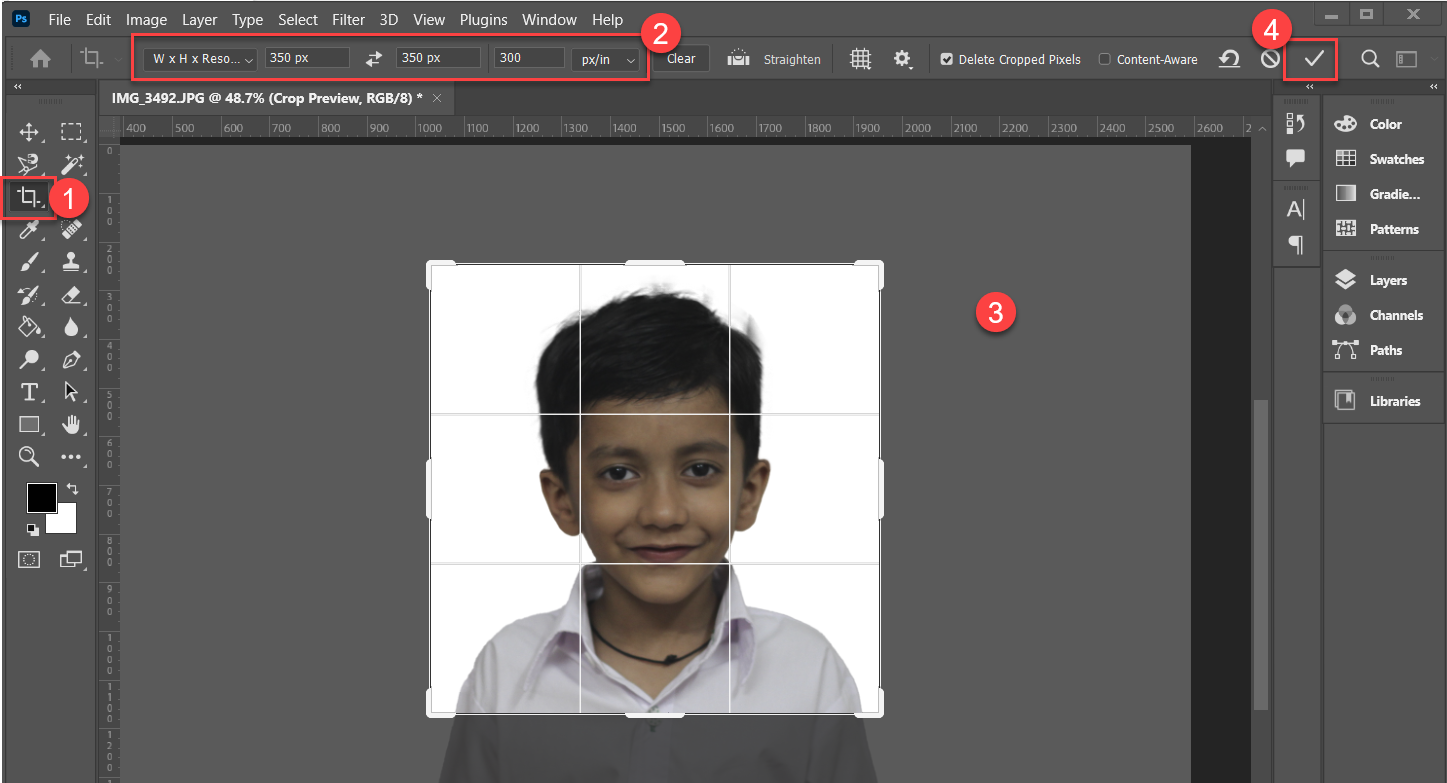
Step 1: Crop the photo into passport-size photo
Select the Crop Tool from the tool menu or press “C” from the keyboard, in the property window of Crop Tool. Then, set the width, height, and resolution to the following:
Width: 350px
Height: 350px
Resolution: 300
And now, adjust the area of the photo in which you want to take the print
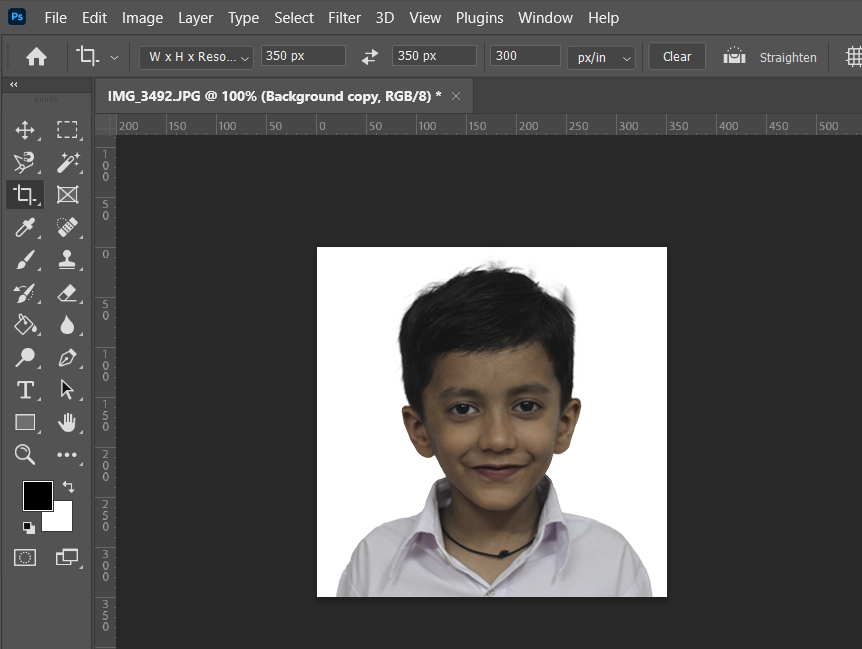
Now we have a passport-size photo of the image.
Now that we have created the passport photo now we can merge the changes done in the mask layer
To merge the layer right mouse click on the Mask layer and click on Merge Down
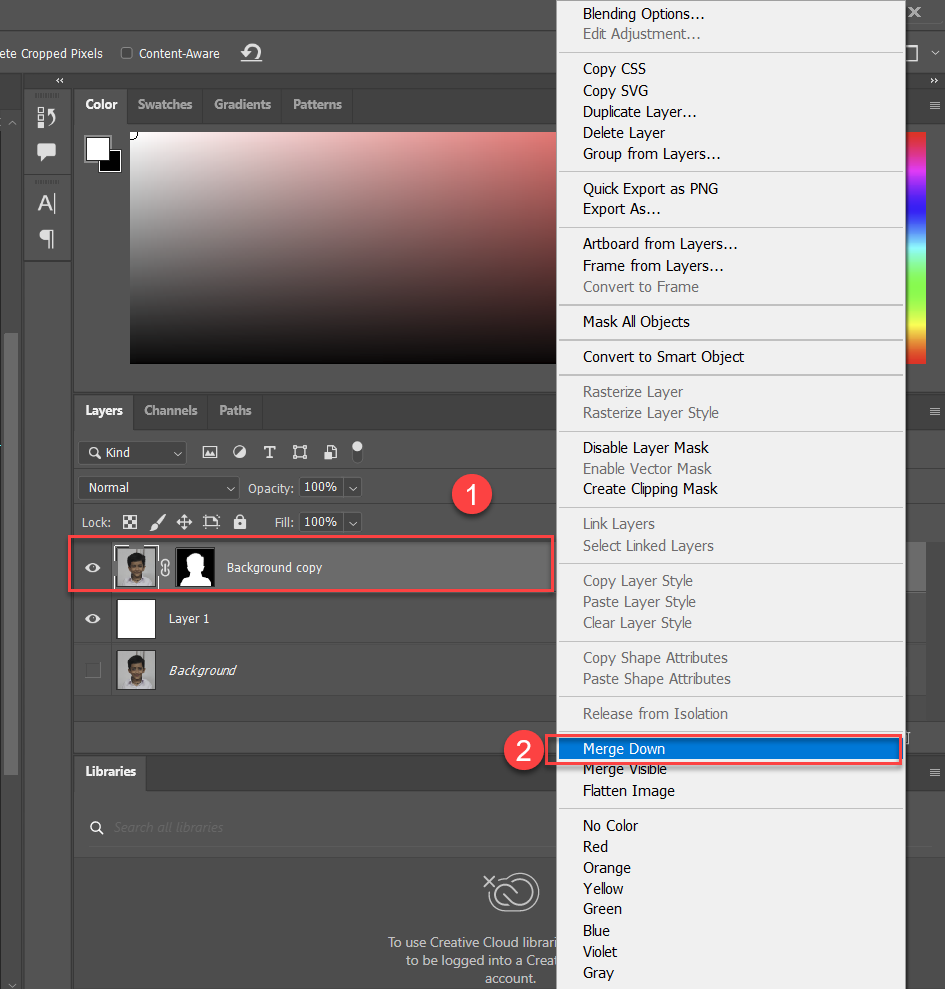
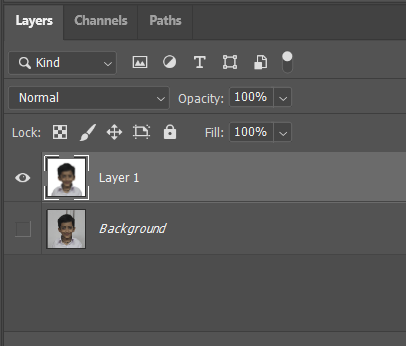
This will apply the changes to the final layer.
Step 2: Add Stock to the image
Now "give stroke" to your image as we have a "border" in passport-size photos.
Double-click on your layer a "Layer Style" window will come, now select the stroke tab as shown in the image.
Select Stroke >> Set
Size: 10 px
Position: Inside
Color: #ffffff
And click on the OK button
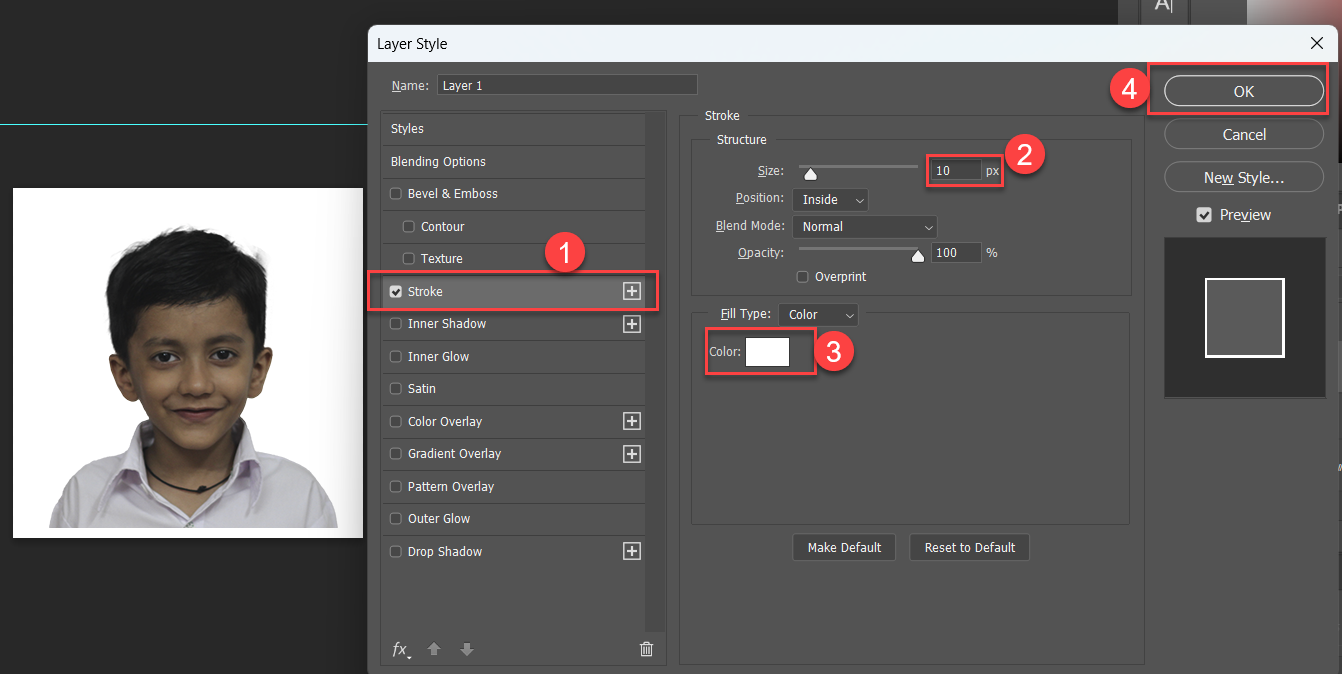
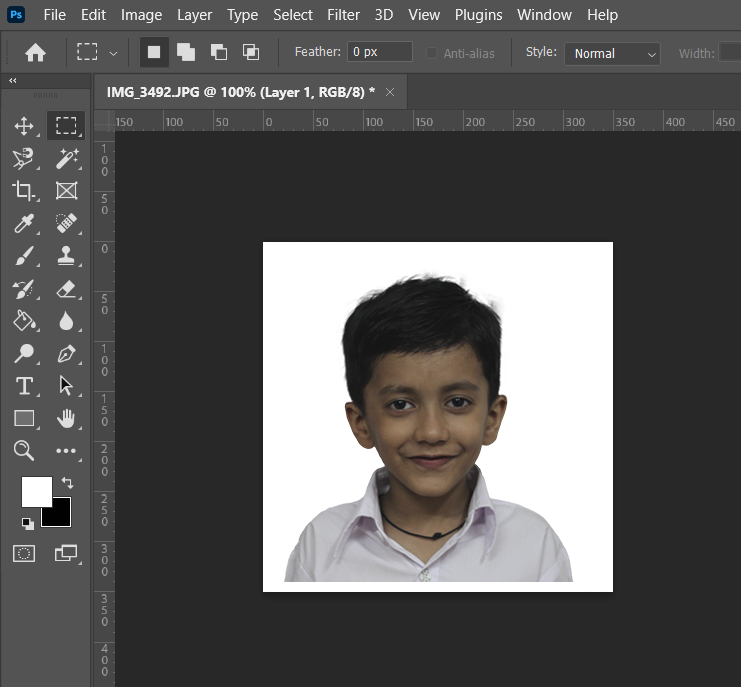
It will add a white border around the image
Step 3: Add corner marking to cut the passport-size photos from an A4 sheet
As we are going to take print in A4 paper, so we need to cut the A4 paper into multiple passport-size photos so we will need markings
Create a new layer above all the layers by clicking on the “Create a new layer” button under Layer Panel
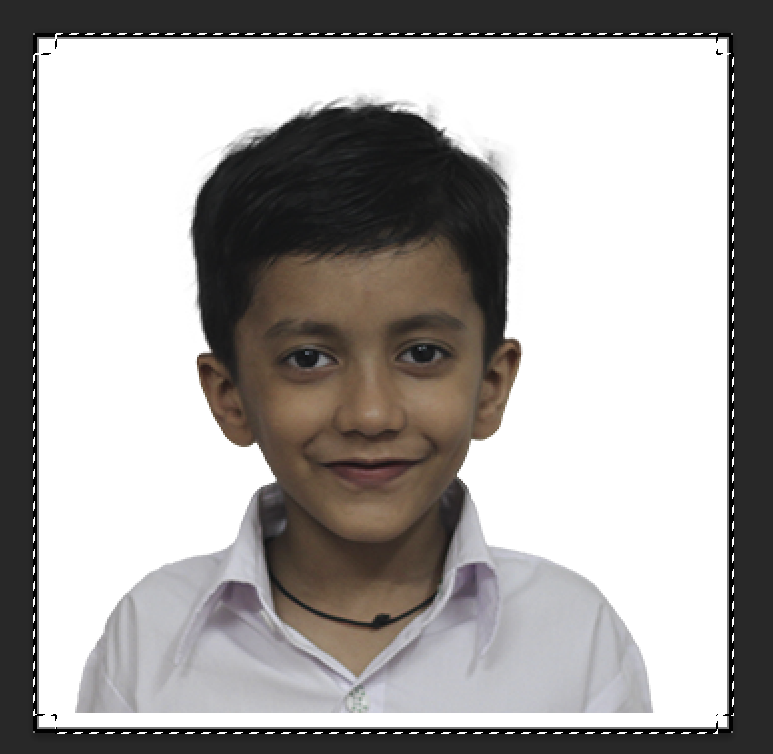
Now select the entire image by pressing Ctrl + A
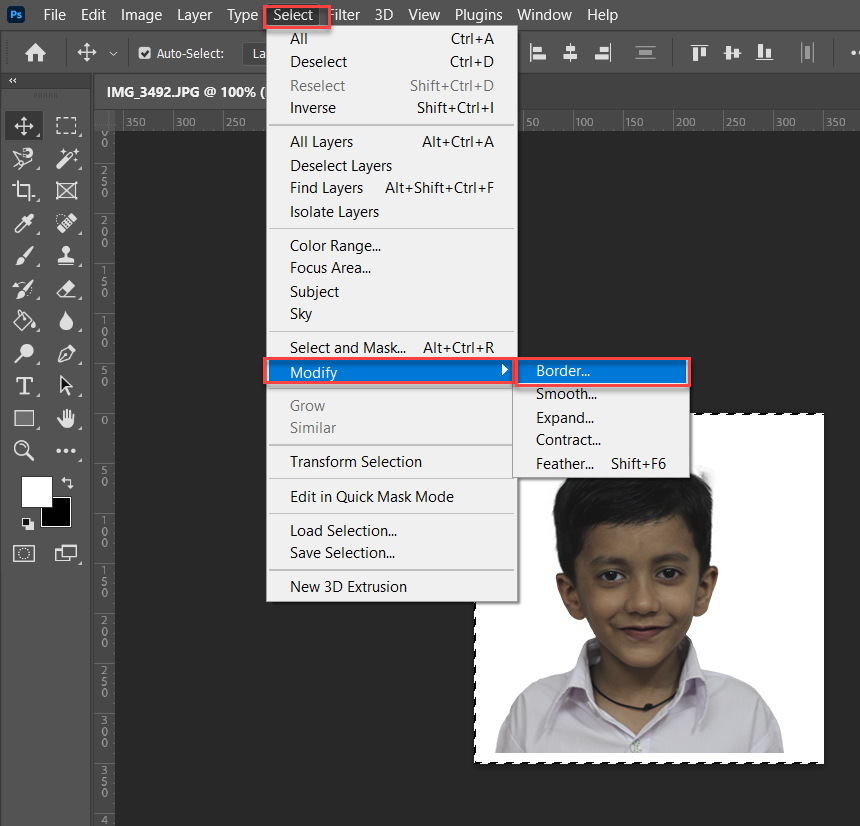
Now go to select >> Modify >> Border and set the border to 1 px

This will create a border of 1px around the photo, Now select the “Paint Bucket tool” and set the Black color in the “Set Foreground color” tool from the Tools Menu and apply the color in the border of the image.
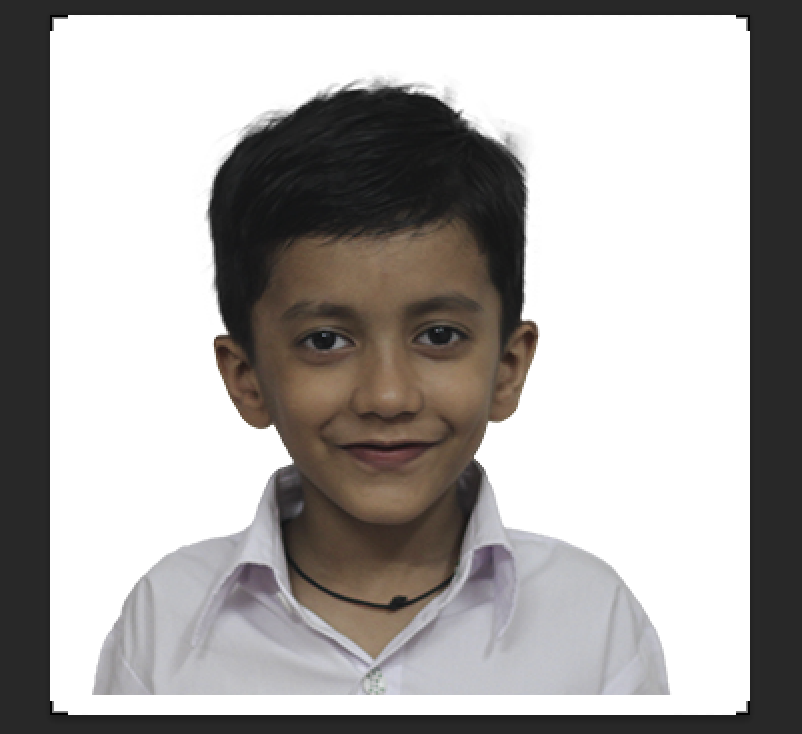
This will create a black border of 1 pixel around the photo, as we need to create only marking around the corners of the photo now you need to deselect the corners as shown in the image.
Press the delete button, this will delete the border except the corners of the photo.
Now our final image will look like this
Step 4: Create a Pattern of our passport photo to print on A4 Paper.
To create the pattern of our passport photo go to Edit >> Define Pattern
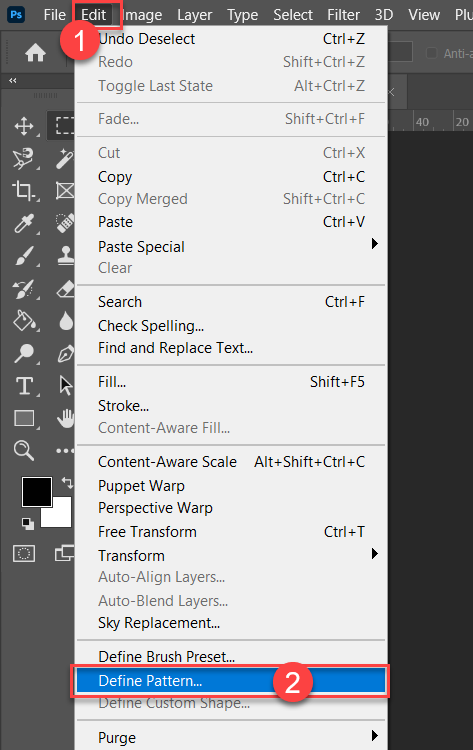
It will ask you the name of the pattern
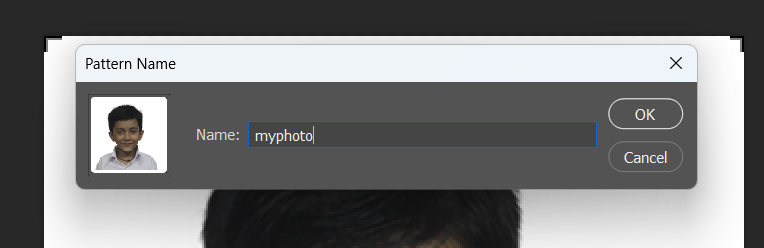
And your pattern will be created
Now you can use this pattern to print on A4 Paper
Step 5: Create an A4 sheet
Create a new document, Go to the file menu Click on New, and create a new file with the given settings,
Width: 12 inch
Height: 8 inch
Resolution: 300
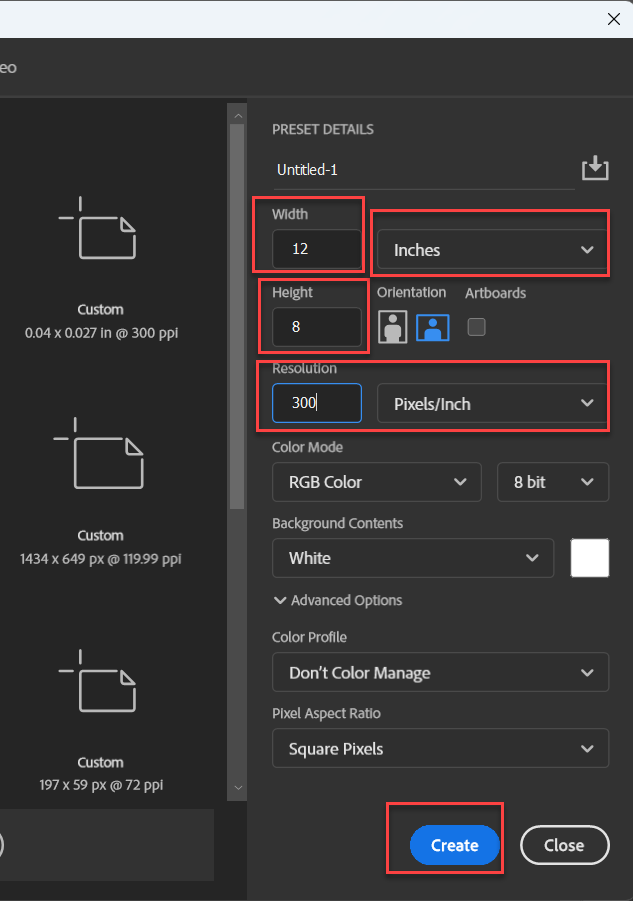
and click on OK button, a new blank page will be created.
Now Create one New layer.
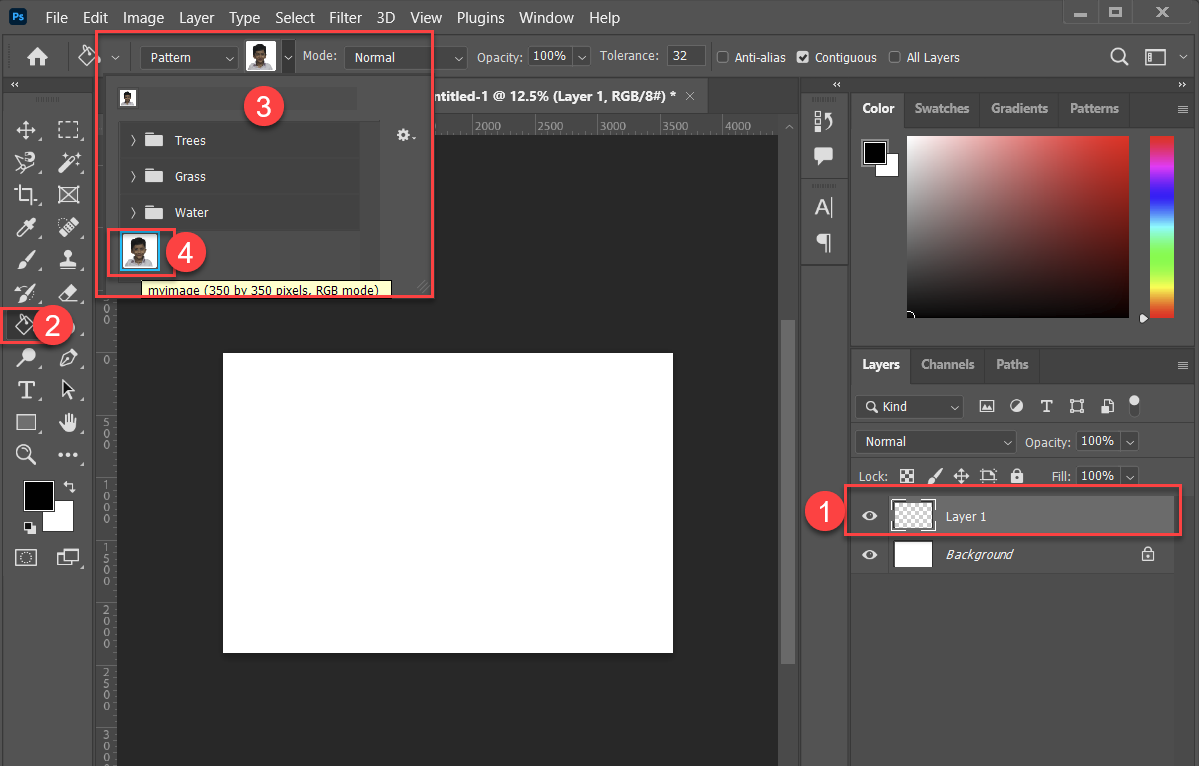
Step 6: Fill Pattern in the new document
Fill the pattern by selecting “Paint Bucket tool” >> “Select Pattern” from the Paint “Bucket tool menu” and select the pattern that you have created.
And apply to the blank document
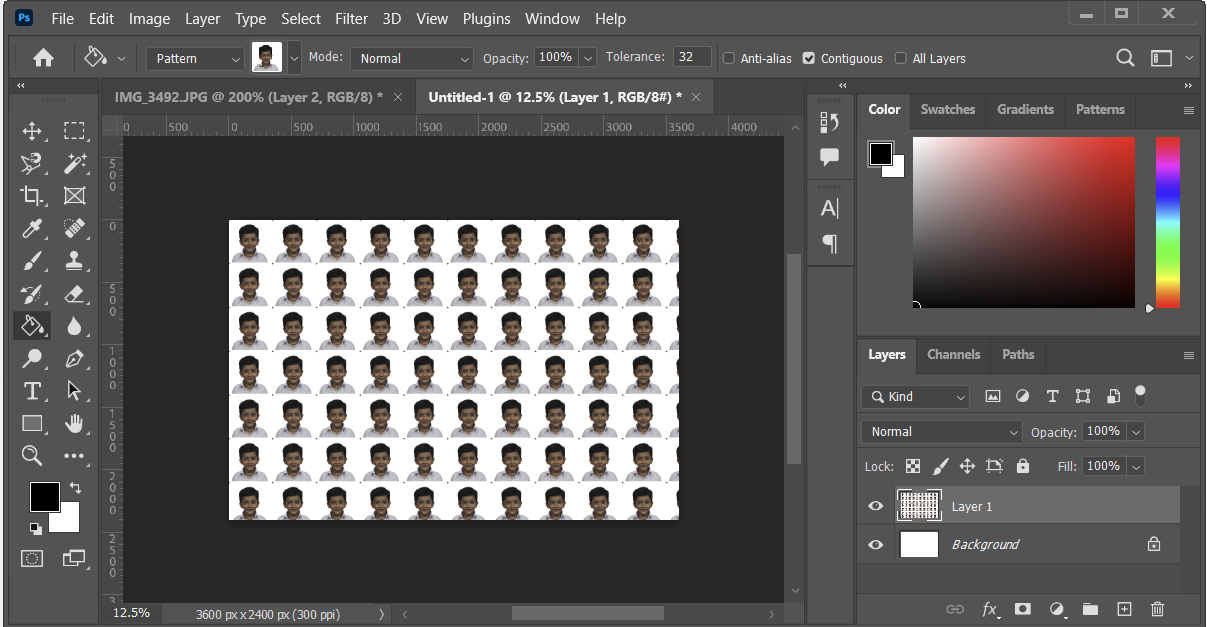
This will create a 70 photos in A4 Paper
Now take the print through Printer In A4 Paper. It will give you 70 passport-size photos.