Suppose you want to send an important business document to someone. Even if you write “IMPORTANT” in the email subject, you may still want to grab the reader’s attention in some way. What to do? You can add a watermark at the document’s background saying “Confidential” or “Do Not Copy”.
In this post, we will look at the ways to add a watermark in a Word document, and also how to remove it.
What is Watermark?
Watermark is a faded image or text behind the content used in a document. The purpose of using the watermark to show the originality of the document i.e. confidential, do not copy etc. It protects us from fraudulent activities such as misuse of content/editing of content etc.
How to Add a Watermark in a Document?
Step 1:Open the MS WORD
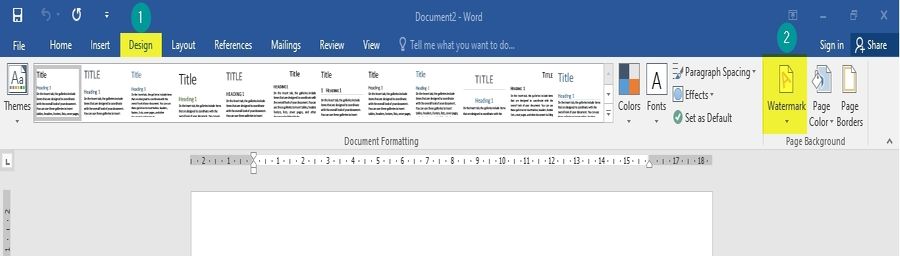
Step 2:Click on Design Tab at the top
Step 3:Click on the Watermark
Options appear on the screen are
- CONFIDENTIAL 1
- CONFIDENTIAL 2
- DO NOT COPY 1
- DO NOT COPY 2
.jpg)
Step 5:On click of any of the option, it automatically applies to the entire document
- Confidential –Confidential means the content written in the document is confidential and for internal use only. The content cannot be used or share by someone for any other purpose.
- DO NOT COPY– Do NOT COPY means not to use for copying the content.
Note: Confidential 1 and 2 are same just alignments are different on the screen. In 1st option, Confidential is written in a diagonal direction and 2nd option Confidential is the horizontal direction.
How to Insert a Custom Picture Watermark?
Custom Watermark means the user can decide the image/text they want to use as a watermark.
To add a custom watermark in the document
Step 1:Click on Watermark
Step 2:In Watermark option select Custom Watermark
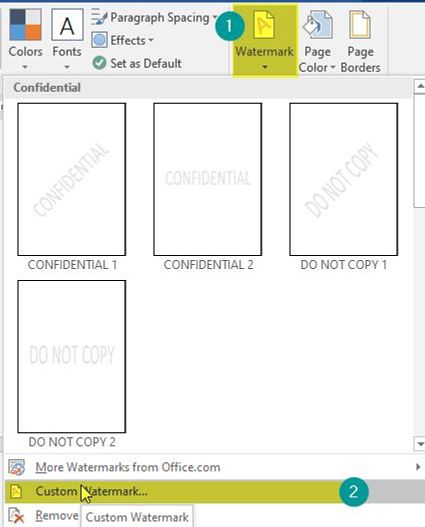
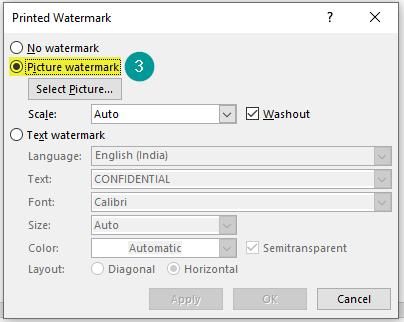
Step 3: Click on Custom Watermark and select Picture Watermark
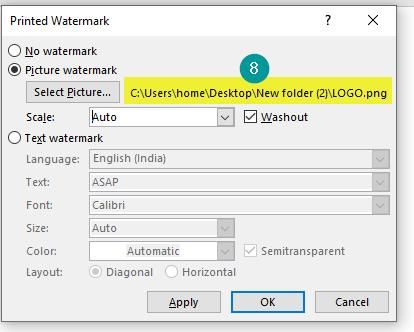
Step 4: Click on Select Picture
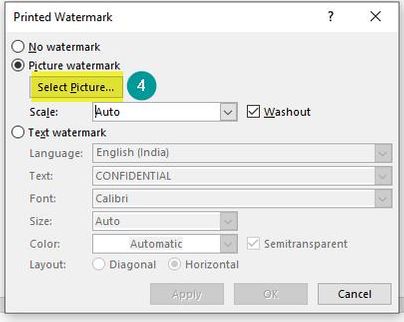
Step 5: When you click on Select Picture, Popup will appear on the screen from where you want to browse the picture.
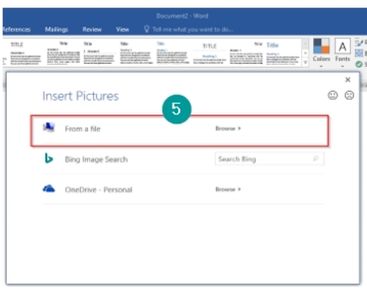
Step 6:Click on From a File option, browse the picture you want to choose
Step 7: Click on INSERT

Step 8:When you insert the picture, the path of the picture will be shown in the right of Select Picture option.
Step 9: Click on Apply
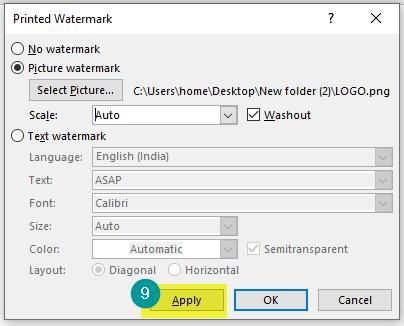
- Scale:(To scale the picture means you can proportionate increase the size of the picture)
- Washout: In washout option, if you click, a tick mark will appear and the picture will be a faded behind the text, If the washout is not clicked then it will be actual quality of the picture.
How to Insert a Custom Text Watermark?
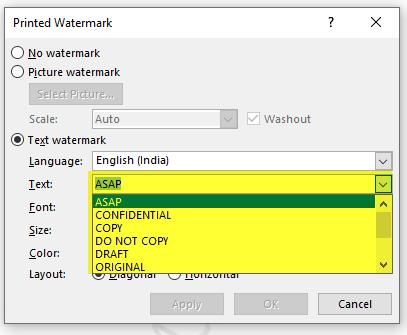
Step 1:In Custom Watermark, Select the Text Watermark
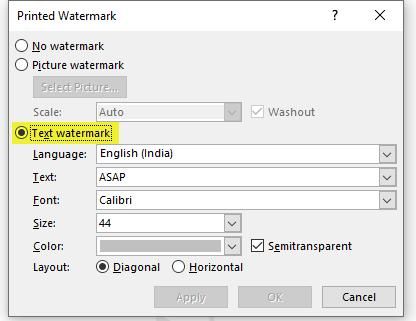
Step 2:Options available for Text watermark are:
- Language: Choose the language for the text.
- Text: Choose the text you want as a watermark in your document i.e. ASAP, URGENT, COPY, DO NOT COPY etc.
- Font: Set the Font.
- Size: You can increase or decrease the size of the Font.
- Colour: Choose the colour.
- Layout: Choose the layout Diagonal or Horizontal.
Step 3: Click on APPLY
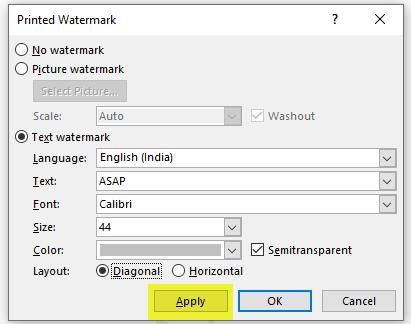
- Semi-transparent option if selected then the text is faded if not selected its comes in original colour.
How to Add Watermark on All the Pages or Certain/Selected Pages?
By default, when we apply the watermark, it applies to all the pages of the document.
a) For Inbuilt Watermark
If you want to give inbuilt watermark on certain/selected pages, then right-click the Inbuilt Watermark

By using the option Insert at the current document position, the Watermark can be added to the page required.
b) For Custom Watermark
To add custom watermark on certain/selected pages please follow the steps below:
-
Firstly, you need to create a Watermark from the Custom Watermark option
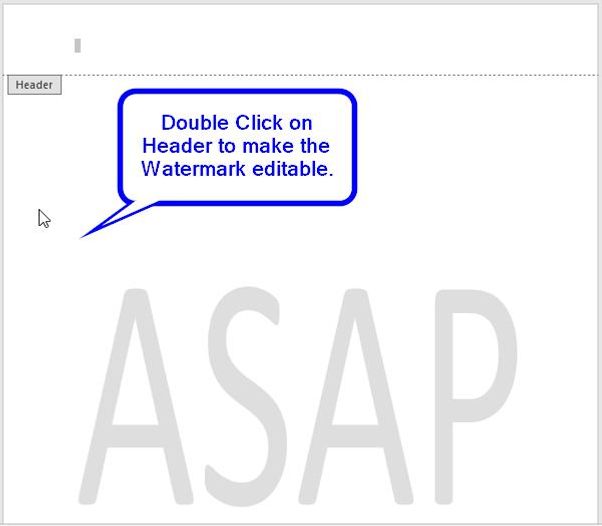
- Double click on Header to make the Watermark editable.
- Click on Custom Watermark, then on Design tab and Save the watermark in the gallery by selecting “SAVE SELECTION TO WATERMARK”
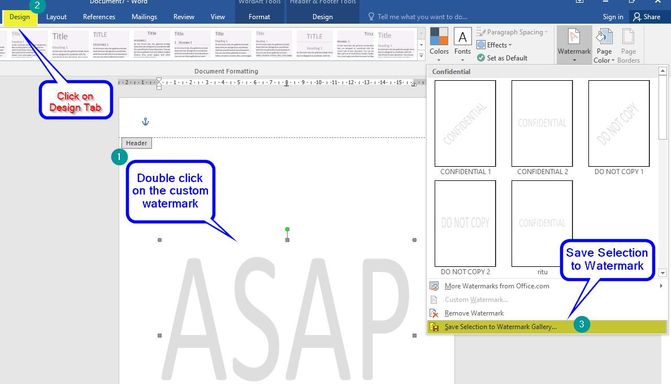
- On click of Save Selection to Watermark, the Create New Building Block pop up appear on the screen. Enter the name of the Watermark and Press OK
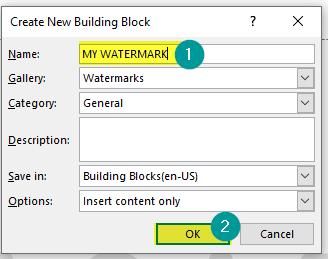
- On click of OK, the saved watermark appears along with the inbuilt watermarks

- To apply to selected or certain pages, Right-click on the name of the saved watermark and click on Insert at current document position.
.jpg)
- On click of Insert at Current Document Position, you can apply the custom watermark on selected/certain pages you want.
How to Remove Watermark?
Please follow the steps below to remove the watermark in any word document:
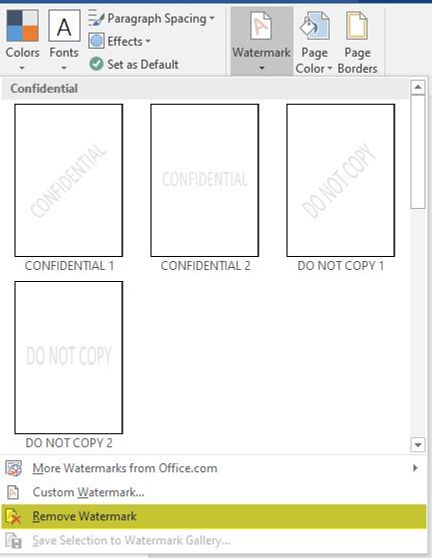
Step 1: Go to the Design tab and then click the Watermark option.
Note: In MS Word 2010 or 2007, select Page Layout > Watermark.
.jpg)
Step 2: Click on Remove Watermark
Conclusion
Whether you prefer a text or a picture as the watermark, it will enhance the importance of your document. This is also a subtle way to convey a message to the reader. Plus, it also protects the content of your document if anyone tries to copy or use it. We hope the article will help you the next time you wish to add a watermark to your Word document.