Graphics is the most interesting topic to start with while learning any programming language, especially for kids and Graphics-based game developers. The applications of Graphics are endless in the field of programming and computer science.
Although this article covers a lot about Graphics in Python, it is also essential for students to have a thorough understanding of Computer Graphics as a separate subject. It is because each pixel and screen resolution, aspect ratios are some essential ingredients that computer graphics cater to in every system.
In this article, you will learn how the Graphic module in Python allows drawing simple objects using functions such as the GraphWin(), Point(), Circle() and many more. You will be creating a real graphic using these objects as well.
Following is the list of topics covered:
- Steps to create a graphic in Python
- Features of Graphic Window
- Creating different types of Graphic objects
- Implementing real graphic examples
Steps to create graphics
Creating graphics in Python contains a few basic and fixed steps:
- Import all libraries from the graphics Class
- Create a Window object
- Draw the objects in the created window.
- Close the window.
For example:
step 1: from graphics import *
step 2: win = GraphWin()
step 3: pt = Point(100, 50) #100 indicates horizontal coordinate and 50 indicates vertical coordinate pt.draw(win)
step 4: win.close()
Graphic window
You can create a graphics within a window using the GraphWin() method which creates a new window somewhere beneath another window. To view it, you can drag it at the top. This window by default is labeled as “Graphics Window” and creates a default 200 X 200 pixels window.
A pixel (Picture Element) is nothing but a tiny square displayed on your screen, usually, there are 1000 pixels on the screen and more the number of pixels per row more is the screen resolution and better the image quality will become. It is because each pixel can store more detailed element of the image.
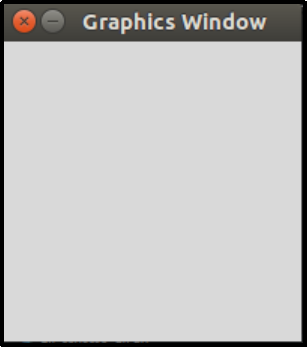
Default graphic window
The GraphWin() method can take three arguments:
- Title for the graphic window.
- X-coordinate (the length of the graphic window).
- Y-coordinate (the height of the graphic window).
For example:
from graphics import *
win = GraphWin("painting", 300, 300)
Output:
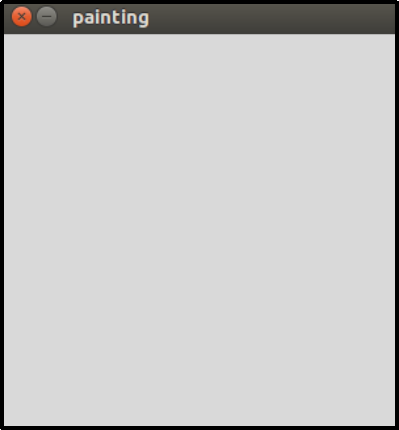
Graphic window with label painting and having specific coordinates
Graphic objects
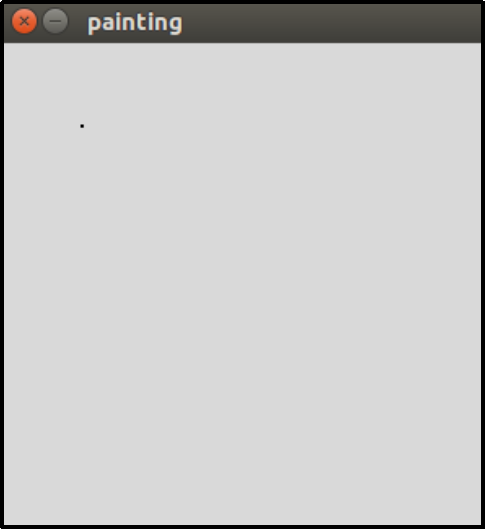
Point object
Point: To create a point object you can use the Point() method with X and Y coordinates.
Example:
pt = Point(50, 50)
To display the point on the graphic window, you can use pt.draw(win).
Output:
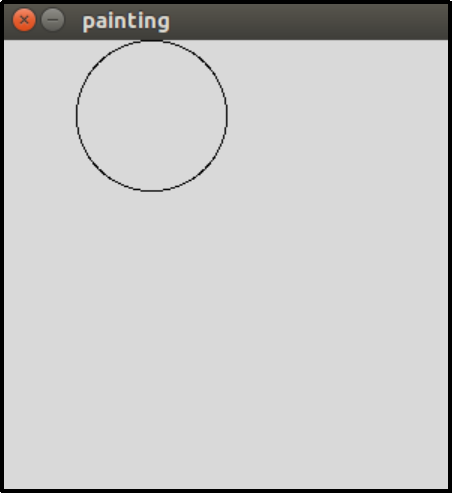
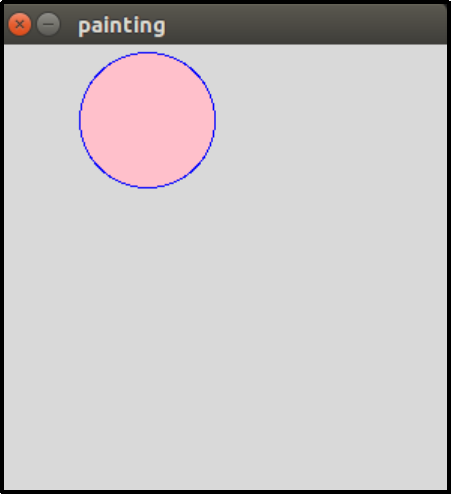
Circle object
Circle: To create a circle you can use the Circle() method and have a centre at a specific point, pt = Point(50, 50), and a radius of 50. To display the circle on the graphic window use cir.draw(win).
Example:
cir = Circle(pt, 50)
cir.draw(win)
Output:
The color of the outline circle is by default black. You can have colors to the outline of the circle as well as within the circle.
For example:
cir.setOutline('blue')
cir.setFill('pink')
Output:
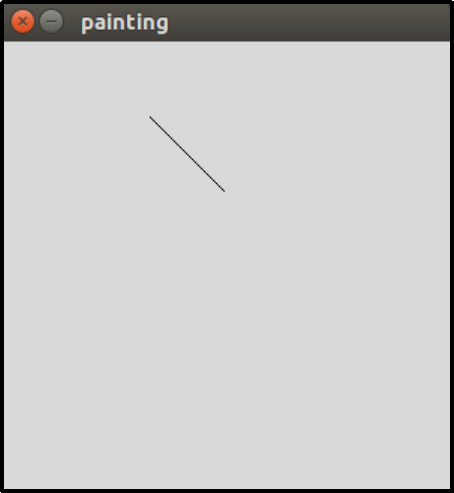
Line Object
Line: A line is a segment between two points, hence to draw a line you will have to define two points.
For example:
line = Line(Point(100, 50), Point(150, 100))
line.draw(win)
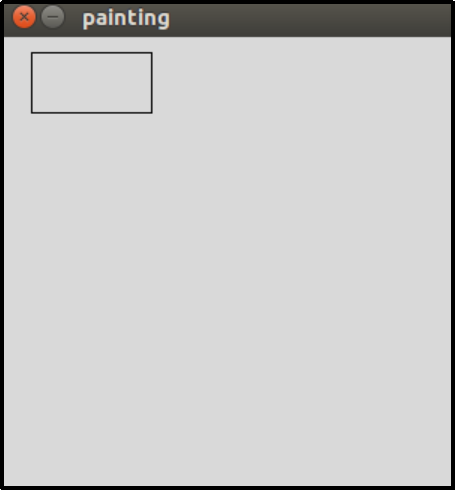
Rectangle Object
Rectangle: A rectangle is defined using two points and these two points must be diagonally opposite to each other. To display the rectangle on the graphic window use rect.draw(win).
For example:
pt = Point(50, 50)
rect = Rectangle(Point (20, 10), pt)
rect.draw(win)
Output:
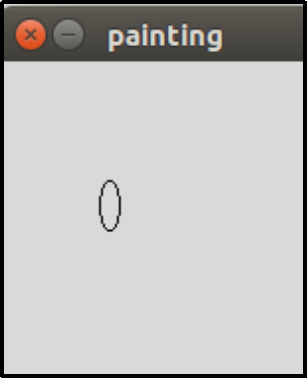
Oval Object
Oval: You can define an oval shape object by providing two points that determine the bounding box.
For example:
oval = Oval(Point (30, 90), Point (50, 85))
oval.draw(win)
Output:
Graphics implementation
Now, as you learned some basic object implementations. You can use them to create graphics of your choice. Consider an example of creating a human face. For this, you will require a circle, line, and oval object as shown in the following code.
from graphics import *

#creating graphic window having name Face and setting the window coordinates
win = GraphWin('Face', 200, 150)
win.setCoords(0,0,200,150)

#creating the face outline using Circle() and painting it with pink color
face = Circle(Point(40,100), 25) # set center and radius
face.setFill("pink")
face.draw(win)

#creating the eyes using circles and painting them with blue color
eye1 = Circle(Point(30, 105), 5)
eye1.setFill('blue')
eye1.draw(win)

eye2 = Circle(Point(45, 105), 5)
eye2.setFill('blue')
eye2.draw(win)

# Creating the nose using Line()
nose = Line(Point(35, 95), Point(45, 95))
nose.setWidth(3)
nose.draw(win)

# Creating the mouth using Oval()
mouth = Oval(Point(30, 84), Point(50, 79))
mouth.setFill("red")
mouth.draw(win)
win.getMouse()
win.close()
Output:
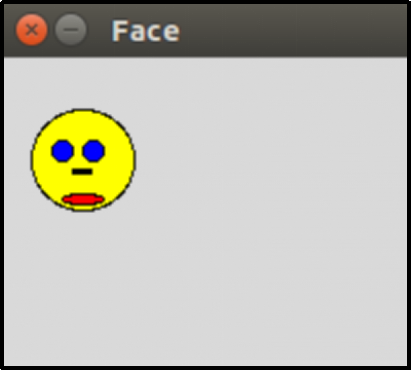
Face graphics using Python
Likewise, you can create more complex and beautiful graphics using the Graphics module and its methods.
Multiple random objects
If you ever used Windows OS you might have come across the different color and size circle objects popping on your screen as a screensaver. The Graphic module provides the color_rgb() method to generate random circle objects of different shades of red, blue, and green colors and sizes which can be achieved using randrange() method of the random module.
Example code to create random circle objects:
from graphics import *
import random, time
win = GraphWin("Random Circles", 300, 300)

#creating 75 random circle objects
for circle in range(75):

#randrange takes one integer argument which defines the intensity of red, blue, and green colors
r = random.randrange(100)
b = random.randrange(100)
g = random.randrange(100)
color = color_rgb(r, b, g)

#creating circle objects with different radius ranging from 3 to 40
radius = random.randrange(3, 40)
x = random.randrange(5, 295)
y = random.randrange(5, 295)
circle = Circle(Point(x,y), radius)

#painting circle objects with different colors
circle.setFill(color)
circle.draw(win)

#time taken for each circle object to appear
time.sleep(.05)
Output:

Conclusion
Although there are a lot of other Python modules like Turtle, Matplotlib, Tkinter, Deep Painterly Harmonization, Bokeh, etc., that helps make awesome graphics, but this module is one of the fastest and has a wide range of methods that allows rendering any graphics with ease.
In this article, you learned about how the graphics module helps you to draw using Python, the basic set of steps required in any type of graphics creation and how to create basic objects.
You can experiment and explore more with these objects and create complex wonderful graphics. The features and functionalities of Graphics are endless and every Python programmers should have a clear idea of how to implement its function and various operations associated with it.