GUI or Graphical User Interface is an interface that helps users to deal with the components on their screen. It takes responses from users on various conditions such as opening screens, documents, forms, tests, etc.
The GUI is much better than the traditional CLI (Command-line Interface), with a better and more systematic interactive screen.
Python provides multiple options that let users develop their custom GUI (Graphical User Interface). One of the most widely used GUI frameworks in Python is Tkinter.
Apart from this, other GUI libraries in Python also serve the best in developing Graphical User Interface. This article is about the different ways to create GUI using Python libraries and their widgets.
What is GUI?
A graphical user interface (GUI) is an interactive environment through which a user can interact with electronic devices and it takes responses from users. In response to command-line networks, scientist Douglas Engelbart and his team developed a basic GUI.
It involves multiple windows or tiles on the users' screen that could efficiently adjust different documents.
The Graphical User Interface has some standard components. These are as follows:
- Menu
- Main window
- Text Entry
- Toolbar
- Labels
- Buttons
How to create a GUI application using Python Libraries?
Python has built-in libraries that allow users to develop Graphical User Interfaces (GUIs). Users can get to explore the top four Python Libraries by going through this article:
Using the tkinter to create GUI in Python:
Among Python GUI developers, the tkinter is the most widely used method. The tkinter with Python work as the most efficient and easiest way to develop GUI applications.
Users can use this built-in library and create a GUI with different widgets of the tkinter. They have to import the tkinter library, the same as that while importing any other module in the Python code snippet.
Note:
When installing the module, users should remember that in Python 2.x, the module name is 'Tkinter,' and in Python 3.x, it is 'tkinter.'
There are two primary methods used that the user should remember while developing a Python application with GUI. One is Tk(screenName=None, baseName=None, className='Tk', useTk=1) and the other is mainloop().
The tkinter also provides access to widgets with the geometric configuration, which can manage them in the parent windows. The tkinter library has primarily three geometry manager classes class. These are:
- pack() method: It manages the widgets in systematic blocks before setting them in the parent widget.
- grid() method: It manages the widgets in a table-like structure or grid before setting them in the parent widget.
- place() method: It manages the widgets by setting them in a specific position handled by the user or programmer.
The tkinter also has a few more widgets that users can put in their tkinter application. Here is the list of some primary widgets for Python users:
Canvas:
In this widget, there are different options for changing the widget format. Users can use it to draw pictures or other complex designs like text, graphics, and widgets.
These are as follows:
- Bd: It sets the border width in pixels.
- Bg: It sets the standard background color.
- Cursor: It sets the cursor used in the canvas.
- Height: It sets the height of the widget.
- Highlightcolor: It sets the color shown in the focus highlight.
- Width: It sets the width of the widget.
Syntax:
w = Canvas(master, option=value)
master is the parameter used to represent the parent window.
Code:
from tkinter import *
master = Tk()
w = Canvas(master, width= 50, height= 80)
w.pack()
canvas_height= 500
canvas_width= 900
b = int(canvas_height / 2)
w.create_line(0, b, canvas_width, b )
mainloop()
Output:
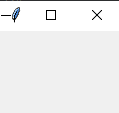
Button:
This widget helps to add a button to the GUI application.
Syntax:
w=Button(master, option=value)
The master parameter represents the parent window.
In this widget, there are different options for changing the format of the widget. These are as follows:
- Activebackground: It fixes the background color when the button is below the cursor.
- Activeforeground: It fixes the foreground color when the button is below the cursor.
- Bg: It sets the typical background color.
- Command: It calls the function.
- Font: It fixes the font on the button label.
- Image: It fixes the image on the button.
- Width: It fixes the width of the button.
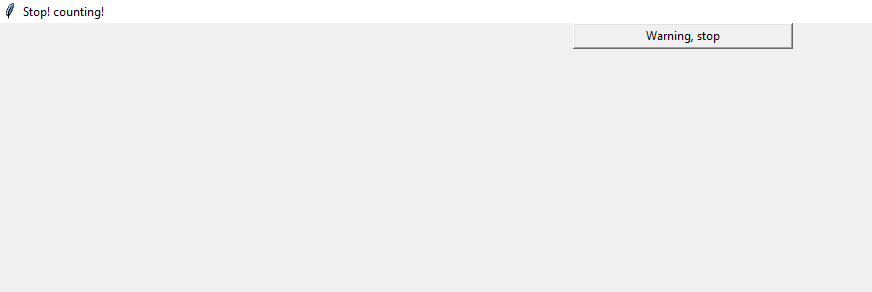
Code Snippet:
import tkinter as tk
a = tk.Tk()
a.title('Stop! counting!')
button = tk.Button(a, text= 'Warning, stop', width= 30, command= a.destroy)
button.pack()
a.mainloop()
Output:
CheckButton:
This widget displays options for a check box to a user as toggle buttons.
Syntax:
w = CheckButton(master, option=value)
In this widget, there are different options for changing the format of the widget. These are as follows:
- Activebackground: It sets the color of the background when the widget is below the cursor.
- Activeforeground: It sets the color of the foreground when the widget is below the cursor.
- Bg: It sets the standard backgrouSteganography color.
- Command: It calls the function.
- Font: It sets the font on the button label.
- Image: It sets the image on the widget.
- Title: It sets the title of the widget.
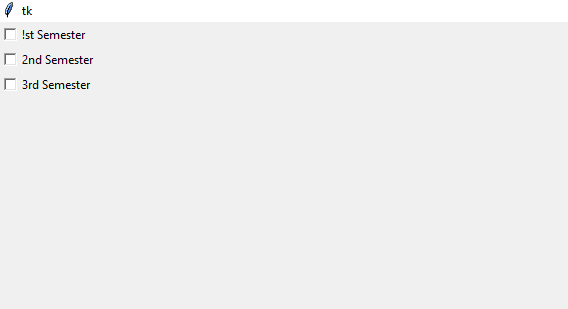
Code Snippet:
from tkinter import *
master = Tk()
a = IntVar()
Checkbutton(master, text= '!st Semester', variable= a).grid(row= 1, sticky= W)
b = IntVar()
Checkbutton(master, text= '2nd Semester', variable= b).grid(row= 2, sticky= W)
c = IntVar()
Checkbutton(master, text= '3rd Semester', variable= c).grid(row= 3, sticky= W)
mainloop()
Output:
Using the Kivy to create GUI in Python:
Another Python library for GUI framework called Kivy allows users to readily and efficiently build a Graphical User Interface. It helps users by fast and efficient development of GUI applications and uses brilliant and efficient user interfaces.
The library also supports multi-touch events in addition to all the keyboard inputs and traditional mouse. The applications designed using this Python library will be the same across all the other platforms.
But it also indicates that the application's feel or look will vary from a native application. Users can freely use Kivy, which runs on Windows, Linux, OS X, iOS, Android, and Raspberry Pi.
Users can run the same code on all supported platforms. The graphics engine of Kivy is developed over OpenGL ES 2, operating a fast and trendy graphics pipeline.
Some features of the Kivy Framework are as follows:
- Multi-touch and gesture: Kivy operates a large variety of widgets that support multi-touch and gestures. Kivy developers equip a gesture library that keeps records of the programmer's gestures.
- UI feature: Kivy comes with a wide range of widgets and controls to make the user's mobile interface more engaging and attractive.
GUI programmers can also use it to navigate gestures, improve one-handed usability and dark mode, build new icons or design elements, and create new animations.
To install the Kivy application, users can use the following command:
pip install Kivy
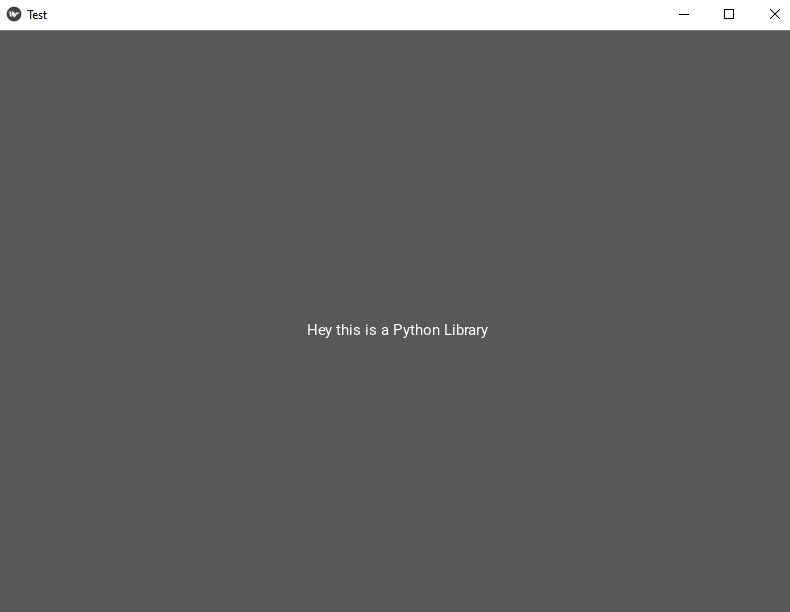
Code Snippet:
from kivy.app import App
from kivy.uix.button import Button
class TestApp(App):
def build(a):
return Button(text=" Hey this is a Python Library ")
TestApp().run()
Output:
Using the PyQT5 to create GUI in Python:
PyQT is another library that allows users to operate the Qt GUI framework supported by Python. The creator of Qt wrote it in C++.
By importing and using it from Python, users can develop applications much more readily while not renouncing much of the speed of C++. With the help of PyQT5 Library, users can substantially develop GUI applications that successfully run on Windows, Android, Linux, Mac OS X, and Raspberry Pi.
It comprises numerous GUI widgets such as List-Boxes, sliders, Buttons, etc., set inside the parent window. It is possible to build unified aesthetic graphical designs through PyQt5 and customize themes that are quite attractive to the users.
One of the most significant advantages of PyQT5 is this library allows the developers to maintain prevalent code-reusability and consistency while designing User Interfaces via direct data manipulation.
Besides, PyQt5 is a free and open-source library, and users can implement it over any cross-platform application development framework. It has dribbled down the modularity of Python Language through its extensions so that developers can securely develop large-scale and small-scale applications with utmost ease.
To install the PyQT5 application, users can use the following command:
pip install pyqt5
Code Snippet:
from PyQt5.QtWidgets import QApplication, QWidget, QPushButton, QVBoxLayout
app = QApplication([])
window = QWidget()
layout = QVBoxLayout()
layout.addWidget(QPushButton('Top'))
layout.addWidget(QPushButton('Bottom'))
window.setLayout(layout)
window.show()
app.exec()
Output:

Using the wxPython to create GUI in Python:
The wxPython is an open-source, cross-platform GUI toolkit for the Python programming language. It helps Python users or programmers create programs with a highly functioned Graphical User Interface, potent, simple, and efficient.
It has a collection of Python extension modules that wrap the Graphical User Interface components of the prevalent wxWidgets cross-platform library, written in C++ programming language.
Most significantly, the wxPython GUI framework is free for every user for development. Due to this brilliant feature, users can easily find the errors highlighted in their code.
It increases the chances of rectifying all code errors or upgrades in the form of code-readability improvements. Therefore, the developers do not need to worry much regarding the expenses of developing a high-quality Python application because the open-source feature of wxPython is adjustable with code improvements anytime, anywhere.
To install this framework, users should install the pip install wxPython and install this flexible and robust GUI framework.
To install the WxPython application, users can use the following command:
pip install wxPython
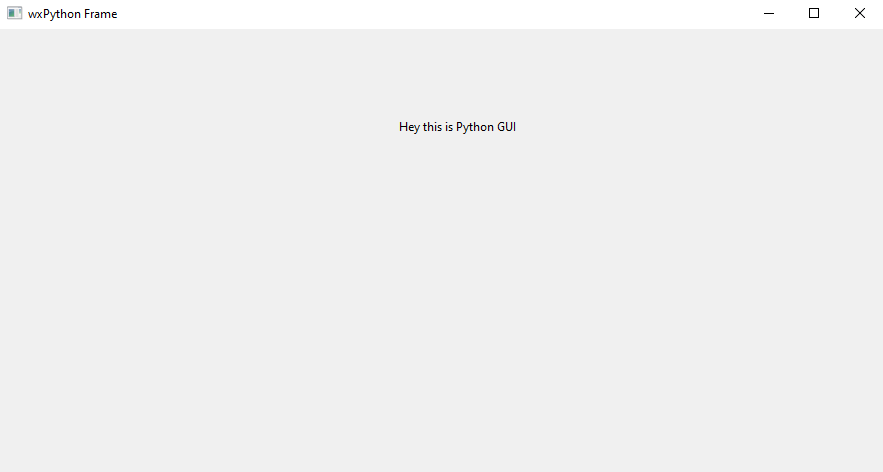
Code Snippet:
import wx
app = wx.App()
window = wx.Frame(None, title="wxPython Frame", size=(900, 500))
panel = wx.Panel(window)
label = wx.StaticText(panel, label="Hey this is Python GUI", pos=(400, 90))
window.Show(True)
app.MainLoop()
Output:
Using the PyGame to create GUI in Python:
It is another brilliant GUI application that much easy to use and lets users develop a robust GUI framework with its visually attractive graphics and sound libraries that resides within the collection of its Python modules.
To install the PyGame application, users can use the following command:
pip install pygame_gui
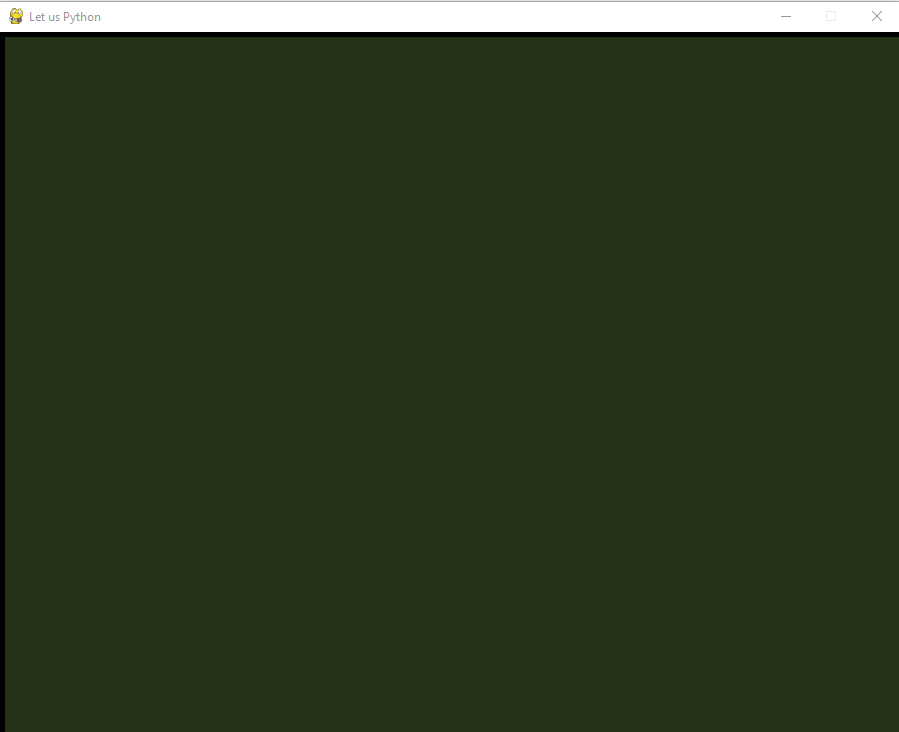
Code Snippet:
import pygame
pygame.init()
pygame.display.set_caption('Let us Python')
window_surface = pygame.display.set_mode((900, 700))
background = pygame.Surface((900, 700))
background.fill(pygame.Color('#233214'))
is_running = True
while is_running:
for event in pygame.event.get():
if event.type == pygame.QUIT:
is_running = False
window_surface.blit(background, (5, 5))
pygame.display.update()
Output:
Conclusion:
This article is about GUI applications in Python and the various frameworks that help programmers develop a robust, attractive, and easy-to-use Graphical User Interface. Most developers prefer to use the tkinter framework for designing and changing the format of its widgets.
PyQT5 framework is another robust framework, but users use it with a commercial license highlighting its feature-rich components. Apart from these, users can also use these free libraries of Python, namely, Kivy and wxPython.