Python is rich in modules and libraries. This high-level, general-purpose programming language needs some kind of package that can install and manage all the software packages, libraries, modules existing along with a particular Python program. In this article, you will learn how to install PIP in Windows so that you can easily deal with managing different libraries and modules.
What is Python Installer Package (PIP)?
Python Installer Package (PIP) is a package management system applied in our Windows system for installing and managing software packages, modules, and libraries written for Python-based programming. It also helps in onboarding the various dependencies associated with different frameworks, modules, or packages.
These modules and libraries remain stored in a large repository somewhere on the internet and are termed as Python Package Index (PyPI). PIP, when installed in a system, by default, invokes the PyPI as the source to fetch the packages, modules, and their dependencies. Let us now witness how to install and add the PIP in our Windows system.
Installing or adding PIP in Windows system:
Method 1: The Manual approach:
Installing or adding the PIP package to the Windows system is very easy.
1. Simply go to the PIP.py (). This link has the PIP file. It stores the source code of the PIP.
2. We have to then store this Python file in the same directory where Python is installed.
.jpg)
3. Change the directory's current path in the command line to the directory's path where this file exists.
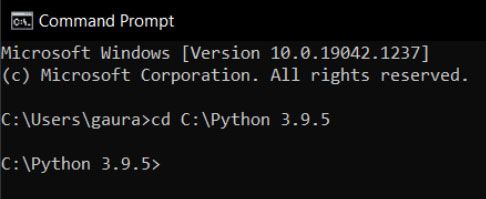
4. Now run this command in the command prompt: python get-pip.py
And wait for the process to install the PIP in your Windows system.
5. Once the PIP gets installed, you can check its version as well as verify whether it gets installed or not. The command is:
pip -V
or
pip --version
Also, to check the PIP status and other helping options, you can use the command:
pip help
6. If you notice that the PIP is not in its latest version, use the command
python -m pip install –upgrade pip
Method 2: Installing PIP through PyCharm:
The second method of installing PIP is using an IDE. The most common and popular Python IDE is the PyCharm. To install PIP or the latest version of PIP in PyCharm, the steps are:
1. Open PyCharm
2. Go to File > Settings
3. You will see the Settings window popped up.
4. Press the [+] (Plus) button or use Alt + Insert (shortcut key) to bring in the available packages window.
5. Make sure your computer has the internet connection.
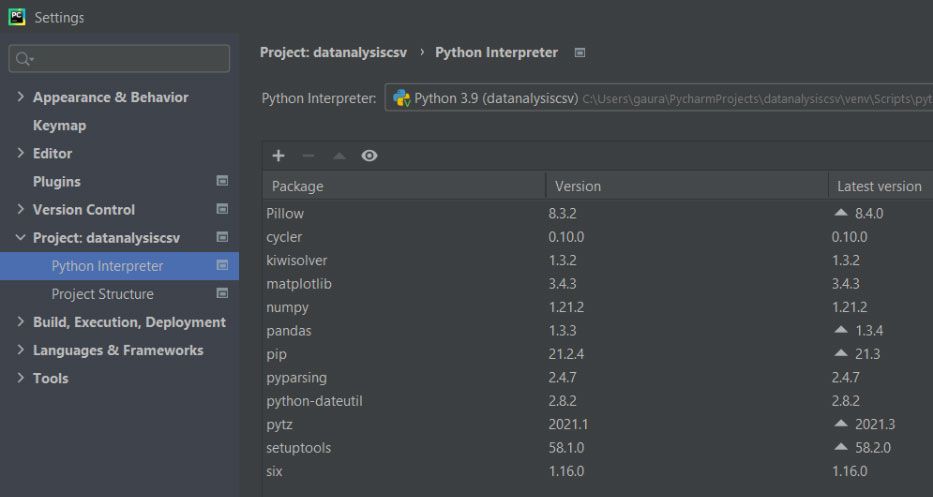
6. In the search box, type “pip” and it will bring in the pip package.
.jpg)
7. Click the Install Package to download the PIP (installer package). Programmers and developers can also update the PIP in the same way.
8. Once you install it, it will be displayed in the Project Settings list among other libraries and packages.
Conclusion:
Both the techniques are useful and handy. But developers prefer to use the IDE to make it quick and graphical. But through the command-line interface (manual installation), there are various commands and attributes that make it robust to check the various features.