Python is a widely-used programming language. It aids in writing scripts for the operating system, web apps, games, and others. Ubuntu is a popular OS that a lot of students, aspirants and software engineers use in their individual apps or as a part of office system. Installing Python in Ubuntu is not that difficult. In this article, we shall see how to install Python in Ubuntu.
Installation methods defined in this article are:
- Installing Python with apt
- Installing Python from source code
Installing Python with apt:
Python comes pre-installed in Ubuntu operating system. Before updating or installing it into the system, it is more reasonable to check if Python is already present.
To check:
- Open the terminal window in Ubuntu by simply clicking Ctrl + alt + T
- Type the below command and hit the return key
python --version
This command will display the current Python version number if it is already present or installed in the system.
If Python isn't already there in the system, then follow the below steps to install:
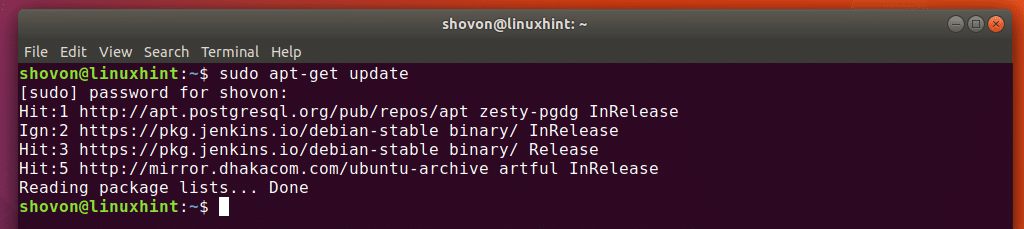
Step 1: Refresh and update repository lists
Follow the steps from above to open the terminal. After opening the terminal, enter the following code:
sudo apt update
Step 2: Install a supporting software
The software-properties-common package provides better control over package manager because it allows adding PPA (Personal Package Archive) repositories. To install the supporting software, enter the following code in the terminal:
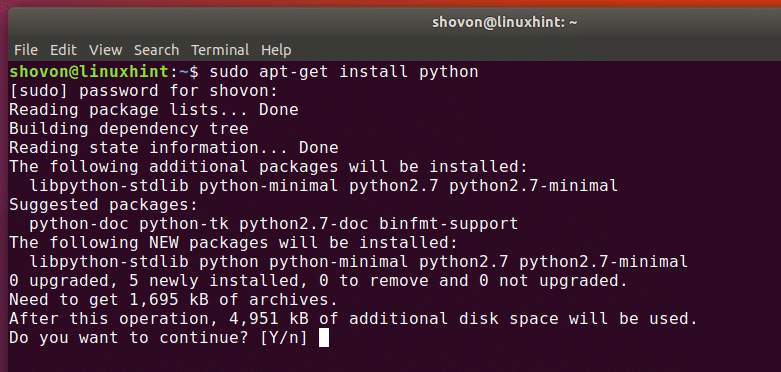
sudo apt update
sudo apt-get install python
We can also use different flags and properties while installing Python and its associated libraries.
sudo apt install -y python3-pip
The –y flag confirms that programmers have agreed for all items to be installed.
We can also install related libraries like this:
sudo apt install -y build-essential libssl-dev libffi-dev python3-dev
Step 3: Adding Deadsnakes PPA
Deadsnakes PPA provides newer releases over the default Ubuntu repositories. Go to the terminal of the system and enter the following command:
sudo add-apt-repository ppa:deadsnakes/ppa
After entering the above command, the system shall ask you to hit the return key. After finishing, refresh the package list again by entering the following commands:
sudo apt update
Step 4: Installing Python:
Enter the below commands to start the installation process
sudo apt install python3.8 #(Here 3.8 is the Python version to be installed)
Installing Python from source code:
This process uses downloading and compiling the source code from the developer. This method is a bit tricky or complicated.
Step 1: Update the local repositories
Enter the following command in the terminal to update the local repositories:
sudo apt update
Step 2: Install a supporting software
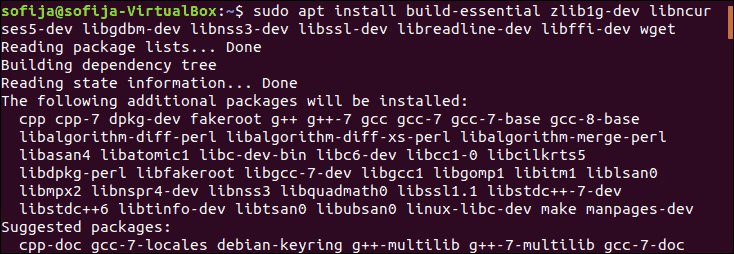
This method also involves installing supporting software. The system requires additional software to compile a package from the source code. To start the installation, enter the following command in the terminal:
sudo apt install build-essential zlib1g-dev libncurses5-dev libgdbm-dev libnss3-dev libssl-dev libreadline-dev libffi-dev wget
Step 3: Download the Python source code
To navigate to the /tmp directory, enter the command:
cd /tmp
Then using the wget command, enter the below code in the terminal to download the source code:
wget https://www.python.org/ftp/python/3.7.5/Python-3.7.5.tgz
Step 4: Extract the compressed files
To extract the downloaded tgz file, enter the below commands:
tar -xf Python-3.8.3.tgz
Step 5: Testing and optimization
Before installing, it is crucial to test the system and optimize Python
The configure command assesses and organizes Python to install, and the optimization command speeds up the code execution.
cd python-3.8.3
./configure --enable-optimizations
Step 6: Installing a second instance of Python
Enter the below command to install a second instance of Python:
sudo make altinstall
Installing Python using different versions of Python:
Programmers can use the altinstall method to install Python on the Ubuntu system. It caters to keeping programmers two different versions of Python (2.x and 3.x) in their system simultaneously. For each installation, programmers require a different command.
We have to use the python command to run commands for any older Python 2.x version on your system.
For example:
python –version
For run the command on the newer Python version, programmers have to use the python3.
For example:
python3 --version
Again, it is feasible to cater to multiple main (3.x or 2.x) Python versions on their system. If you have Python 3.10.x and Python 3.10.x both installed, programmers have to use the second digit for specifying which version they want to install in their system (one after another):
python3.8 --version
python3.10 --version
Conclusion:
Hope this article has given you a crisp idea with 3 different methods on how to install Python in Ubuntu. Both the methods involve entering specific commands in the terminal window. The first method uses an apt package manager (which is comparatively easier), and the second method shows how to install Python from source code.
The second method can be a bit tricky to follow, but not difficult. The third method is unique and for researchers and programmers who want to install and work explicitly with specific Python versions in Ubuntu.