How to Install & Configure JDK?
What is JDK?
The JDK (Java Development Kit) is a software development kit which consists of libraries and tools for developing apps and running them. This comes along with the following –
- Java Runtime Environment (JRE)
- Java Virtual Machine (JVM)
- An interpreter
- A Java compiler (javac)
- An archiver (jar)
- Javadoc, a documentation generation tool
How to Download JDK?
Here’s how you can download JDK –
- Search for “Java JDK” on Google
.jpg)
- Then, download it from the official website of Oracle
https://www.oracle.com/in/java/technologies/javase-downloads.html
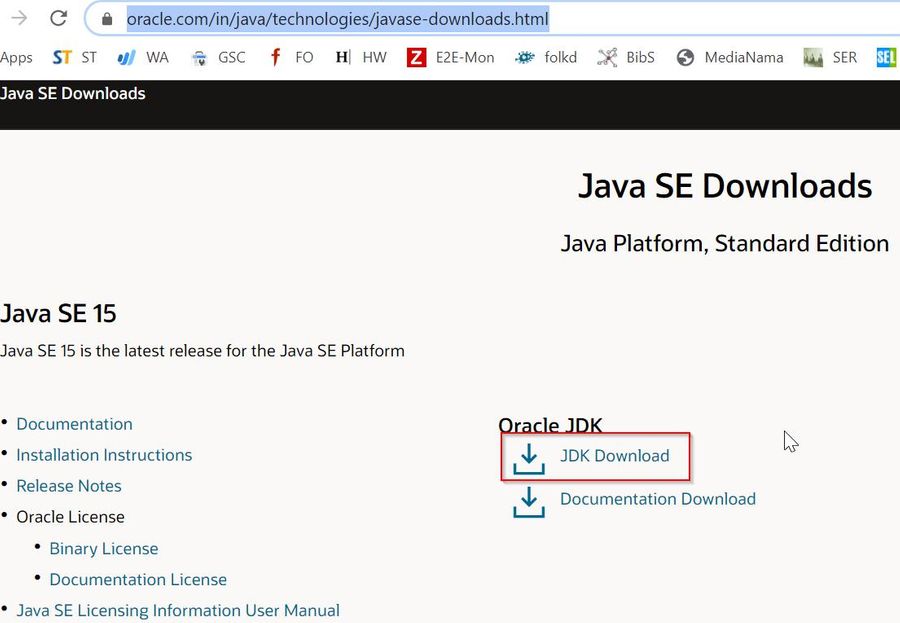
- Click on the JDK Download link as shown in the image
- In the next screen, click on “jdk-15_windows-x64_bin.exe” to download JAVA SDK for a 64-bit operating system
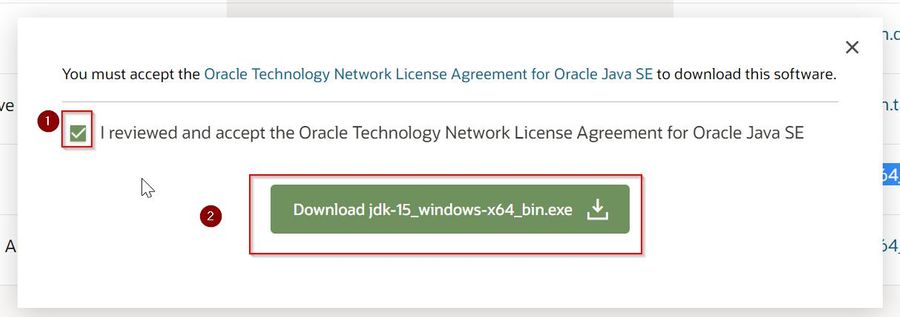
- In the next screen, click on the “I reviewed and accept” check box and click on download “jdk-15_windows-x64_bin.exe” button to download it
How to Install JDK?
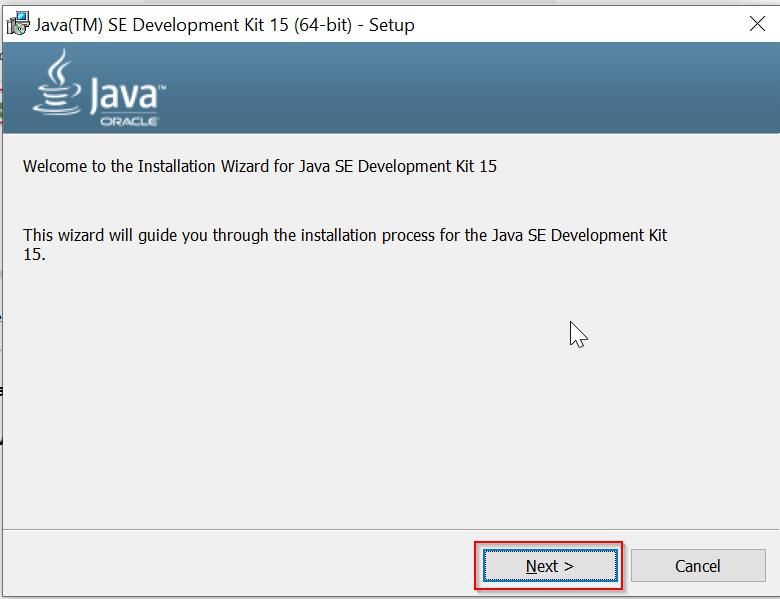
- After the JDK is downloaded, double click on the setup file to start the installation process
- Click on Next
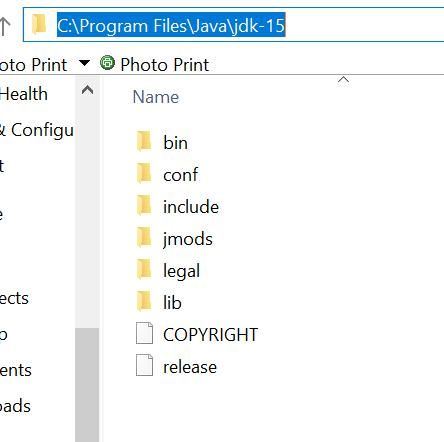
- In the next step, you will be asked for the installation directory. The default drive is C
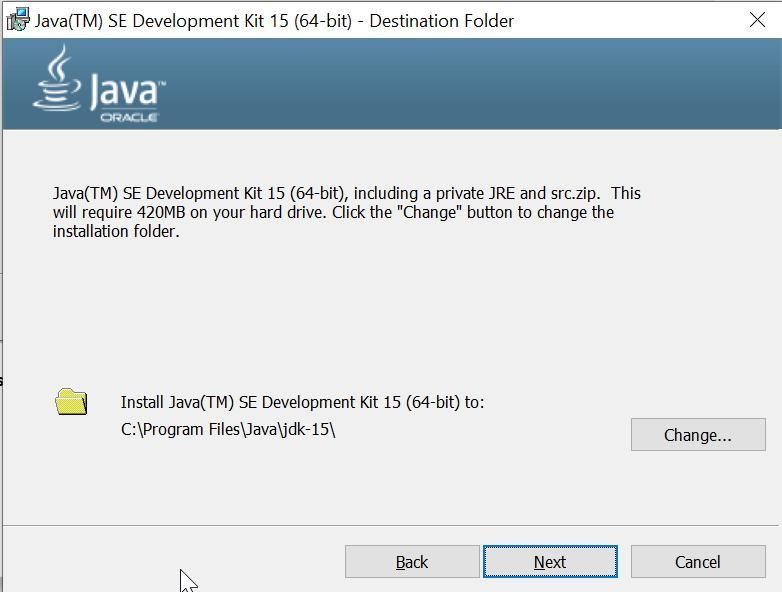
- If you don’t change it, JDK will be installed on the C Drive
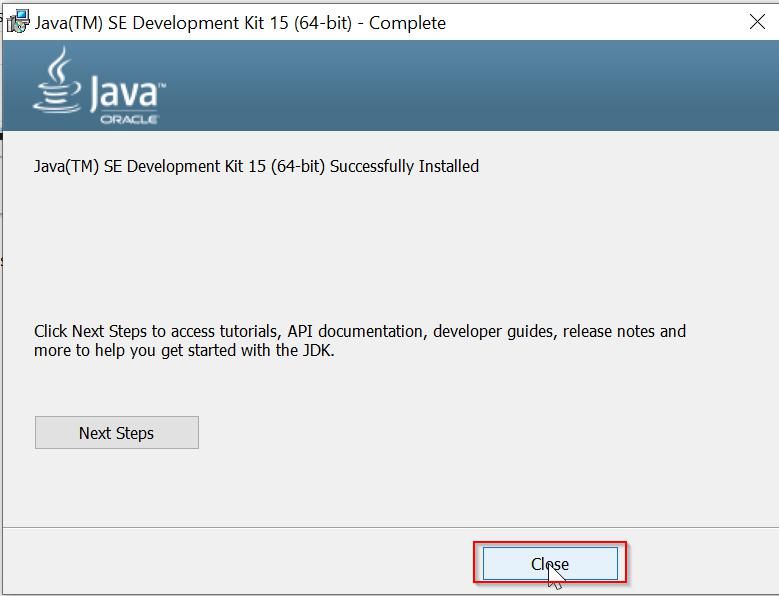
- Wait for a few minutes until the installation is over
- After that, just click on the Close button
Setting the Environment Variable for Java
What are Environment Variables and why do we need them?
Environment variables are basically system variables that are used for exchanging configuration information with other applications. They are key-value pairs used by operating systems such as Windows and Linux.
Why do you need to set JAVA_HOME?
JAVA_HOME is Java’s environment variable that can be set after the JDK installation. It has to be set as it determines the file location where the JDK resides. JAVA_HOME must be set to the JDK location so the javac compiler can be accessed.
How to Set JAVA_HOME variable in Windows?
Here are the steps –
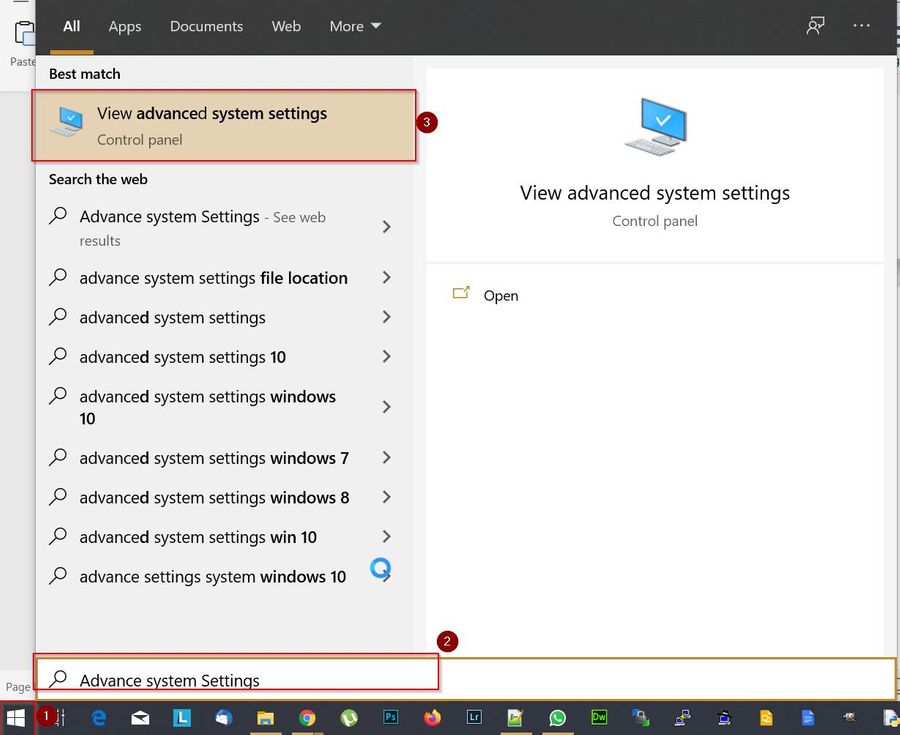
- In Windows 10, press the Windows Key. Search for “Advance Windows Settings”
- Click on the “Advance Windows Settings Button” as shown in the image
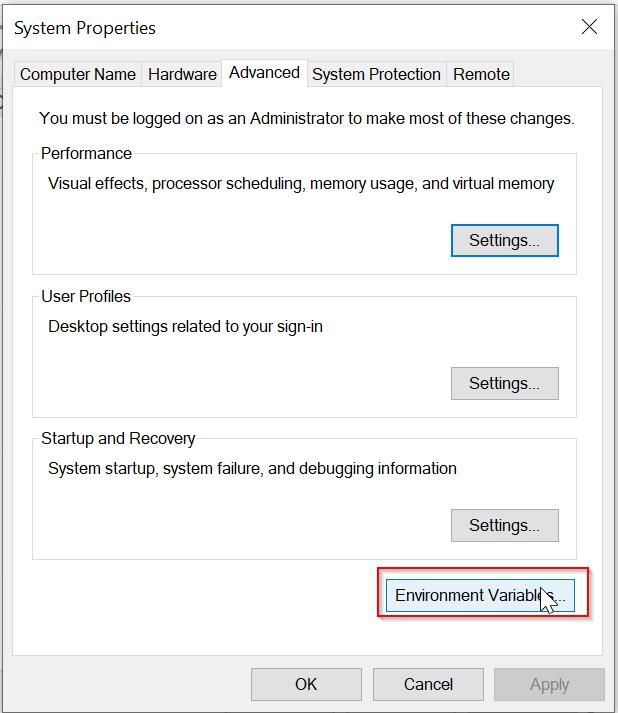
- Under the “System Property” window, click on “Environment Variables” button
- In the “Environment Variables” window, in the “System Variables” section, click on the “New” button
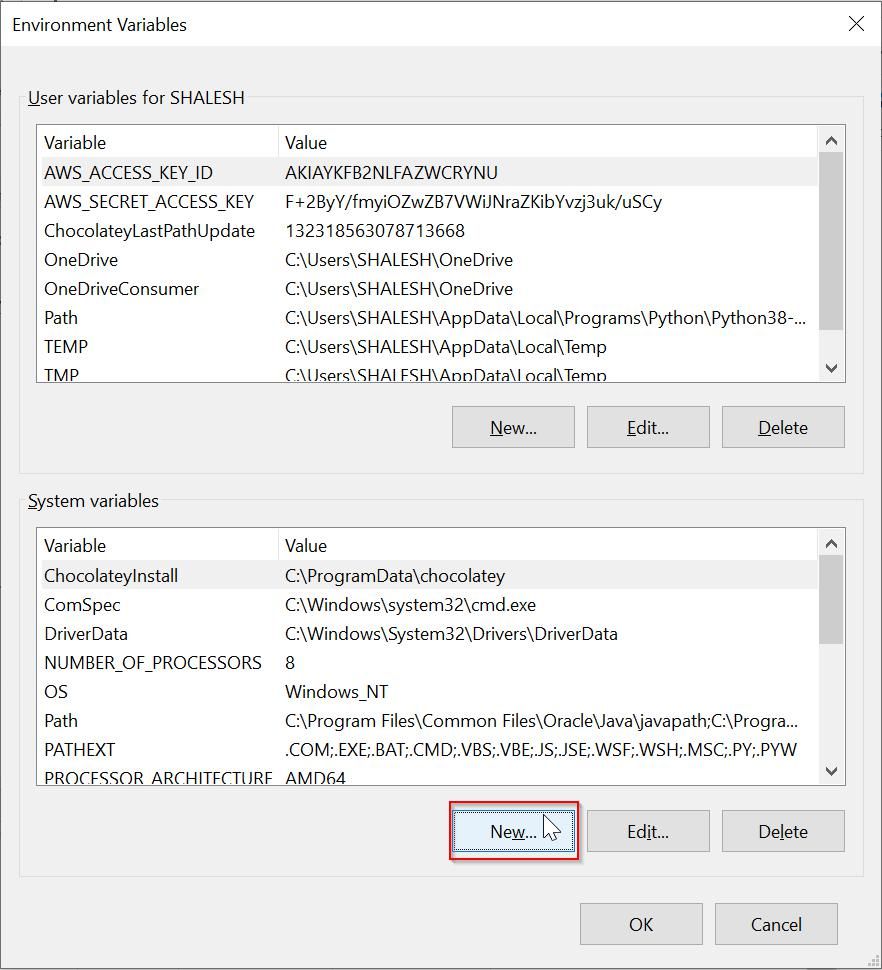
- In the “New System Variable” window, enter the following values
Variable Name: JAVA_HOME
Variable Value: C:\Program Files\Java\jdk-15
(Java Installation folder location)
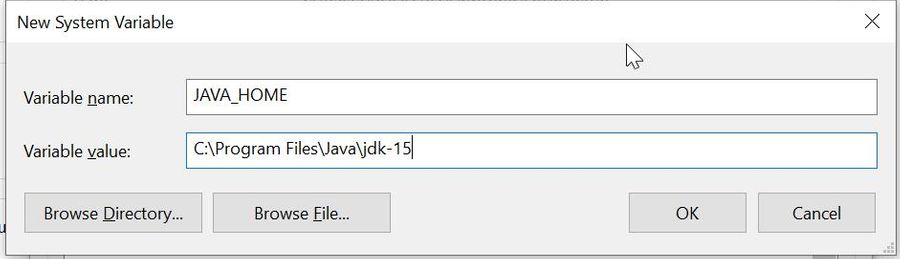
- PressOK
Now you have to update the System Path to run Java successfully.
Follow the steps below –
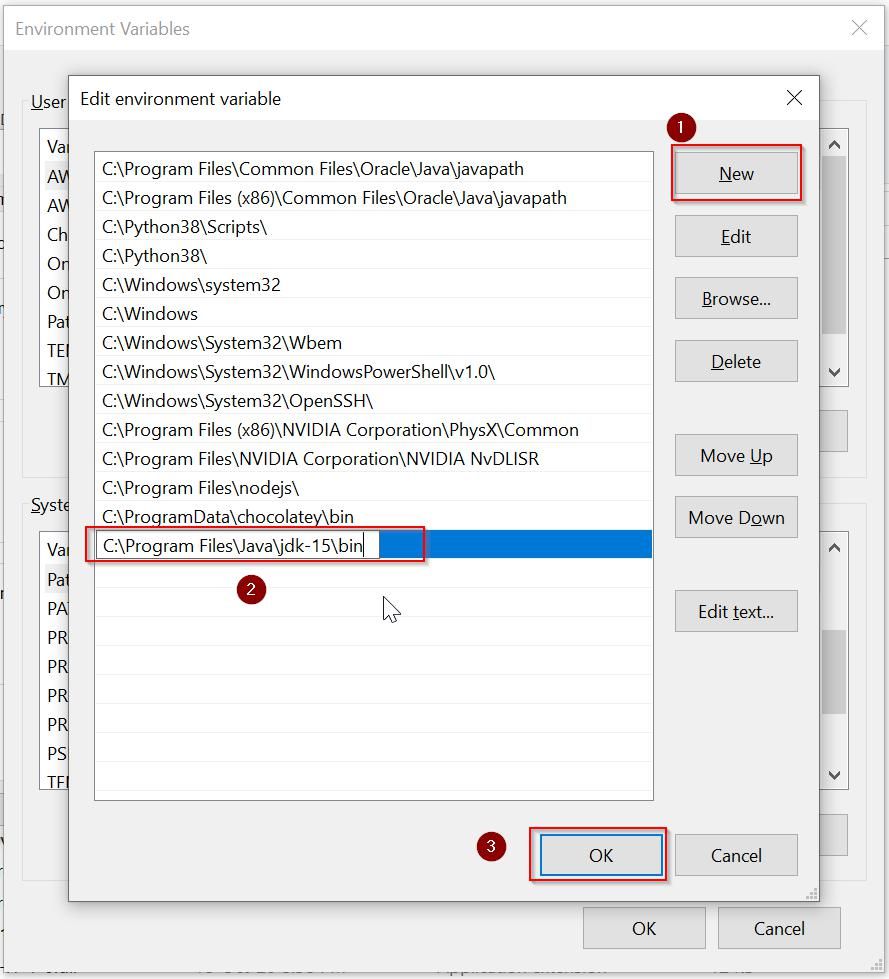
- In the “Environment Variable” box under “System Variable”, select the “Path” variable and click on the “Edit” button

- Under the “Edit Environment Variable” window, click on “New” button and give “Java” path “C:\Program Files\Java\jdk-15\bin”
- Click on the OK button
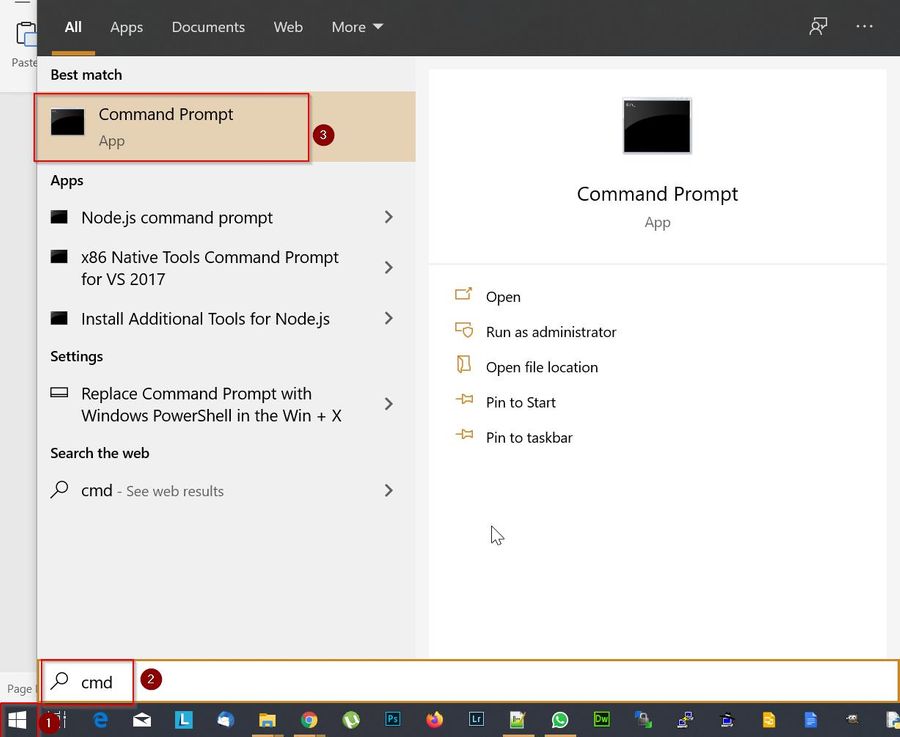
Now you can test your Java configuration with the following steps -
- Press the Windows key. Search for CMD
- Click on Command Prompt
- In the Command Prompt box, type the following:
>Javac -version
Javac 15
> echo %JAVA_HOME%
C:\Program Files\Java\jdk-15
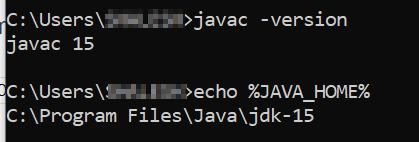
- This will be displayed only of the variable path is set correctly