In this article, you will learn how to deploy Cordova apps in an SDK environment for Android devices. Users need Android SDK to set up the Cordova for Android environment, which users can install on several platforms. Before proceeding further, users need to check which latest Android package of Cordova supports Android API Level 30.
Another possibility that comes with these steps includes Android-centered command line tools for development work. Thus, this article is a comprehensive guide to how users can install Android SDK on Windows 8, 10, and 11 and other setups needed to configure these. It will also show the verification process in each step.
Steps to install Cordova
Shortlisting all the steps and verification of installation and configuration of Cordova and Android SDK on Windows 7, 8, 10:
- Install & Configure Java SDK
- Install & Configure Apache Ant
- Install Node.js
- Install & Configure Android SDK
- Install & Configure Gradle
- Install Cordova
- Run Cordova
- Open Cordova App in Android Studio
- Create a virtual device
- Run the app on a virtual device
- Generate Signed Build
Step 1: Install Java SDK
The first step involves the installation of Java SDK, which depends on the Cordova-Android version.
Installation, Java & updating Environment & System Variables on Windows 7, 8 & 10
To download Java JDK Use the link: https://www.oracle.com/in/java/technologies/javase/jdk11-archive-downloads.html
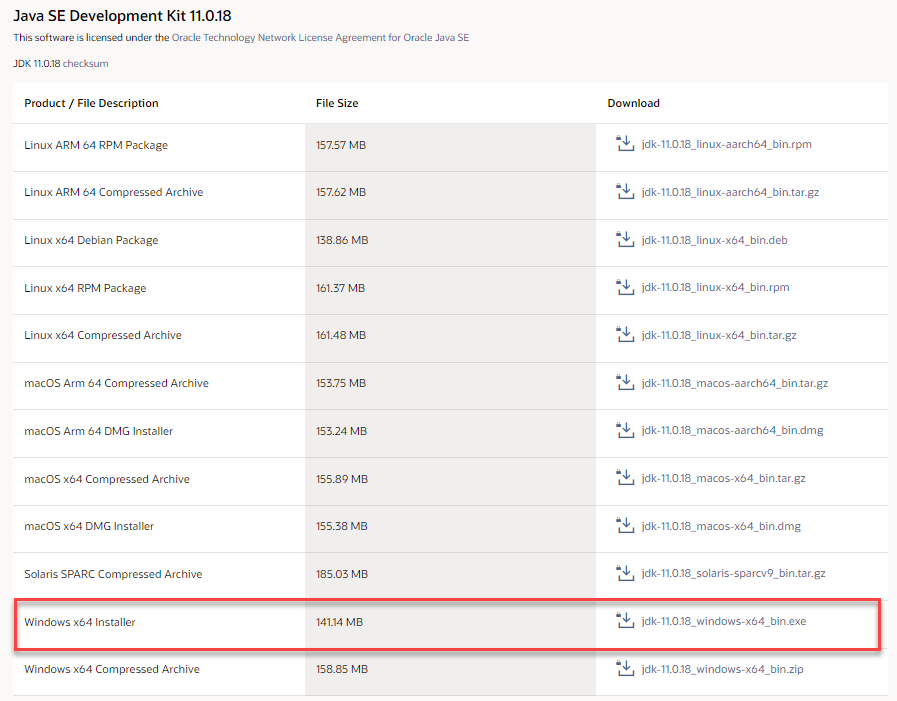
For our example, we are using the given below versions
x64 Installer 141.14 MB
jdk-11.0.18-windows-x64.exe
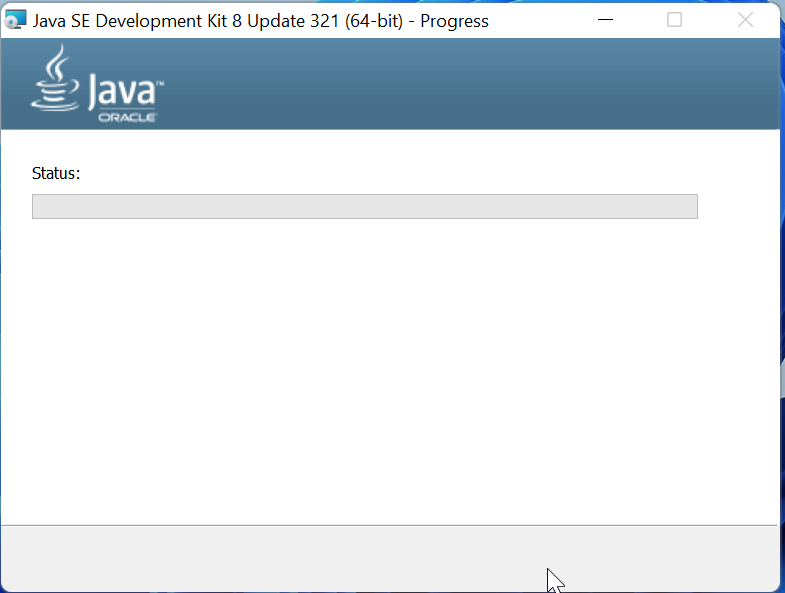
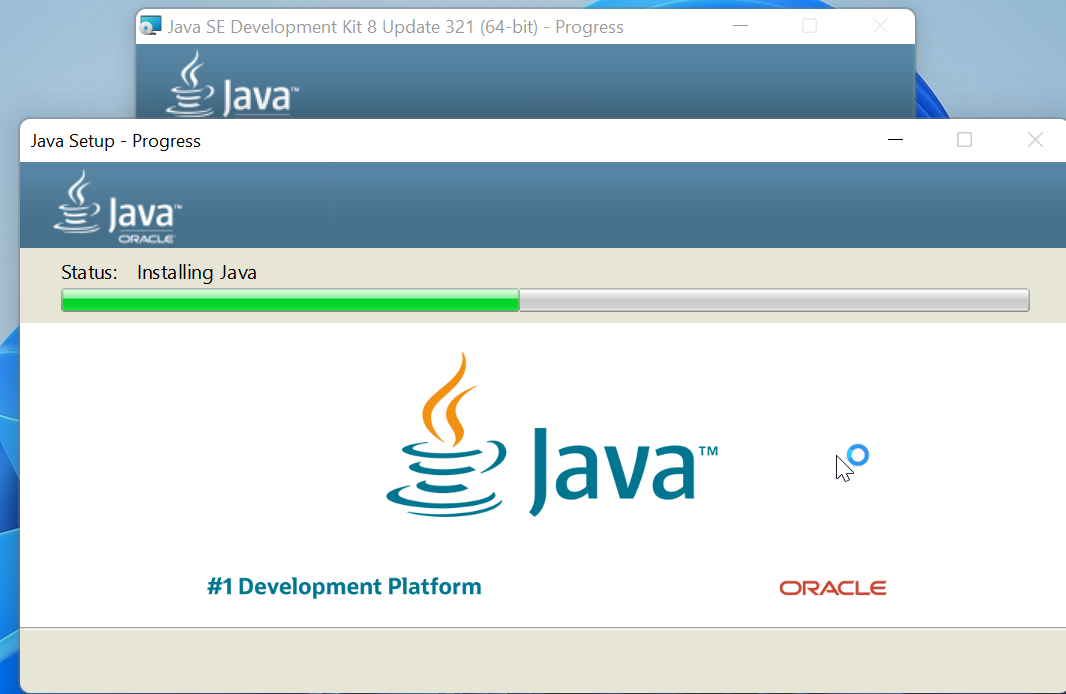
If users do not have Java pre-installed, they have to do so. Java is one of the most prevalent programs with an efficient user interface. However, if users do not have it pre-installed, they must follow the above instructions to download it.
Android Development primarily uses Java, and once users install it, they will see the following status of installation:
Set Java Environment Variables
Generally, users do not need to set up any environmental variables for Java. Regardless, if they set some variables, it makes the task more efficient. The PATH variable is the most essential among all other Java variables.
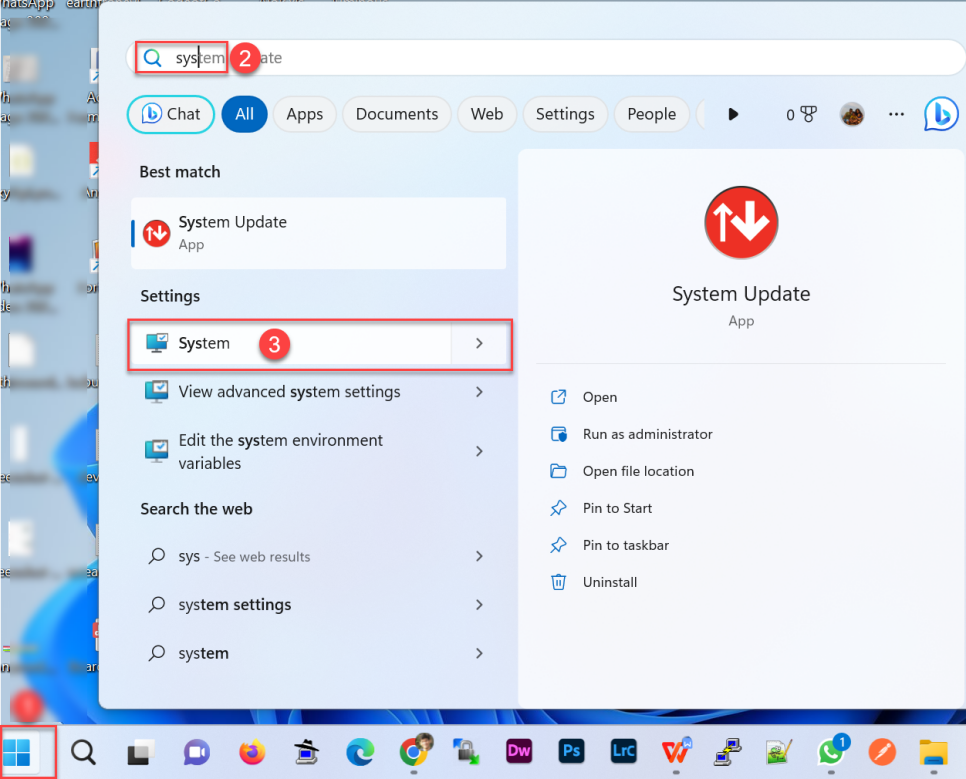
Press the “Windows key” type “system” and click on the “System” button as shown in the image
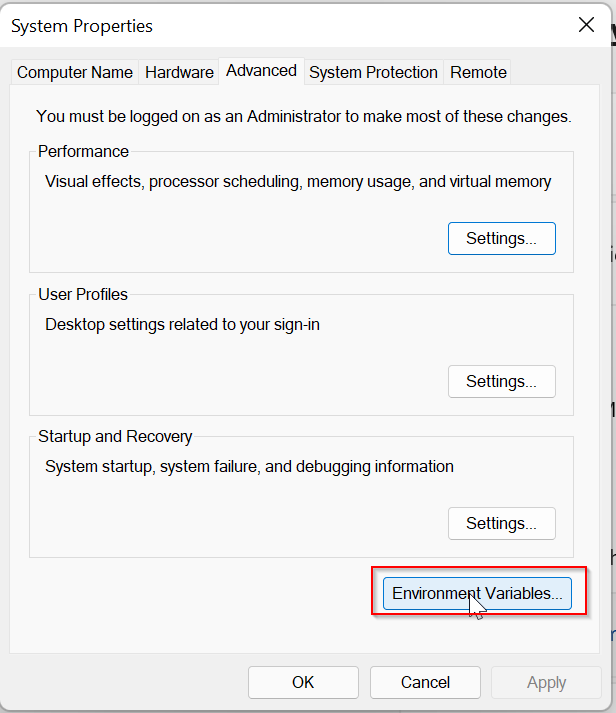
The system About window will open now click on the “Advanced system settings” button

System Property Window will Open now click on the “Environment Variables” Button.
As per the requirement, users can set the environment variables.
Under the “System variables” window
Users can use the “New” button that adds an additional variable.

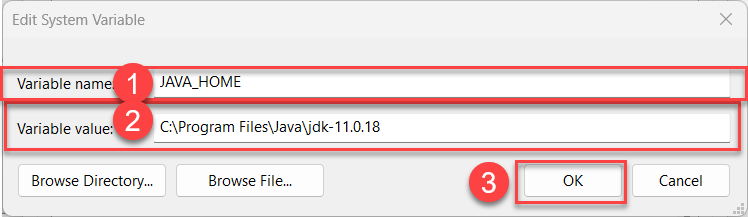
Under "New System Variable" given the given below setting
Variable name: JAVA_HOME
Variable value: C:\Program Files\Java\jdk-11.0.18 (Path of your Java folder)
And Click “OK”
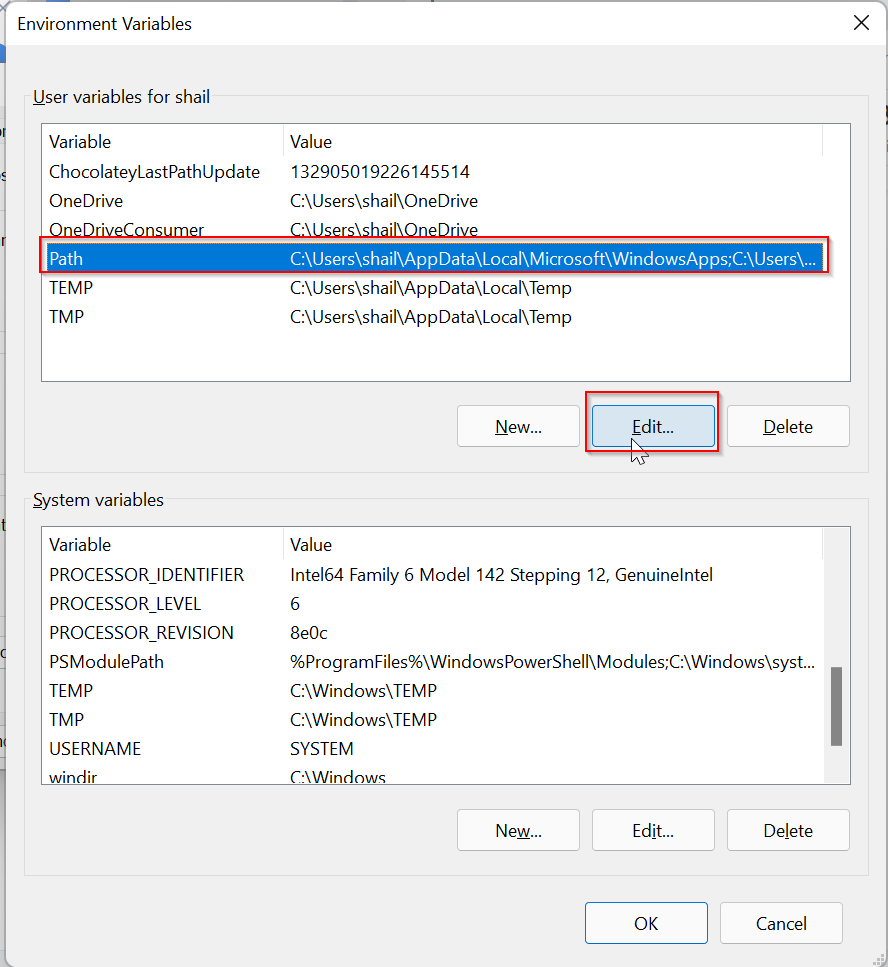
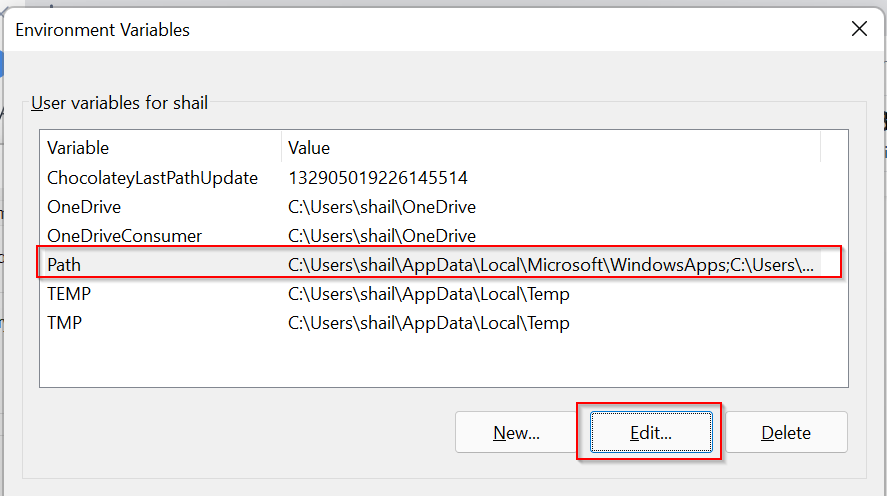
Now Under the User variables window select Path and click on the Edit button.
This will allow you to add the path of your Java installation directory
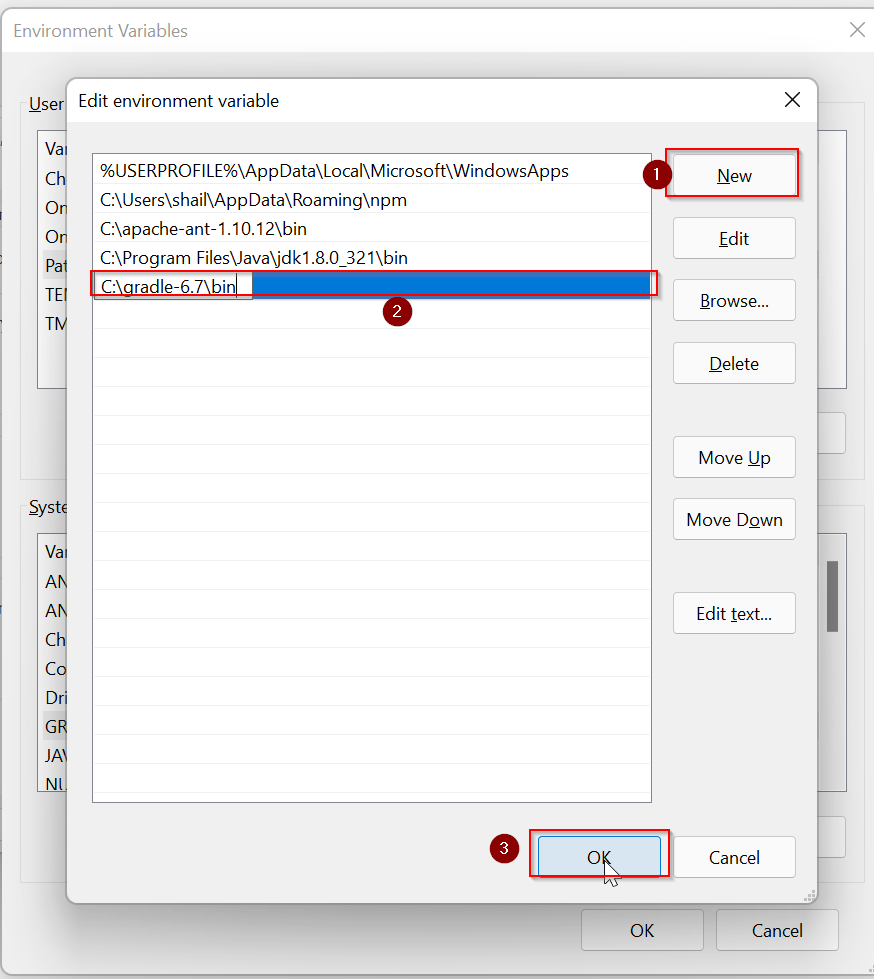
Now click on the New button and give Java installation path
“C:\Program Files\Java\jdk-11.0.18\bin” path of java bin folder (Path of your Java folder) and click on the OK button
.png)
Now you have set the Java environment variable and path.
Checking the Java version:
Using the Command prompt, users can efficiently check the Java environment.
- Go to the Windows Start button, and type cmd.
- Click on the command prompt when it appears in the search results.
- After opening it, a new window with the Command prompt appears.
- Users have to type the command, java -version, and press Enter. In the output file, users can see the version of Java.
java -version

Step 2 Install & Configure Apache Ant
Open Google and search “Apache Ant” on the web browser. The URL is http://ant.apache.org.
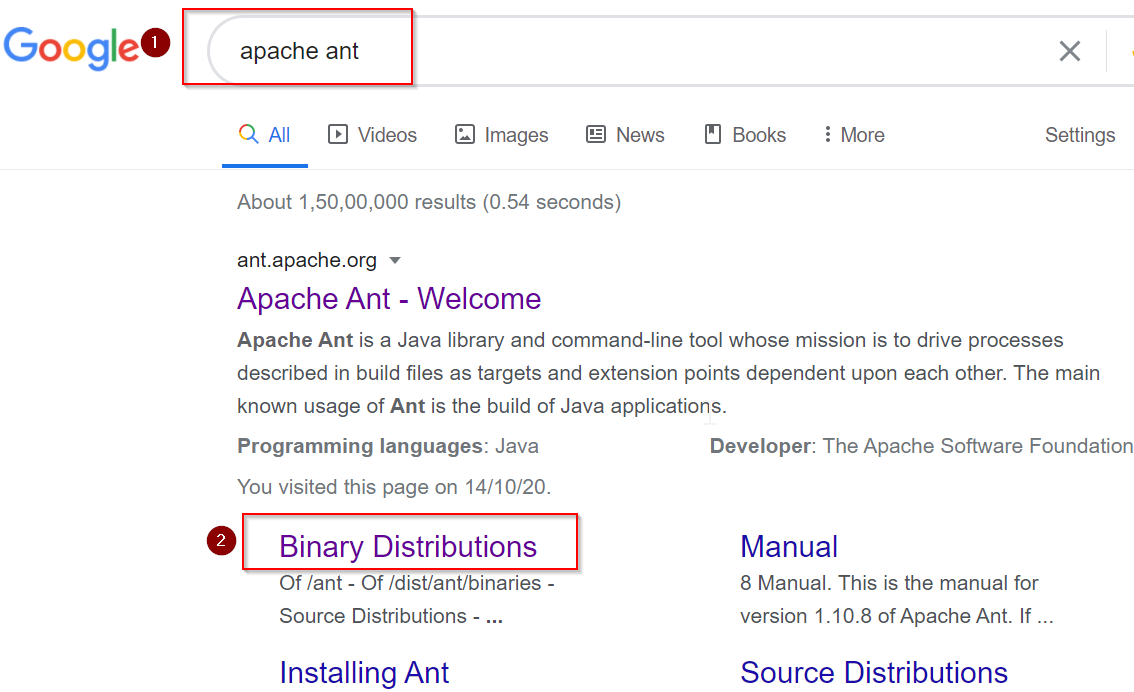
Select the latest stable version of the Apache Ant and click on Binary Distributions.
The binary edition of Apache Ant is available in three versions.
Or Open URL: https://ant.apache.org/bindownload.cgi
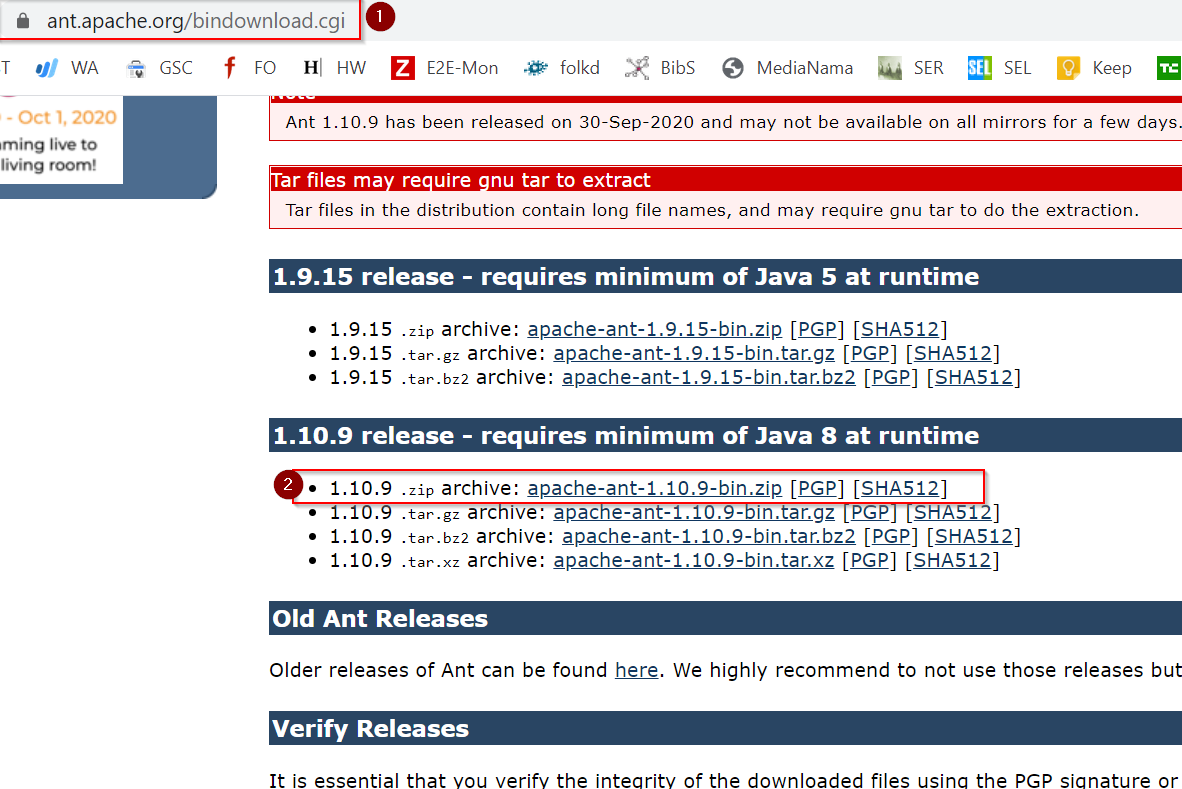
Choose the version that the user’s system support.
It will follow by opening up a download confirmation dialog box. Then, users have to click OK.
The download starts.
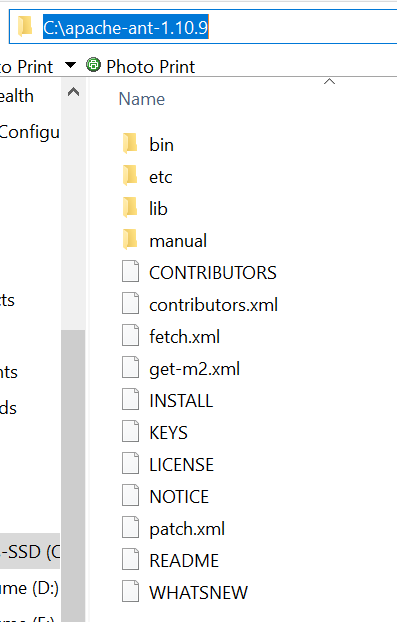
After doing the download process, users, extract “Apache Ant” in the required drive.
Set “Environment Variable” for “Apache ant”
Next, users need to set up the environment variables.
Before they run the Ant, there is an additional configuration needed:
Set the ANT_HOME environment variable according to the Ant installation directory.
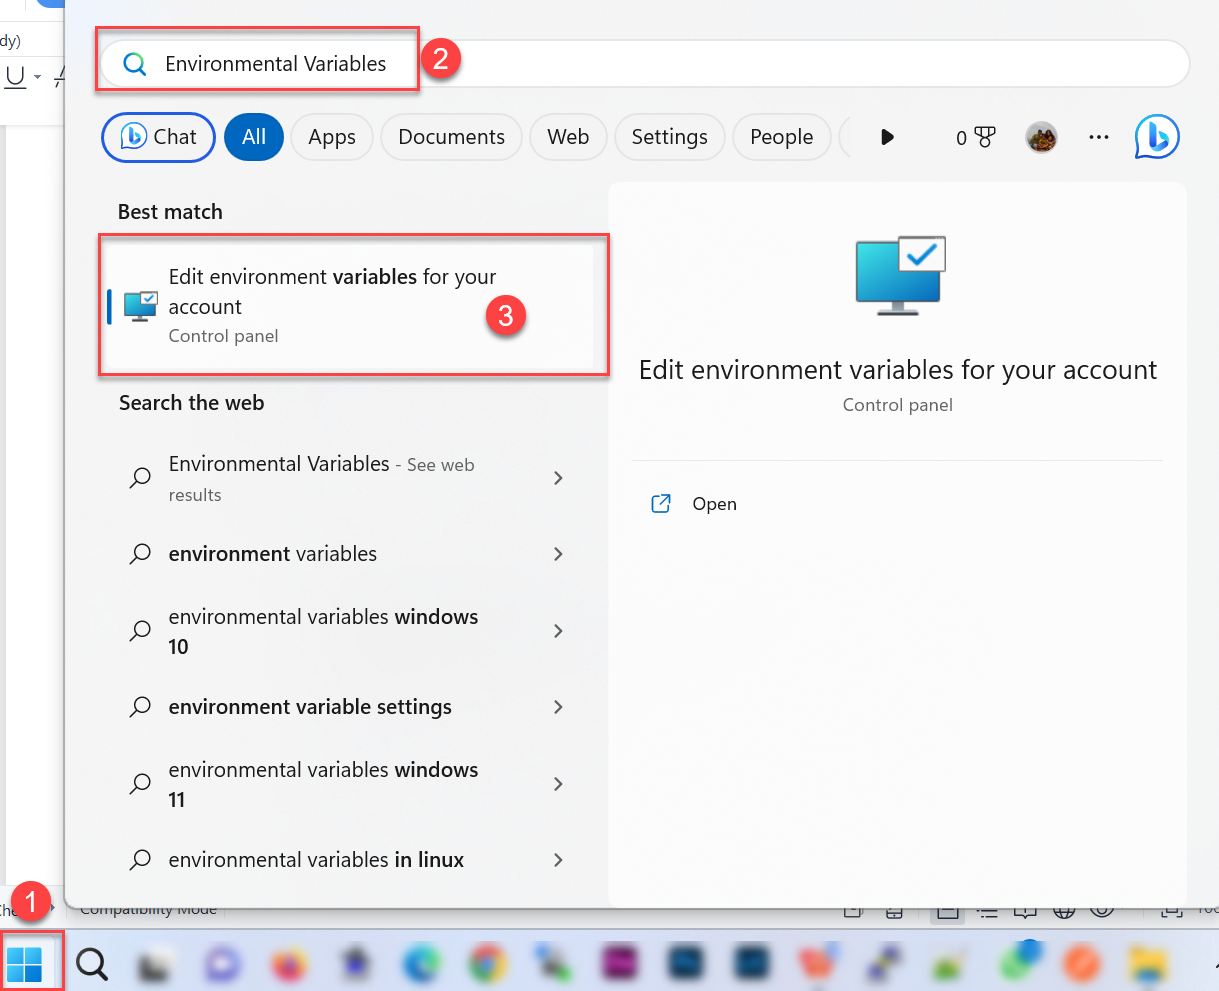
Press the Window key and type “Environmental Variables” and click on “Edit environment variables” button

User System variables window click on Add and add ANT_HOME variables and press OK as shown in the image
Variable Name: ANT_HOME
Variable Value: C:\apache-ant-1.10.9

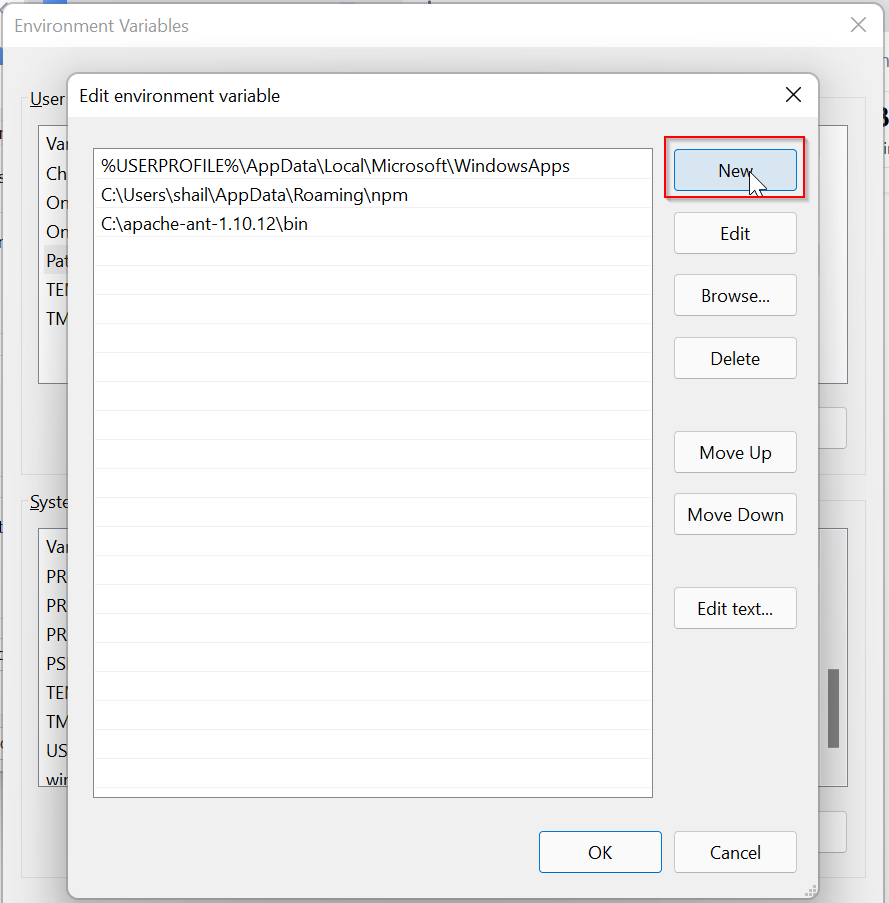
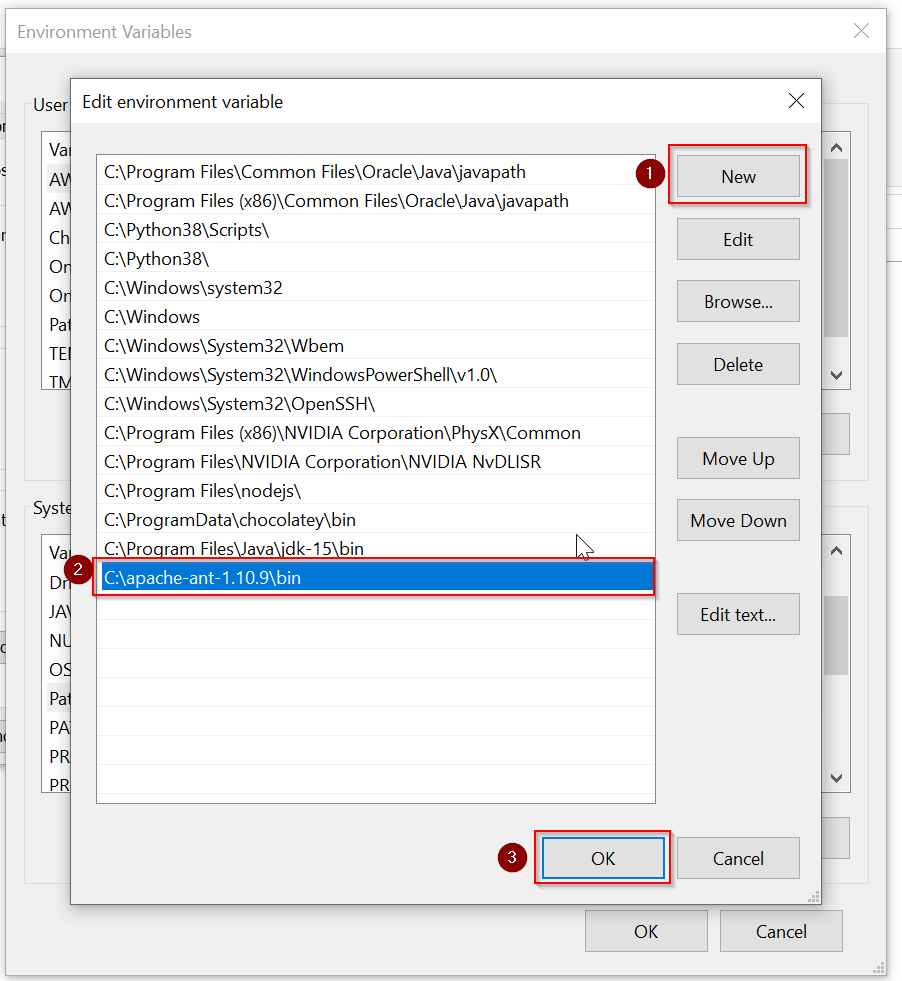
Users then set the “Path” Variable for “Apache Ant.” PATH:
Now under the User variables window select the path and click on the Edit button and add the path for the Ant bin folder
Path: C:\apache-ant-1.10.9\bin
Add <ANT_HOME\bin> (without quotes) as the Variable value, and C:\apache-ant-1.10.9 as the variable value, and click OK.
Step 3: Install Node.js
Node.js is a runtime open-source server environment having all the essentials users need to execute a program. It facilitates JavaScript. Follow the steps given below to download the Node.js:
First, users have to download the Node.js installer. Go to the Windows Installer to download the latest version. It also includes the NPM package manager.
Search on Google for “Node JS” or open the link: https://nodejs.org/en

After the installer completes downloading, launch it. Go to the downloads link, and browse the location to save it.
Users click on Run to run the software.
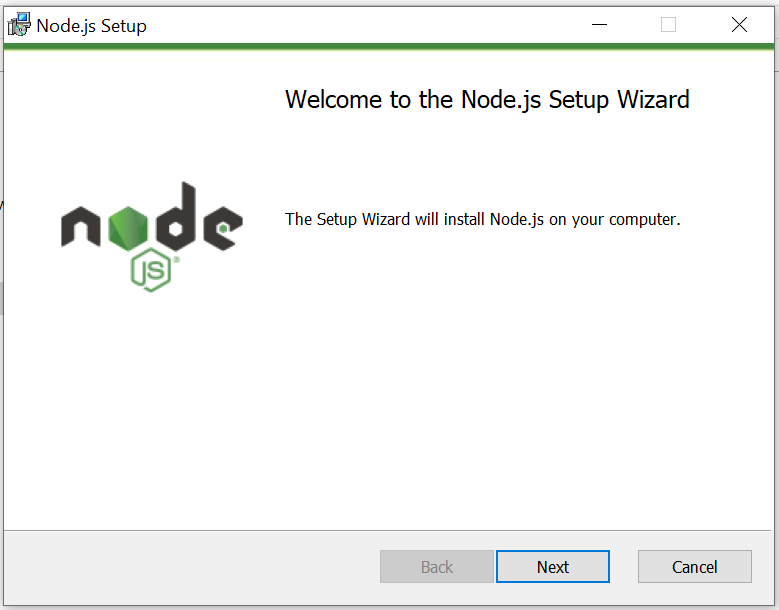
It will open up the Node.js Ninja Setup wizard opens. Next, click on the "Next" option.
Review the license agreement, and click on Next.
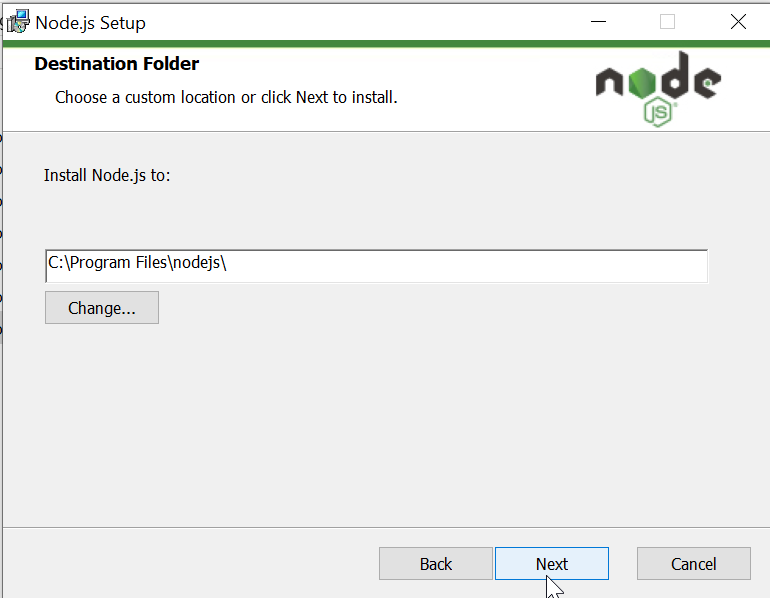
Select the location, and then click on "Next."
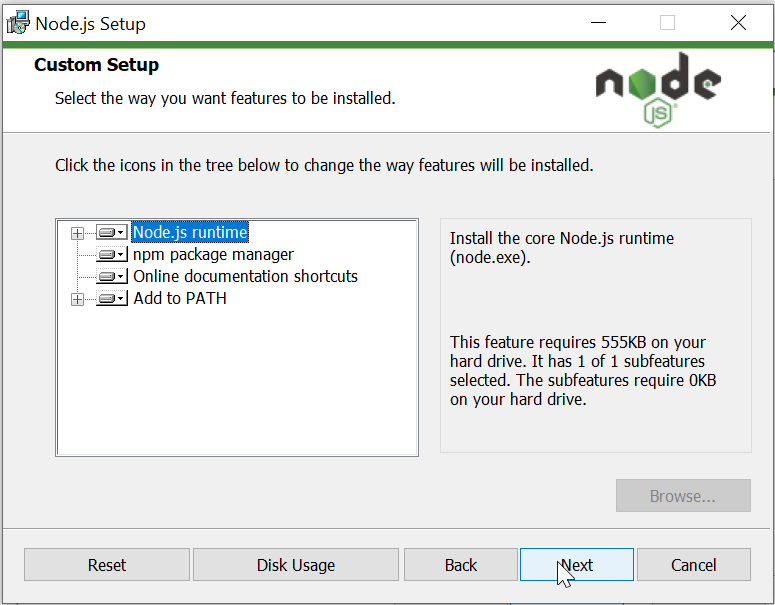
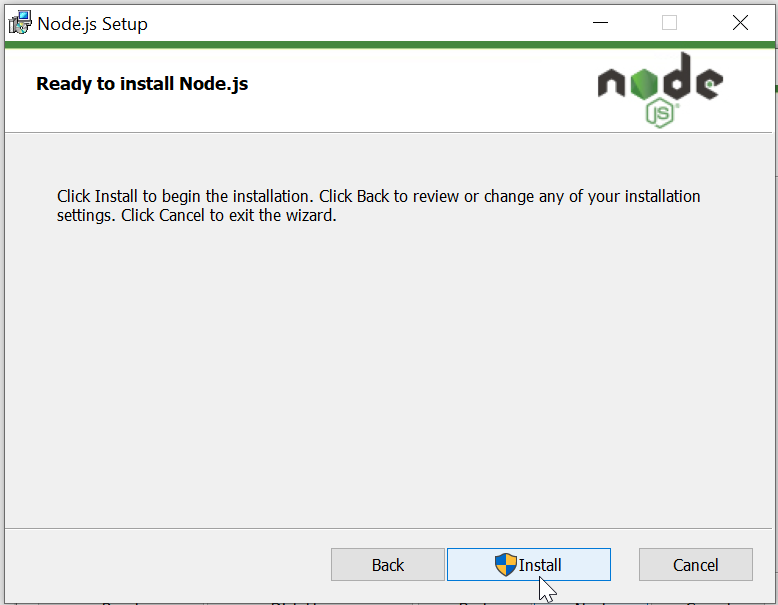
The wizards prompt users to choose the components. They can accept the default choices if it seems okay.
Finally, users have to click on the "Install" button. Lastly, click on "Finish" after the process is complete.
Step 4: Install Android SDK
Users need to set up the Android SDK, which is a must. It helps to develop any software with the help of Android 12 APIs and to test the application with the Android 12 behavior modifications. Users can undergo the instructions below to set up the Android 12 SDK in the Android Studio environment and build and run their app on Android 12.
First, users have to get Android Studio. The Android Studio Arctic Fox | 2020.3.1 or higher is the best.
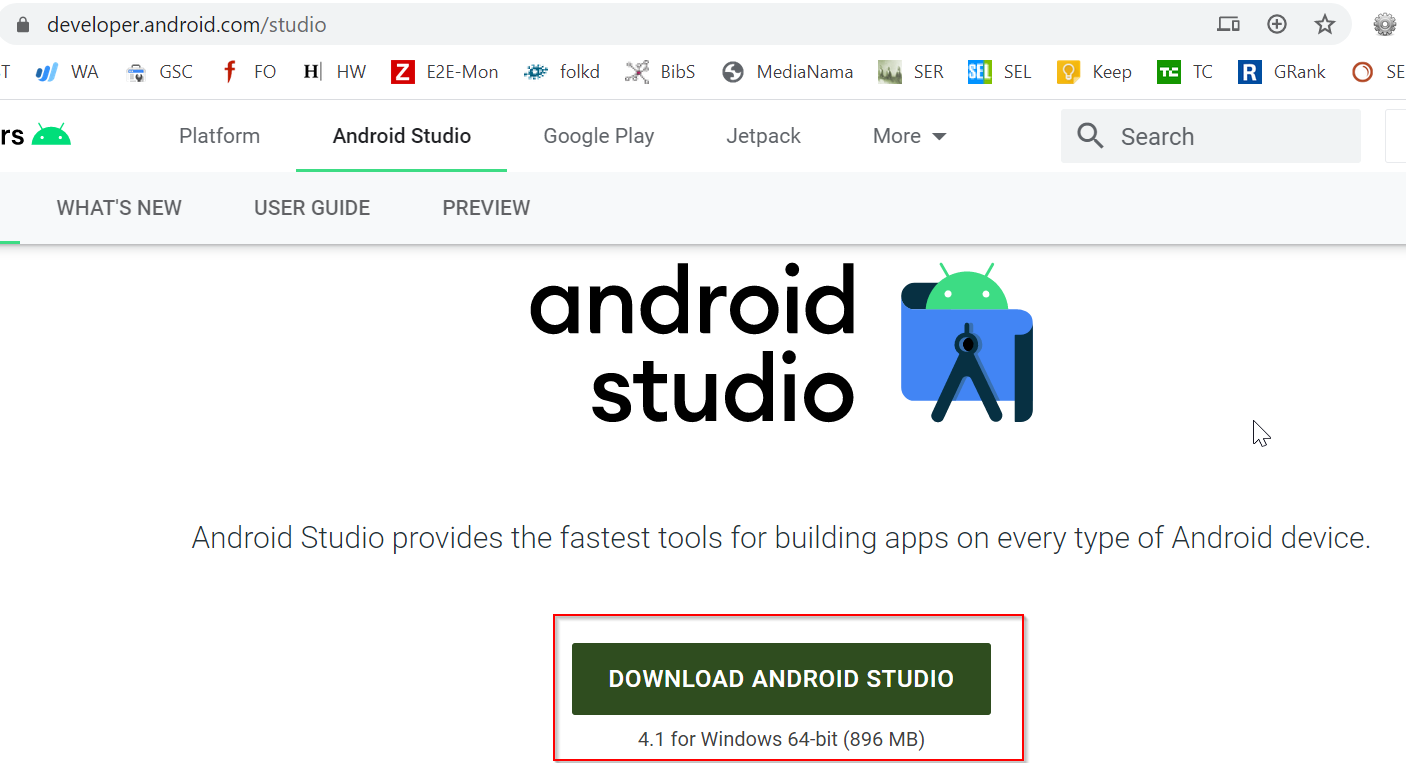
Use the given below link to download Android Studio: https://developer.android.com/studio
And click on the Download Android Studio button
After installing Android Studio, please update the required packages as shown in the figure.
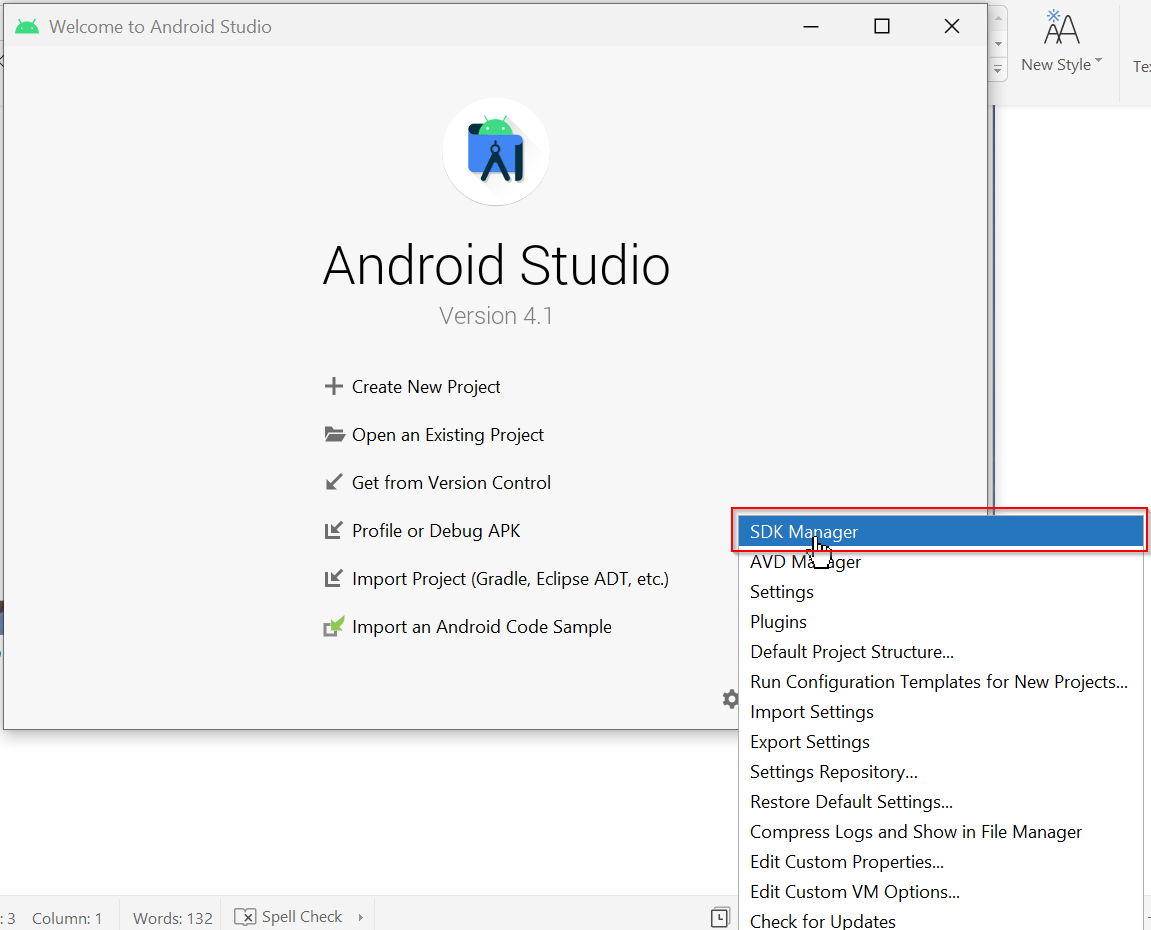
Go to Android Studio >> Click on Configure
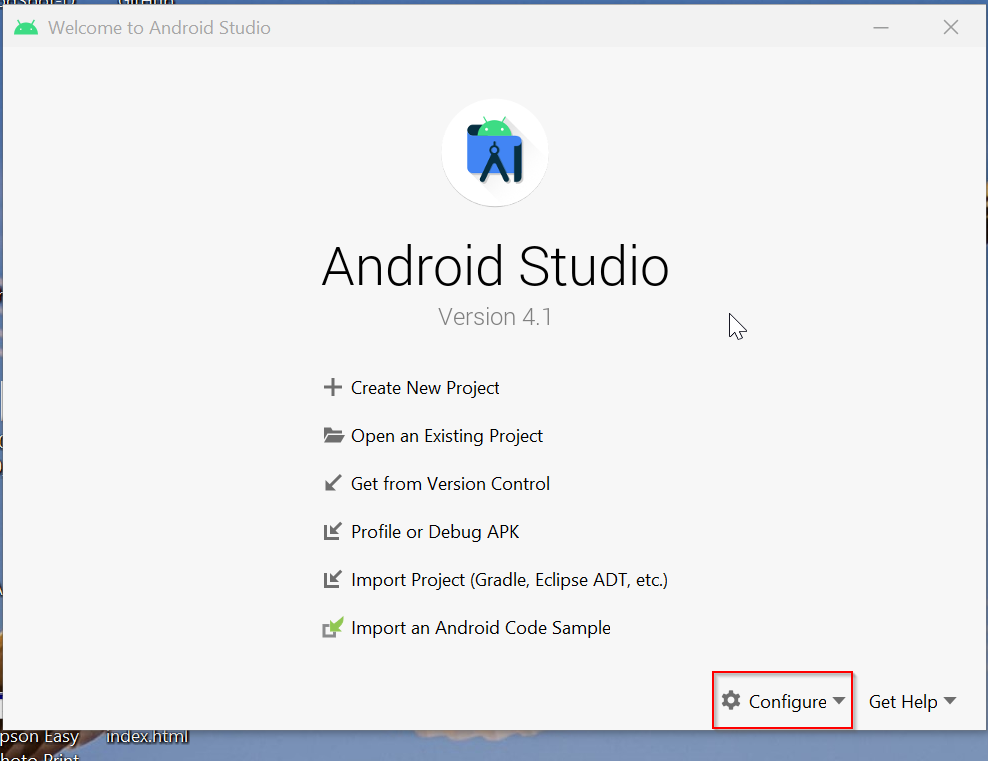
Click SDK Manager
Select the required packages as shown in the figure and press OK

This will install the required packages for Android Studio.
After users have installed all the required packages according to the given instruction, they proceed with the following steps:
Setup ANDROID_HOME variable and Path
Press the Window key and type “Environment Variables” and click on the “Edit environment variables” button
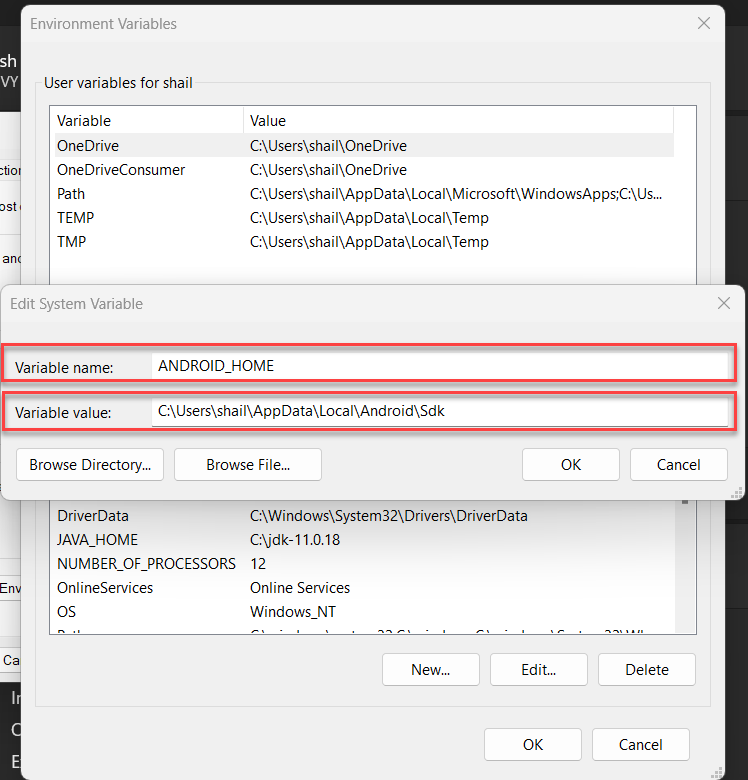
User System variables window click on Add and add ANDROID_HOME variables and press OK
Variable Name: ANDROID_HOME
Variable Value: C:\Users\shail\AppData\Local\Android\Sdk
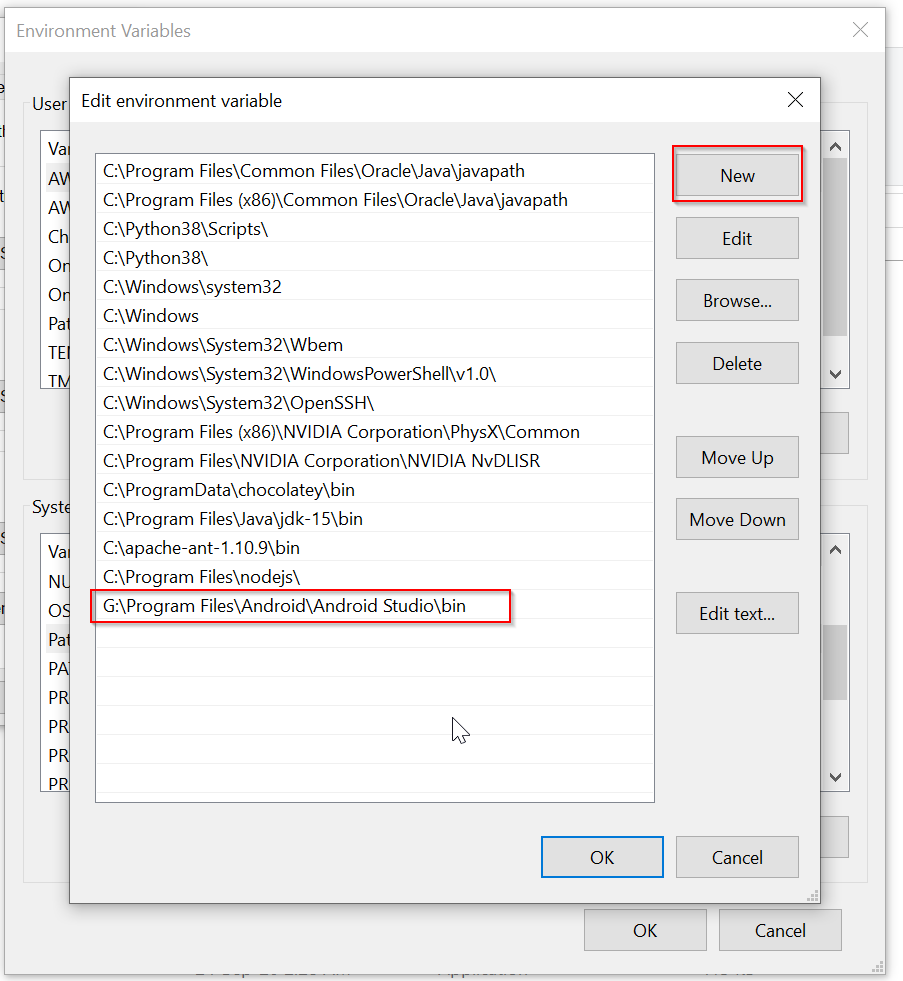
Now under the User variables window select the path and click on the Edit button and add the path for Android bin folder
Path: C:\Program Files\Android\Android Studio\bin
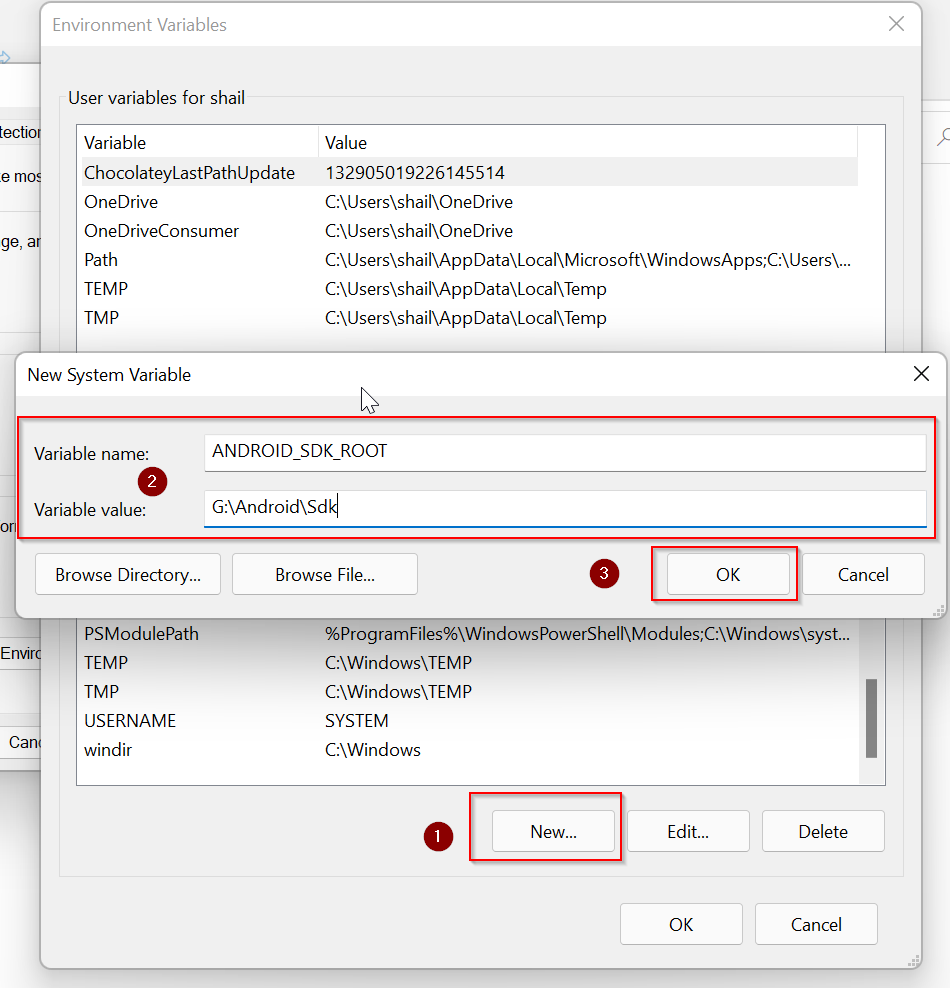
Set Android SDK Root variable and path (Not Required in Cordova 10 and above)
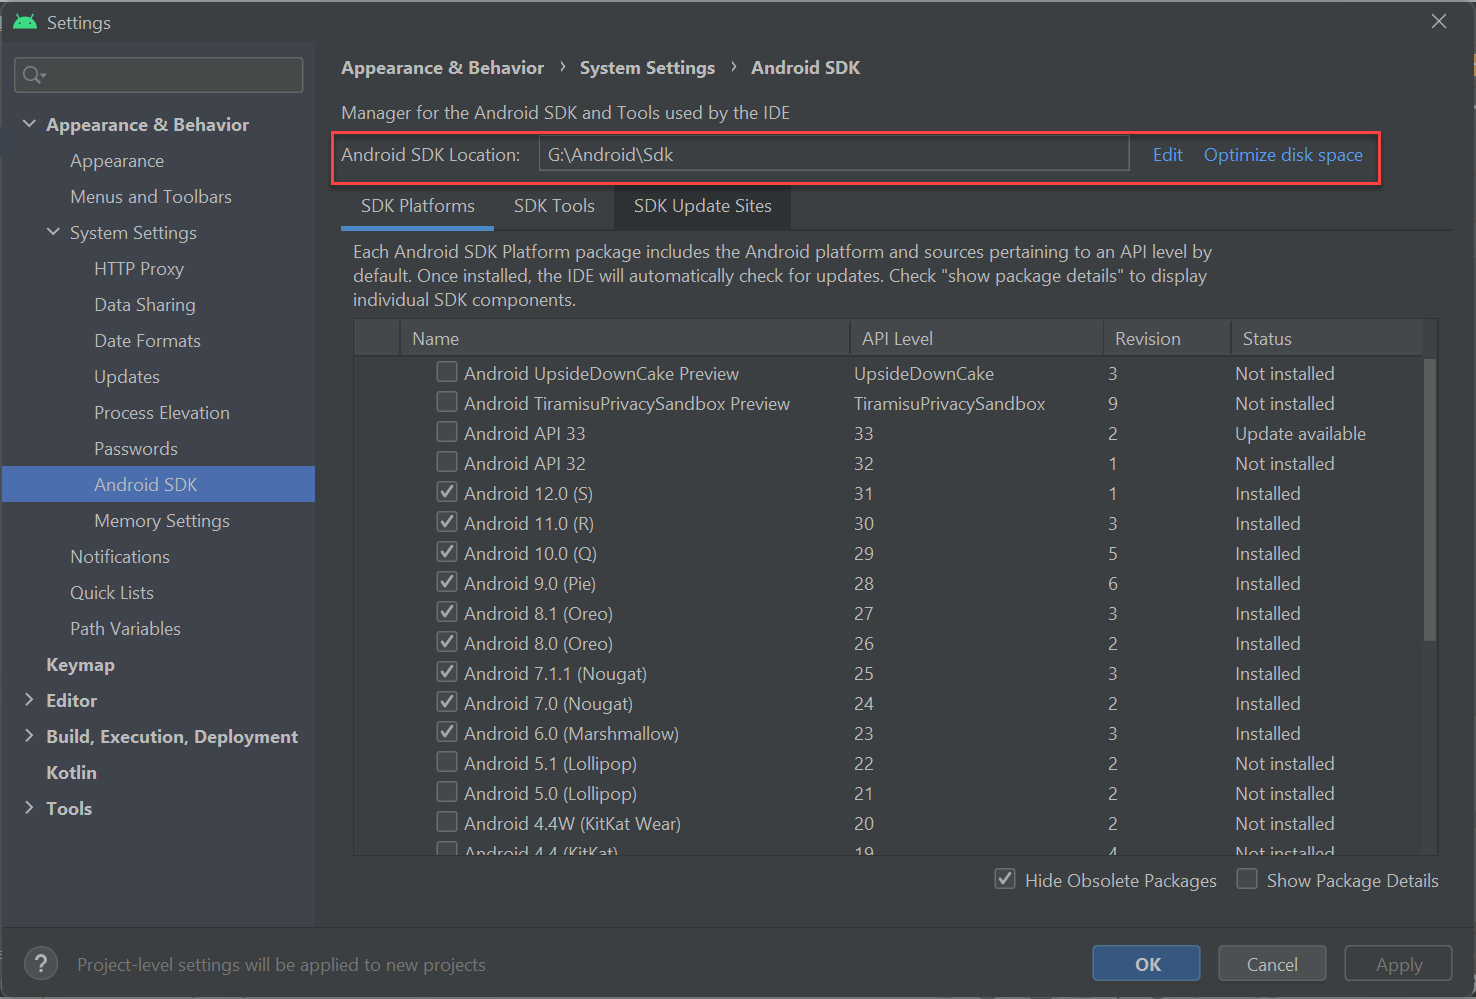
To set Android SDK Root Variable and Path you need to get your Android SDK folder location to do so open Android Studio and click on the SDK Manager button

Under SDK Manager Window you will have the path of the Android SDK
Now add the Android SDK Root path in the environment variable
Variable Name: ANDROID_SDK_ROOT
Variable Value: C:\Android\Sdk
Path to your Android Sdk installation folder
Restart the system to update all settings.
After completing this process, users can check whether Android got configured in their system. Users type the command 'Android' and open the Android SDK Manager to do this.
Step 5: Install & Configure Gradle
Use the below link to download the open-source build automation tool which is flexible and allows users to create any type of software.
https://gradle.org/next-steps/?version=6.7&format=bin
Note: Users can install the open-source build application tool on Windows. If they want to upgrade Gradle, they can use the Gradle Wrapper. Use the Manual installation, which is easy. Users can follow the steps mentioned below:
- Download the latest version of Gradle Distribution.
- Users will get the distribution zip file in two variants: Binary-only and Complete all docs.
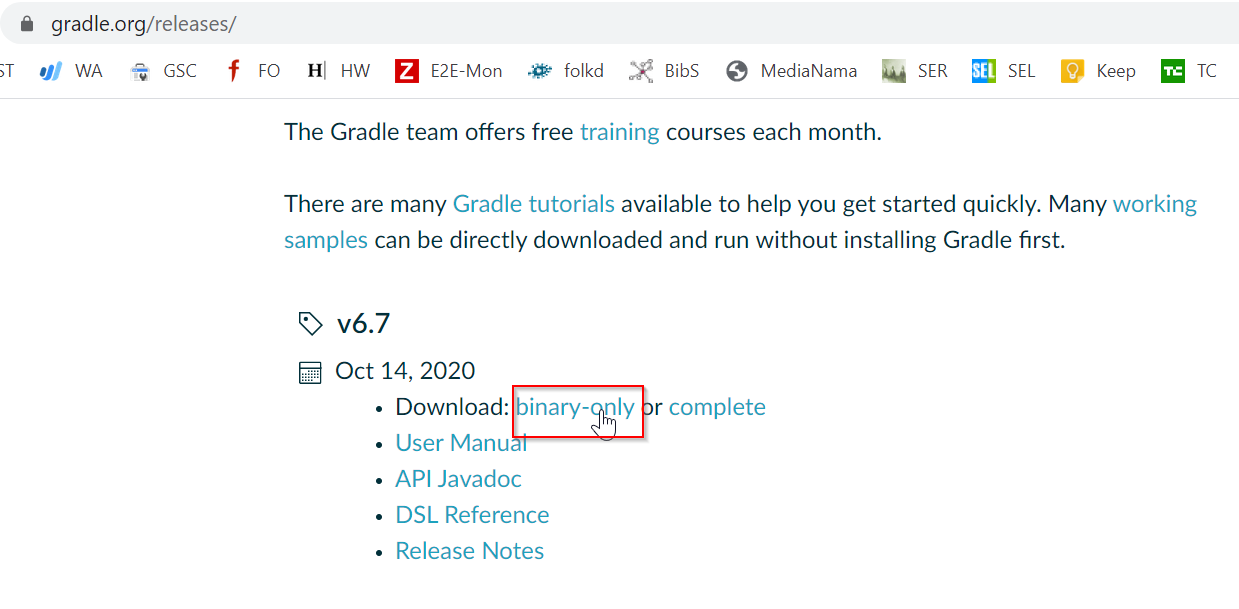
Users need to download the “binary-only” version.
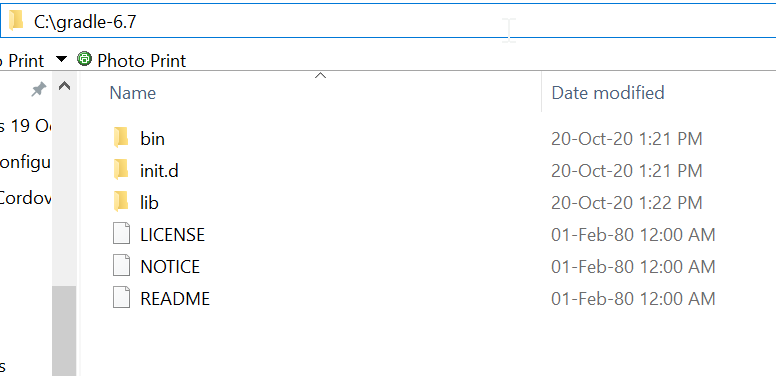
Extract the zip file in C:\ drive (or where you want to install it)
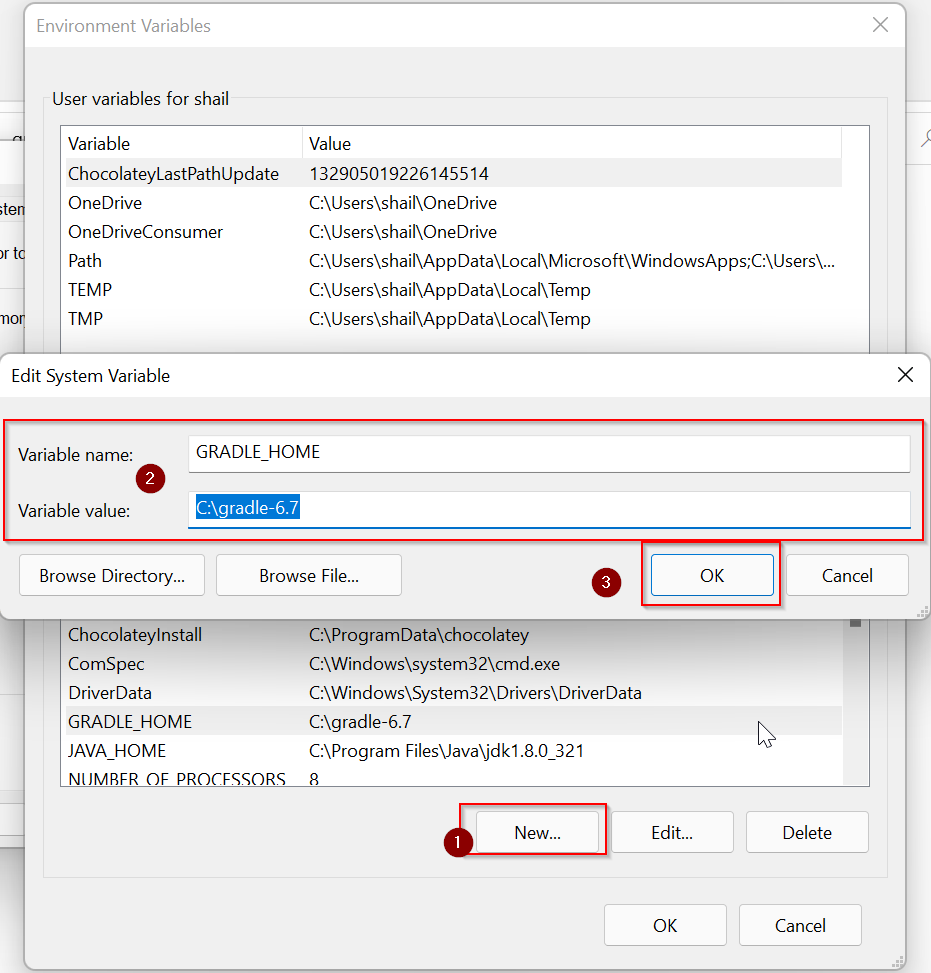
Add Gradle environment variables and path.
You the same procedure to add environment variables and paths as we have done in Step 1
Variable Name: GRADLE_HOME
Variable Value: C:\gradle-6.7
Add Gradle Path variable
Path: C:\gradle-6.7\bin
Step 6: Installing Cordova
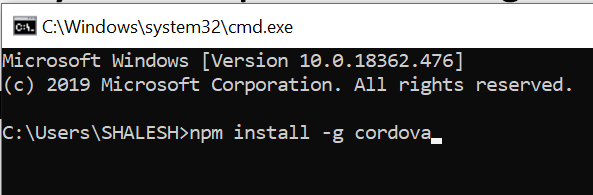
Users can install Cordova easily using the Node Package Manager.
Type the following in the command window to install:
npm install -g cordova.
The g- flag enables downloading the global module.
Users can test whether they have downloaded Cordova by typing the following command:
cordova --version
If users can see the version number in the prompt, they must have successfully installed Apache Cordova.
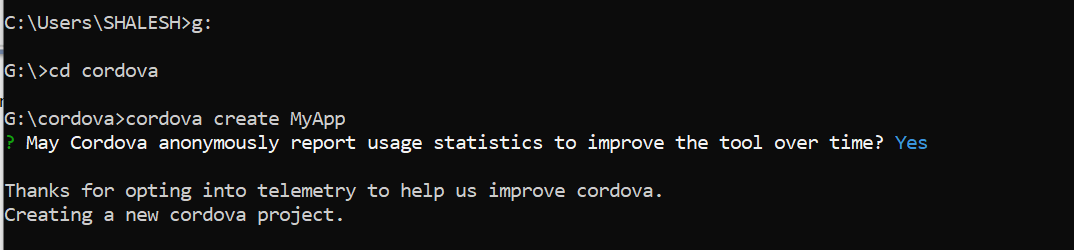
See the above command created as a project under the "cordova" folder "MyApp."
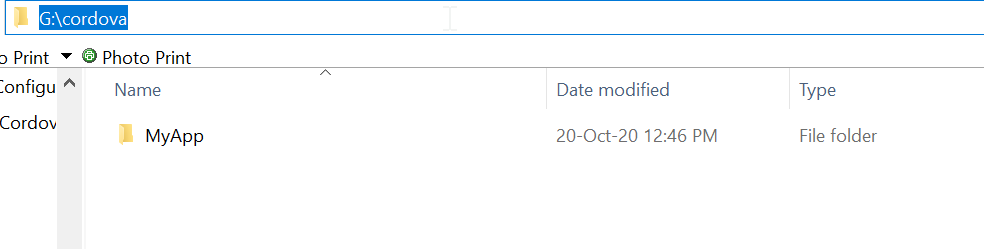
After creating the Cordova project, navigate to the project directory
cd MyApp.
Adding the Android platform To Cordova
Now check whether all the remaining commands run on the individual file directories. Users add all the platforms that they want their app to work on.
Type the following command to check:
cordova platform add android
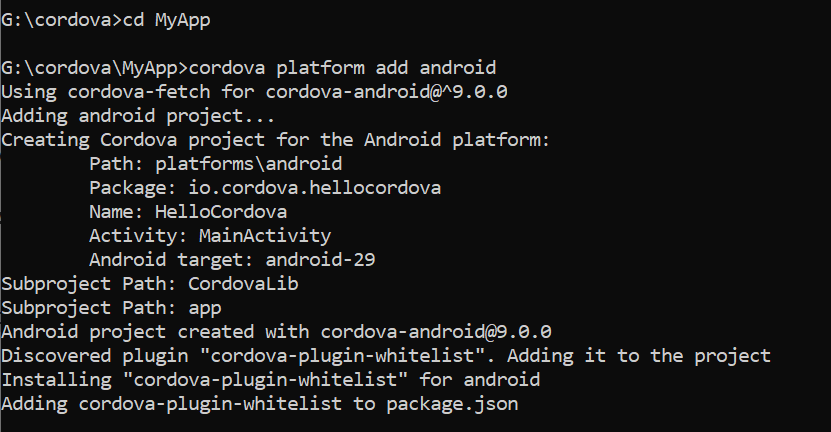
It will add an Android platform for the application.
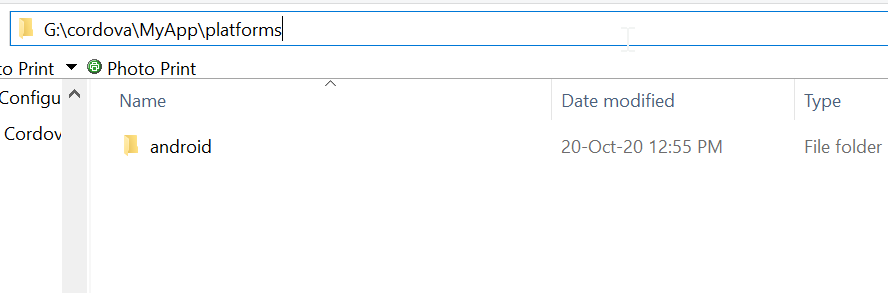
Users can check this once they navigate to the “\MyApp\platforms\” folder.
Step 7: Run Cordova App
Run the application on Android Emulator.
cordova run android
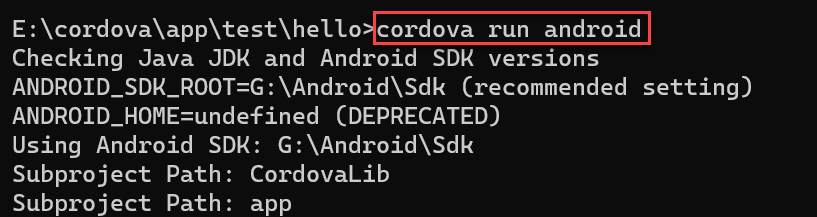
It will run the app.
Users have to open Cordova Application in Android Studio
To run the application in Android Studio, users open the Android Studio and go to the application in Android Studio by opening hello\platforms\android folder.
Lastly, click on the OK option.

Step 8: Open Cordova App in Android Studio
Run the app in Android Studio Emulator
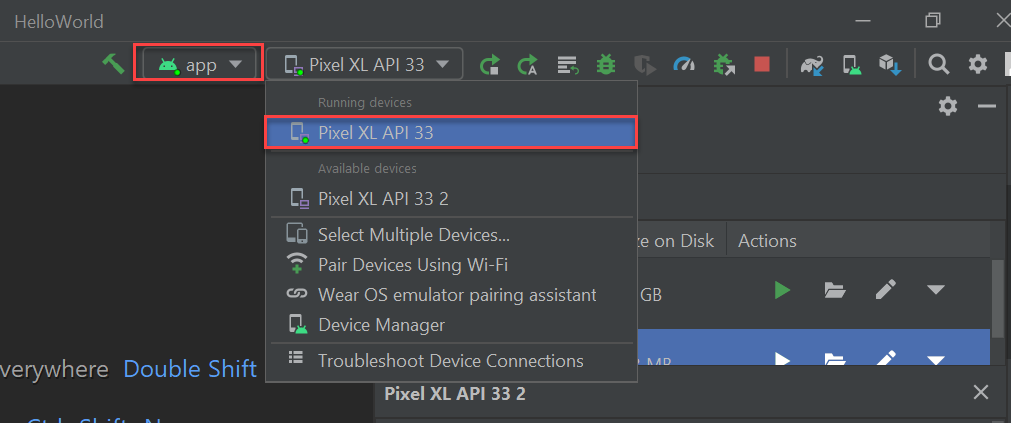
To run the application in Android Studio Emulator, users need to choose the emulator in Android Studio “Device Manager” as shown in the screenshot below
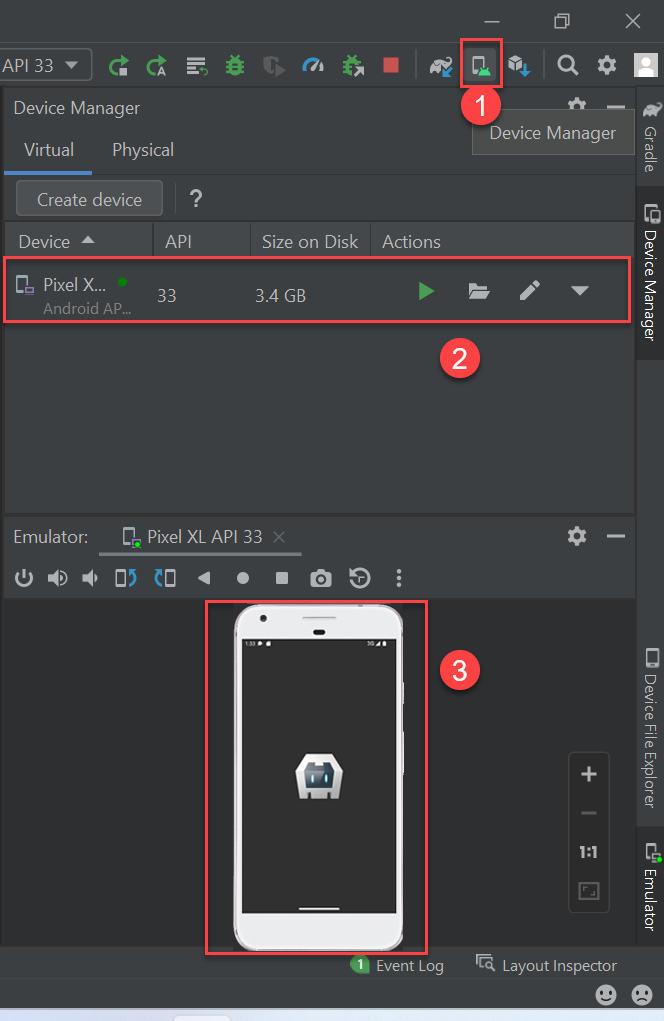
But before that, users need to create a virtual device in the device manager if they do not have pre-installed in the system.
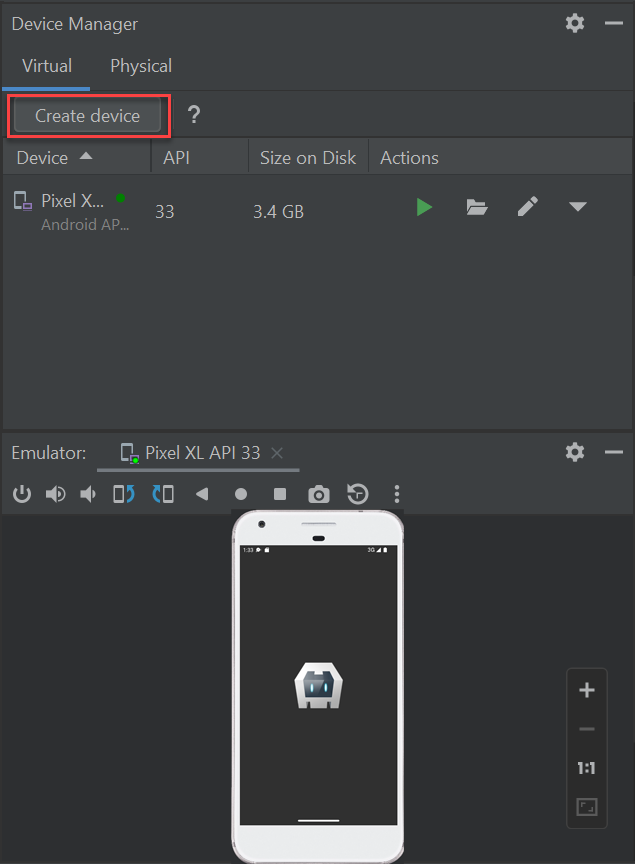
Step 9: Create a virtual device
Go to Device Manager and click on Create Device button
Select the Category > Phone, Name > Pixel XL or any phone users want to install and then select the “next” option.
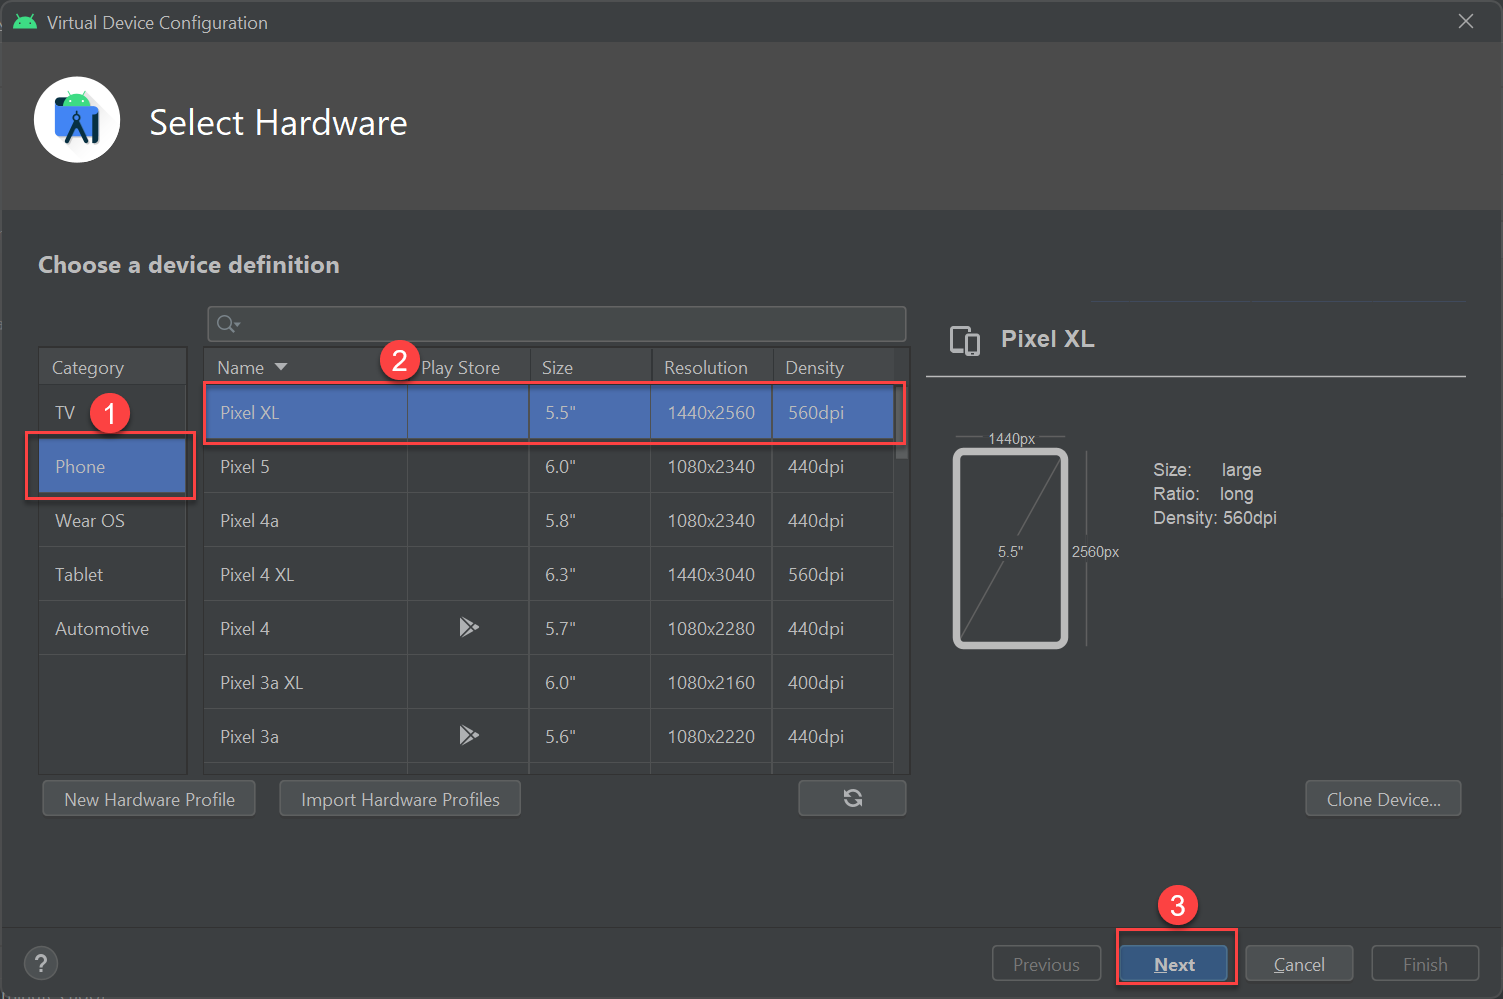
Following the next step, it will ask for the “Select Hardware.”
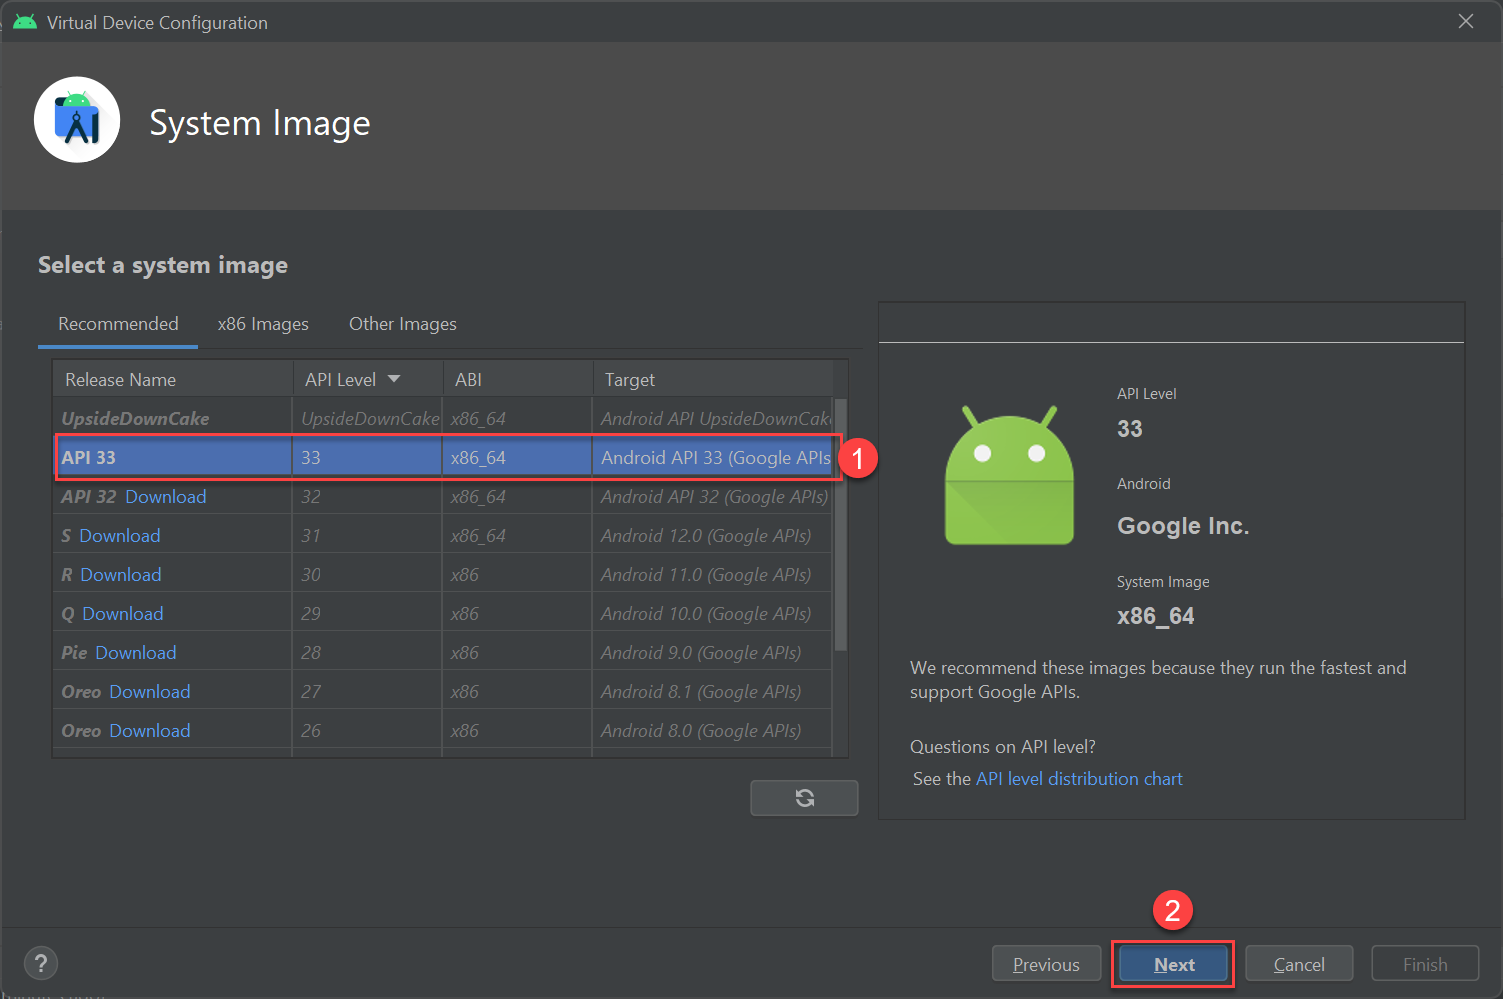
Here, users get the summary of the device and after this click on finish.
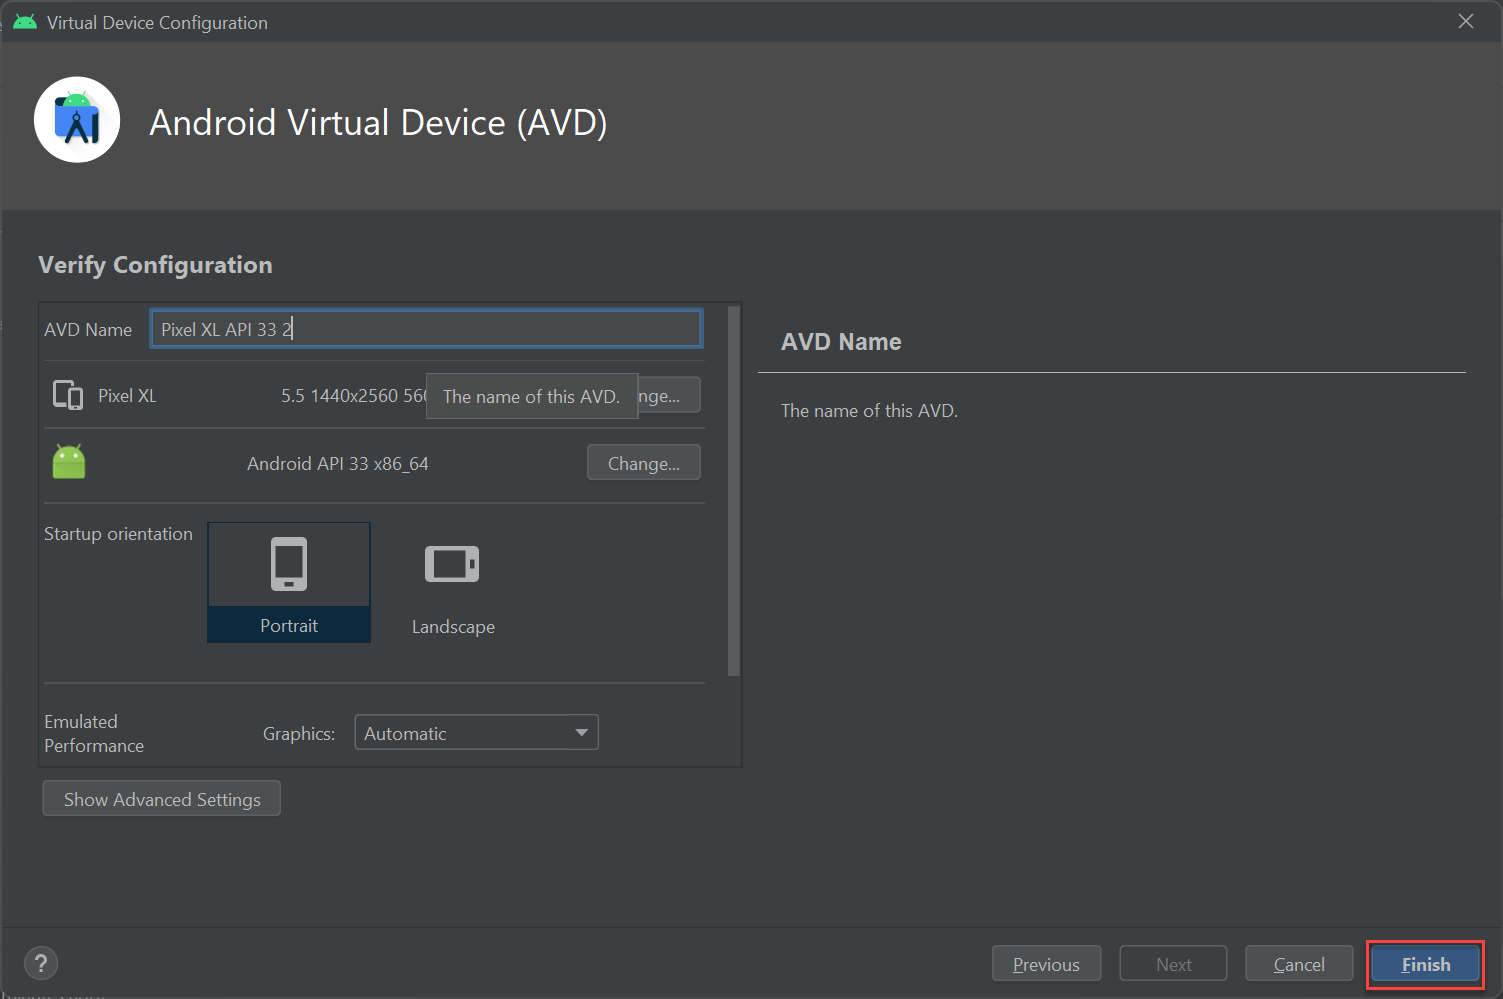
Now users can see the newly created device in the available Android device.
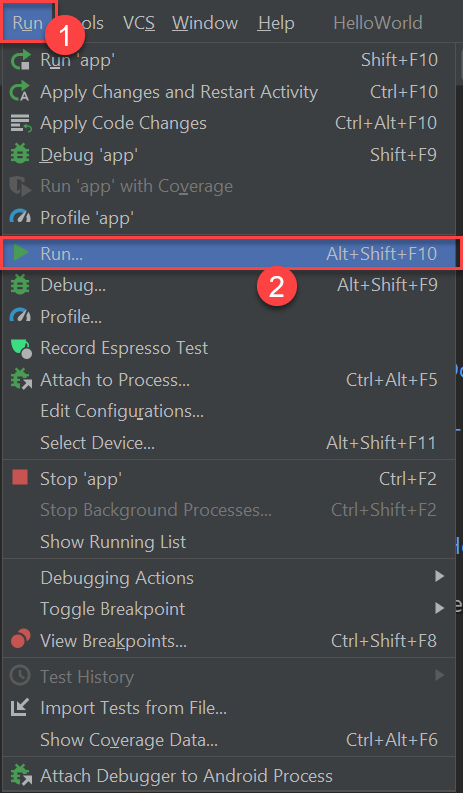
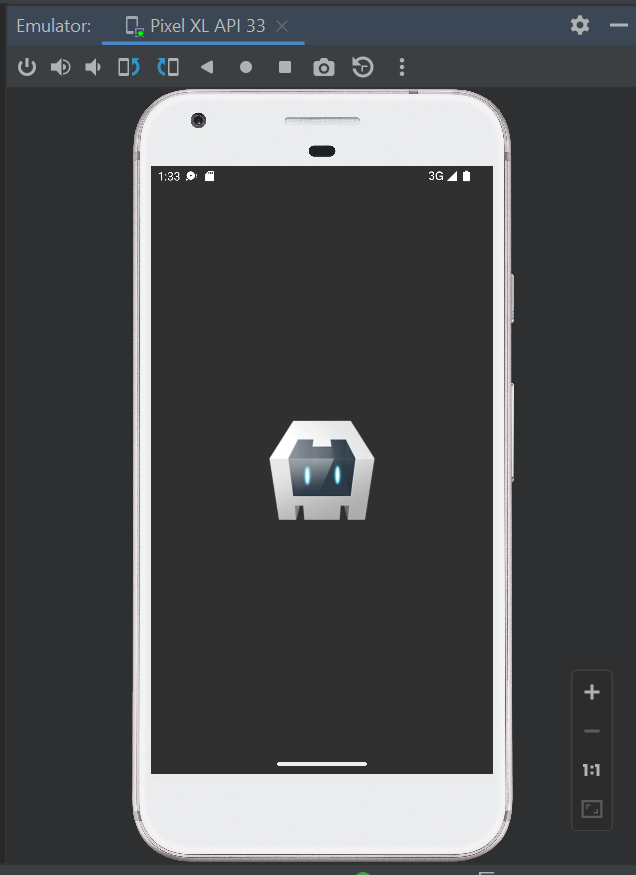
Step 10: Run the application on the virtual device
Next to run the application on the emulator click on Run, and again Run.
Step 11: Generate a Signed Bundle
For distribution purposes, users need to create a "Signed Bundle." Then they have to generate a "Signed Bundle."
Lastly, click on Build >> Generate Signed Bundle/APK
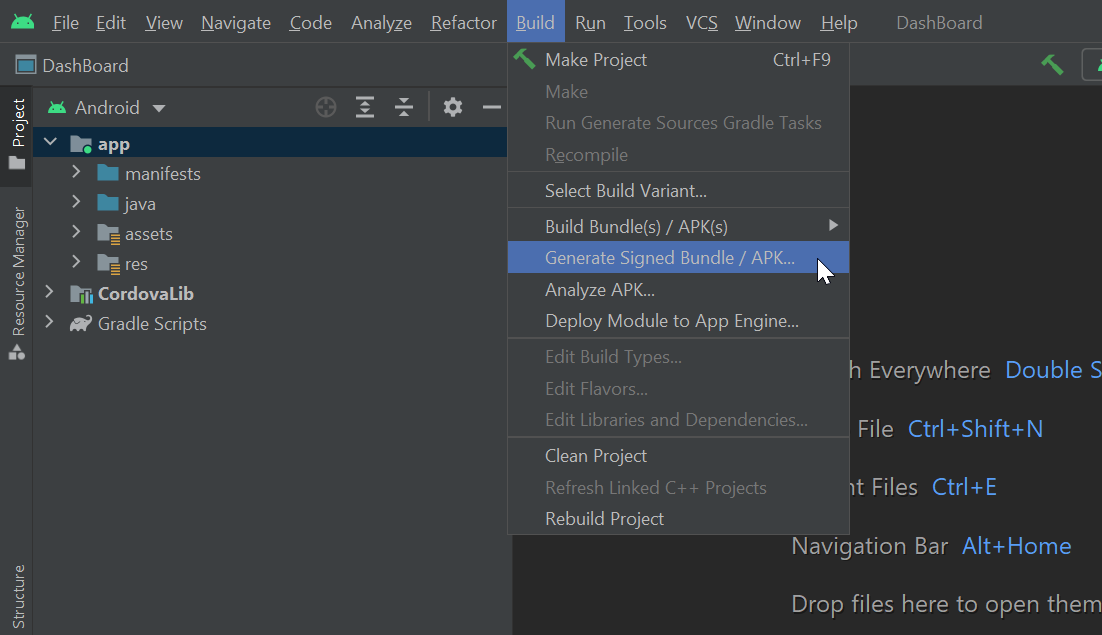
Following the next step, it will ask for the type of “Signed Bundle” or “APK.”
Signed Bundle, for uploading on the app store and APK, for installing on an Android device
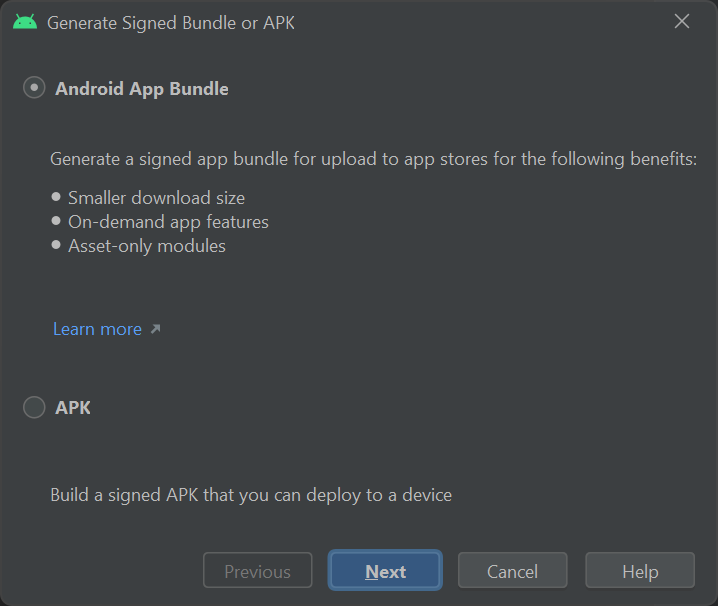
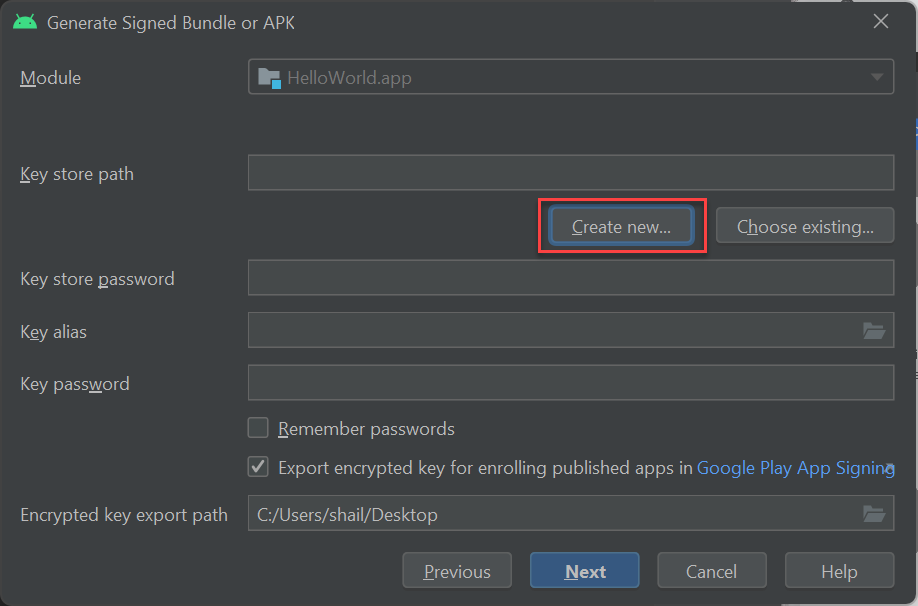
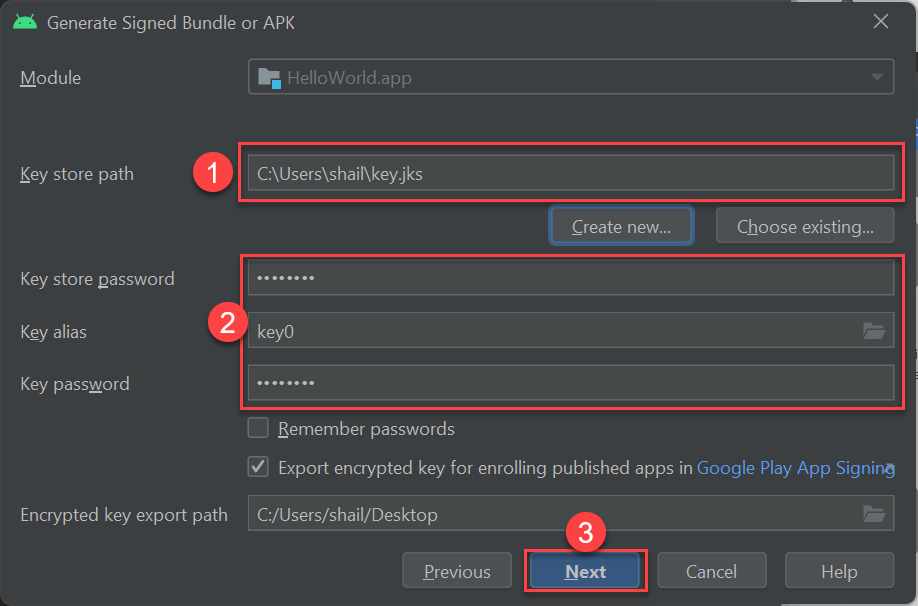
Users can generate a "Signed Bundle" to upload to the app store.
As users need to upload this, they have to use the Key. If they do not have the Key, it will ask them to create it by clicking on Create new button.
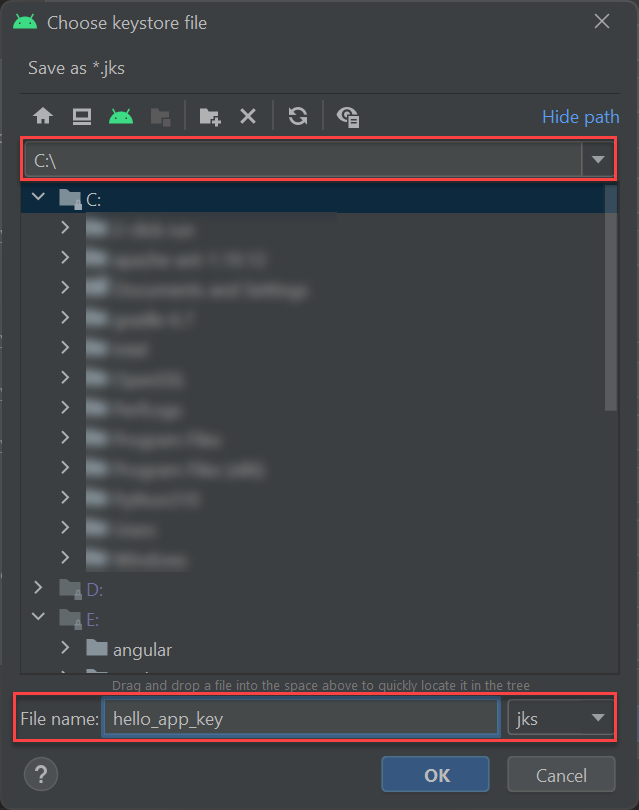
Set a file name and click on the OK option.
Following the above step set a password and confirm the password
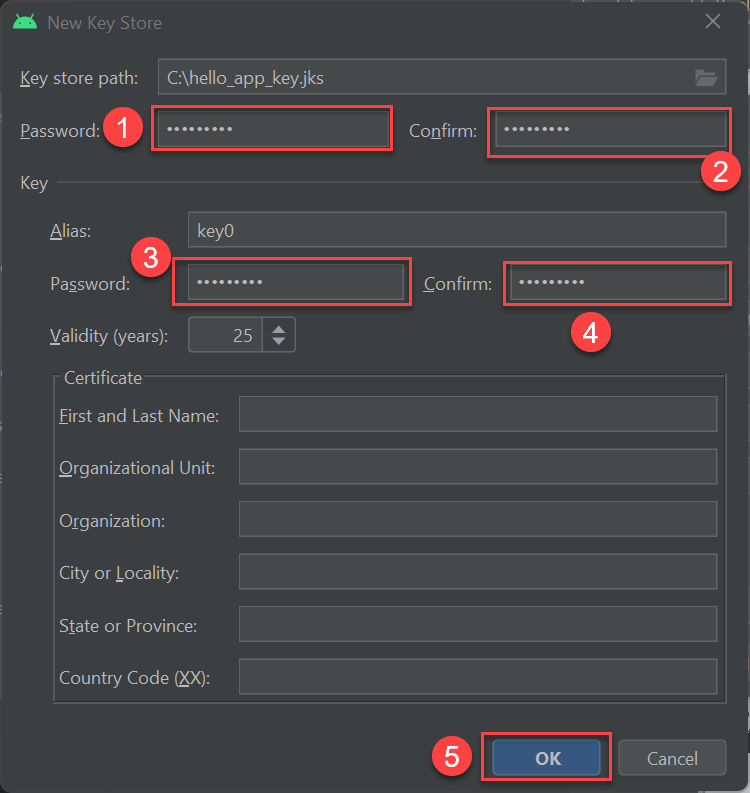
And click OK
Following the above step, users will get a location of the output to debug and release the file.
Then it will ask for the debug/release build type
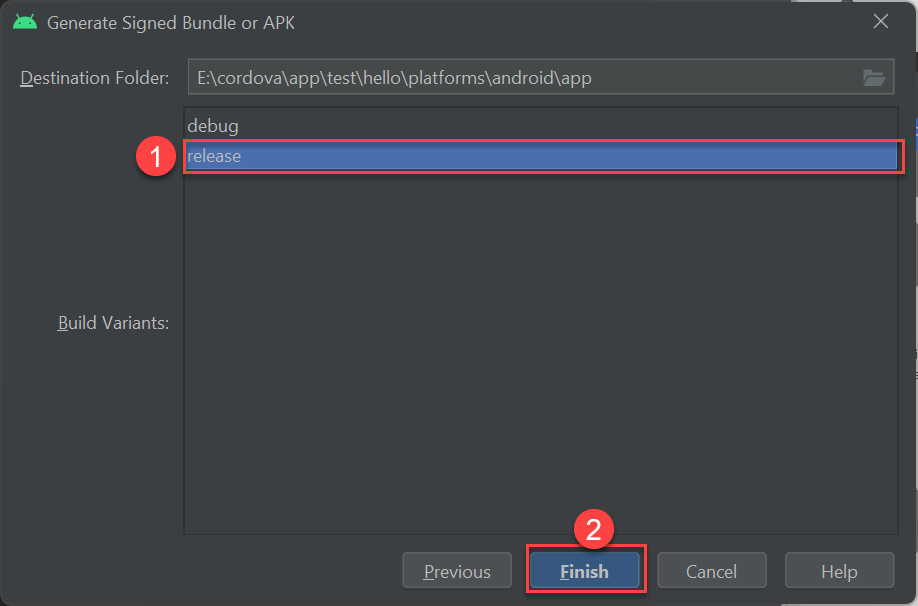
Next, click on the Finish option to generate a build.
As users have to upload the app store, in this case, they are using a release build.
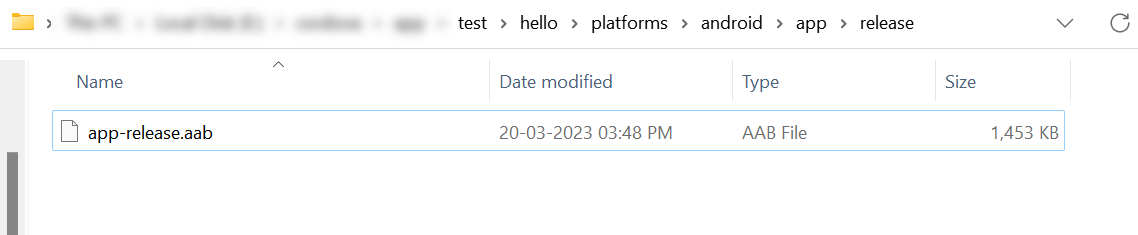
Finally, it will create a release build.
Conclusion:
Finally, after completing all these steps, users can install Cordova & Android SDK on Windows 7, 8 & 10 to develop Mobile Applications using HTML5, JavaScript & CSS. We hope this article has given a crisp idea of all the requirements, installation, and configuration processes needed.