Make Background Transparent in Paint 3D
Sometimes, you may want the background of an image to be transparent. This makes the image look awesome! A good option is using Paint 3D. This tutorial explains how to make the background of an image transparent using Paint 3D.
You can get a Paint 3D transparent background using these steps –
- Using the Magic Select tool
- Add area using ‘Refine your cutout’ option
- Removing Image from Background
- Create Transparent 3D Object or Text
- Save Transparent Image
Please follow the steps below to make a transparent background in Paint 3D:
1.Open Image in Paint 3D
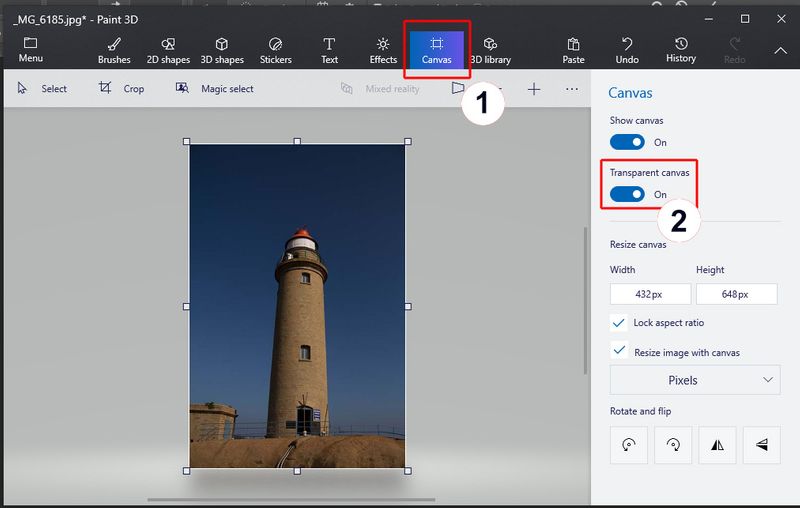
2. Select 'Canvas' >> and switch on 'Transparent Canvas' button
3.Select 'Magic Select Tool' from the top toolbar
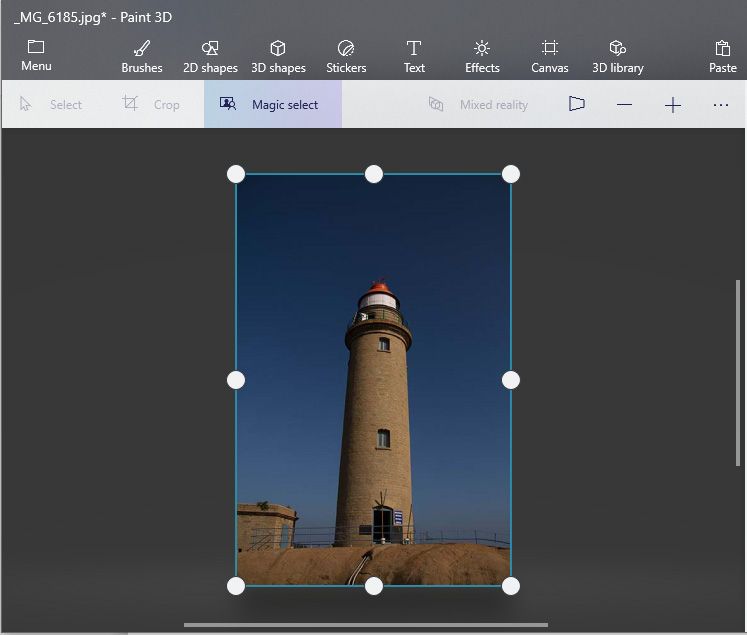
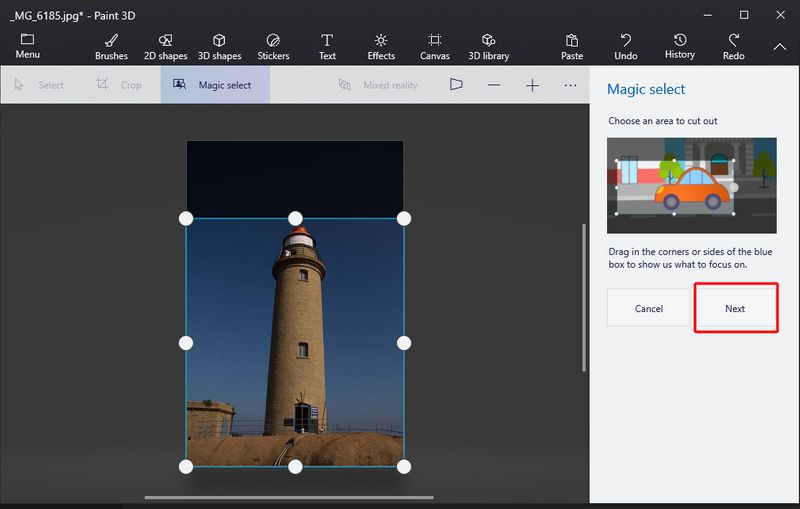
4. A 'Selection Box' will appear around the image. Using the corner and sides of the 'Selection Box' select that portion of the image for which you want to change the background to transparent. Then click 'Next' (in our image we want to take lighthouse and remove Blue Sky).
5. In the next screen Paint 3D will automatically recognize the object in the 'Selection box' to remove the background.
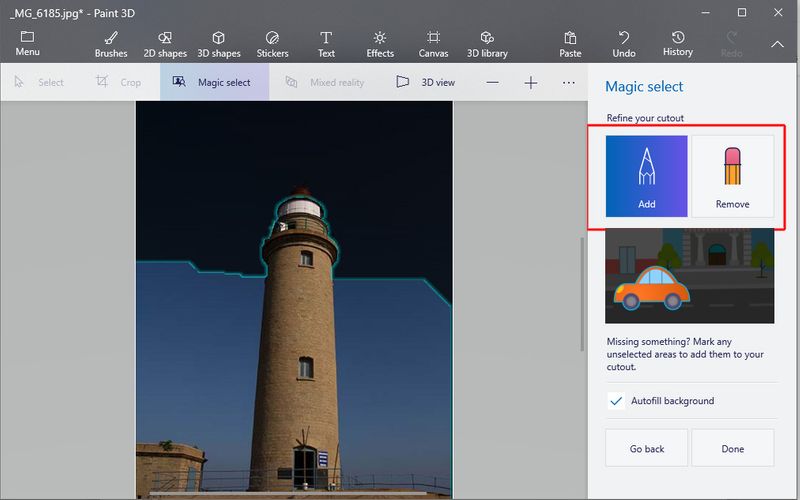
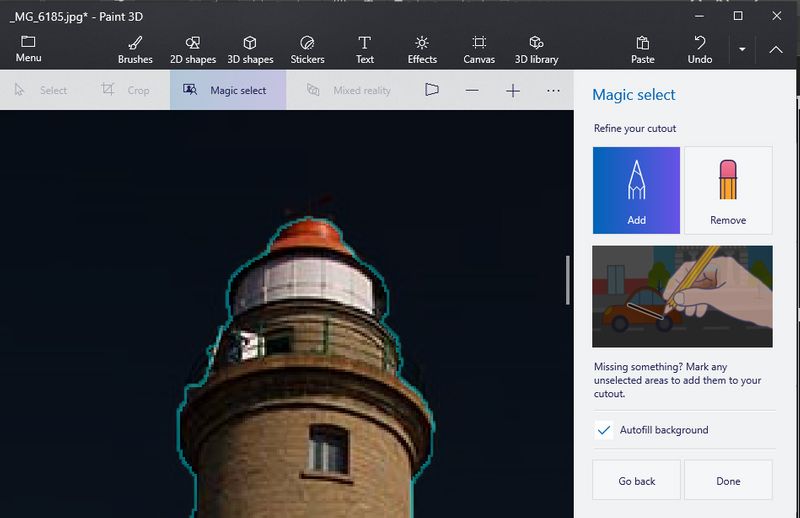
6. In case you are not satisfied with the auto-selected object by Paint 3D and want to add or remove anything you can use ‘Refine your cutout’ option to Add or Remove part of the selection.
Note: In our case, you will notice Paint 3D auto-selection excludes the uppermost part of the lighthouse, therefore, using ‘Refine your cutout’ we will add the uppermost part of the lighthouse into the selection.
Add area using ‘Refine your cutout’ option
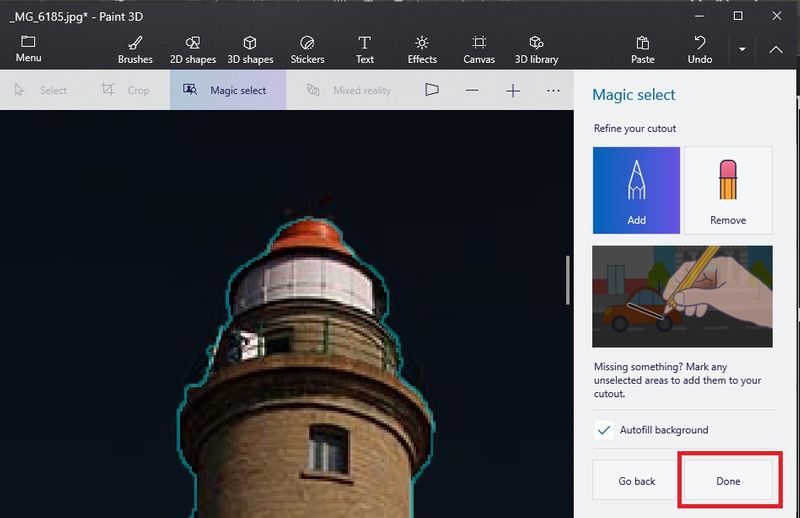
1) Click on 'Add Pencil' icon and select part of the image you want to add in your selection.
2) Then click on 'Done' button
Removing Image Background
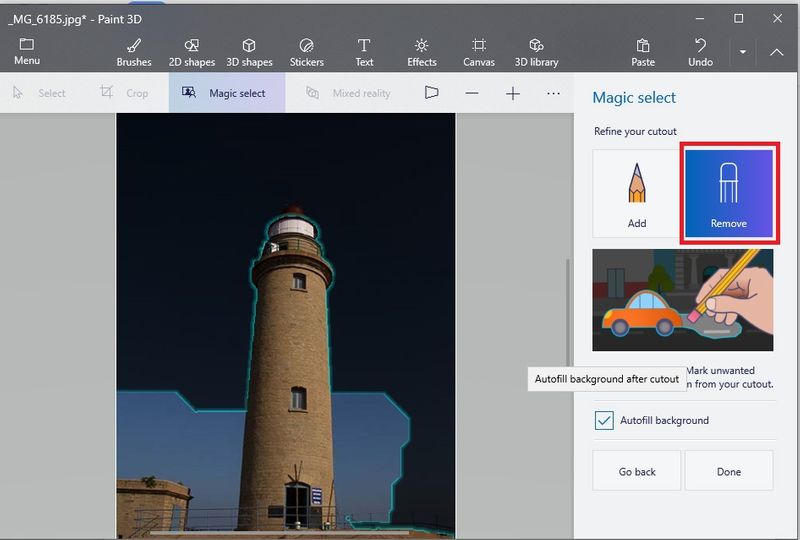
1) In this image, we want to remove the blue sky background
Therefore select the 'Erase Remove' tool and drag it over the blue sky area of the image.
2) Now 'drag and extract' the lighthouse image from the background, as shown below
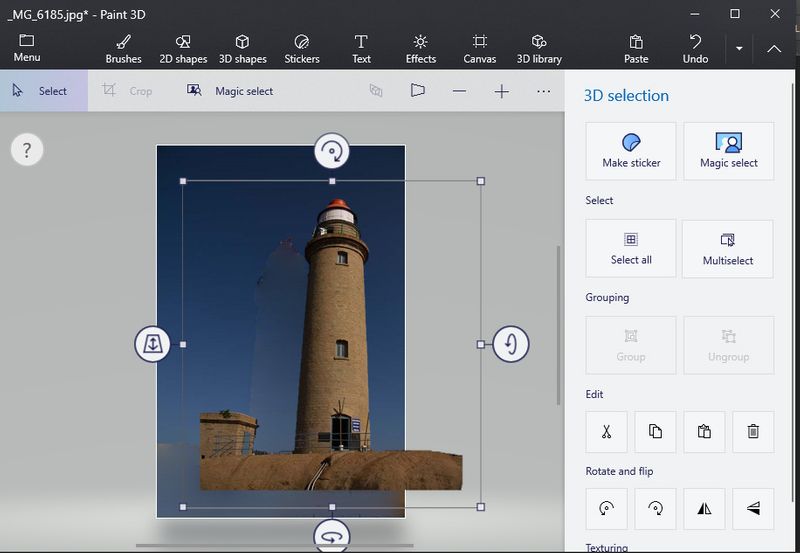
3) Drag and drop the Lighthouse image to one side of the screen
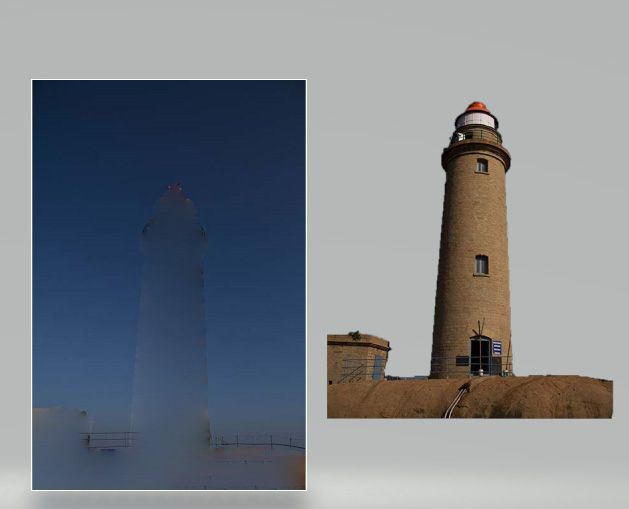
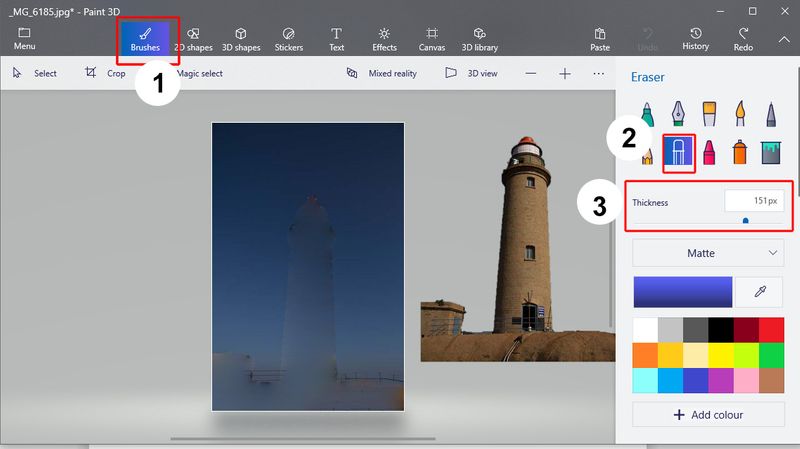
4) Select 'Brush Tool' from the top bar and then select the 'Eraser' icon from the Brush tool property window.
5) Increase the thickness of the brush.
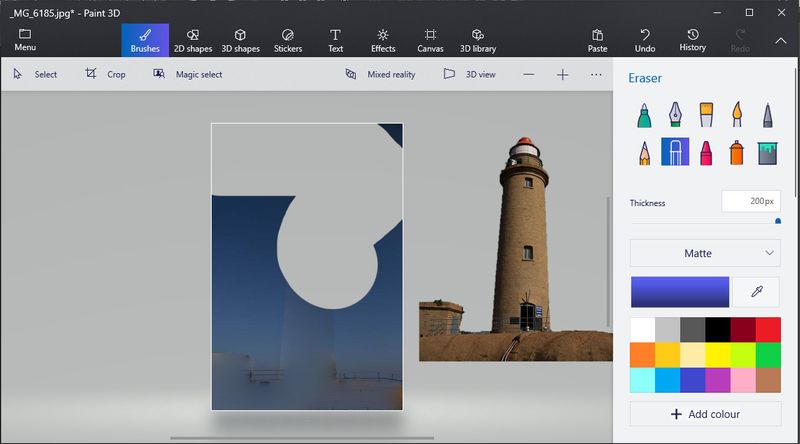
6) Drag the brush over canvas background in order to erase the background.
6) 'Drag and drop' your image back on the canvas with the help of selection tool
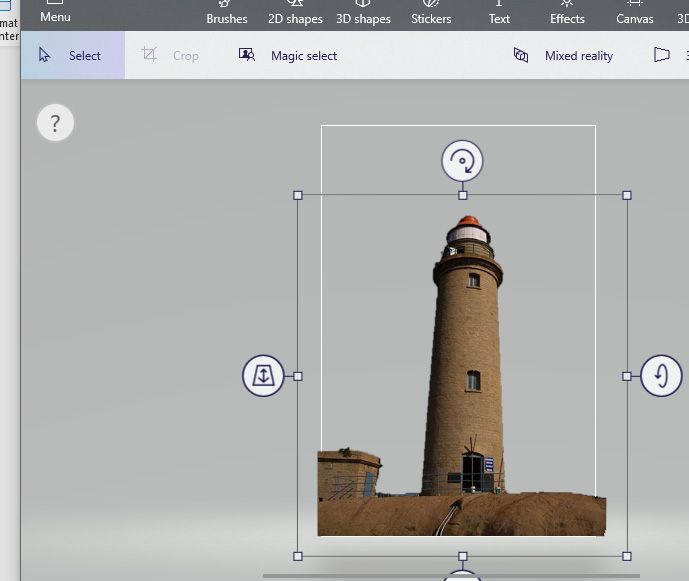
Now we have our transparent image in the canvas.
Create Transparent 3D Object or Text.
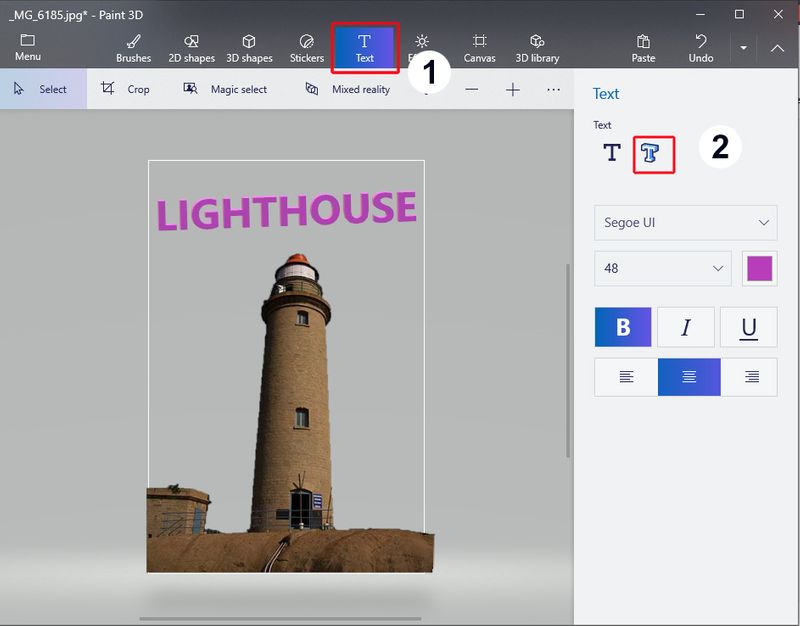
1) Select Text Icon from the top menu and then select 3D Text from the Text property window.
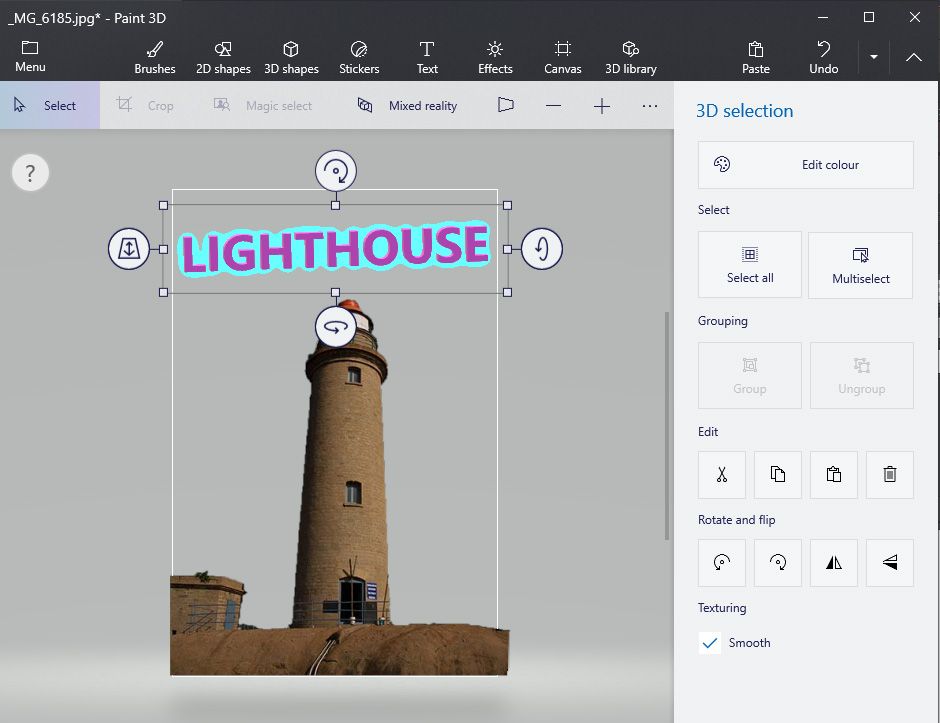
2) Now Type text on-screen for example. “LIGHTHOUSE.” A 3D Text object will be created on the Canvas.
As this text is a 3D object, it will have 3D options like rotate on z-axis & y-axis as shown in the image below.
Save Transparent Image
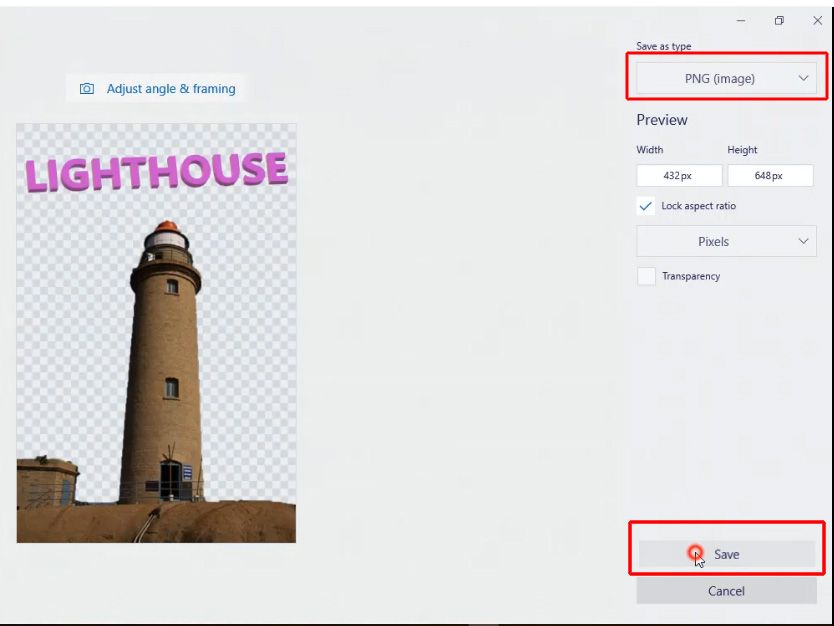
1) Now after deleting the background from your image, you need to save the transparent image on your local.
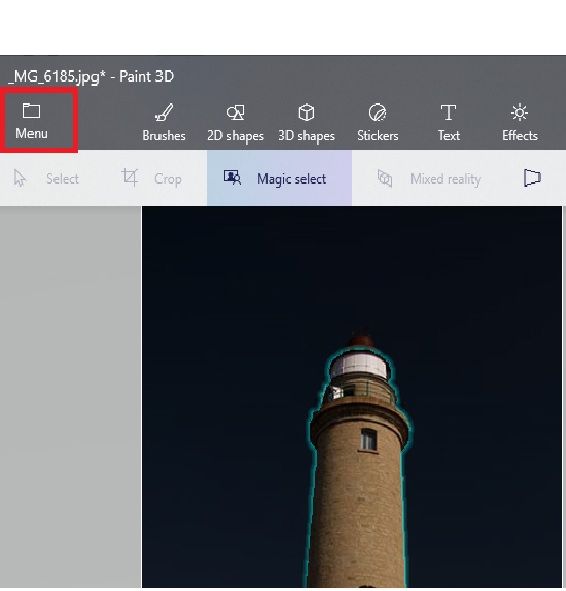
2) Click on Menu and then select ‘Save as’ with the format as Image.
3) Select PNG option from ‘Save as type’ dropdown and click on Save Image.
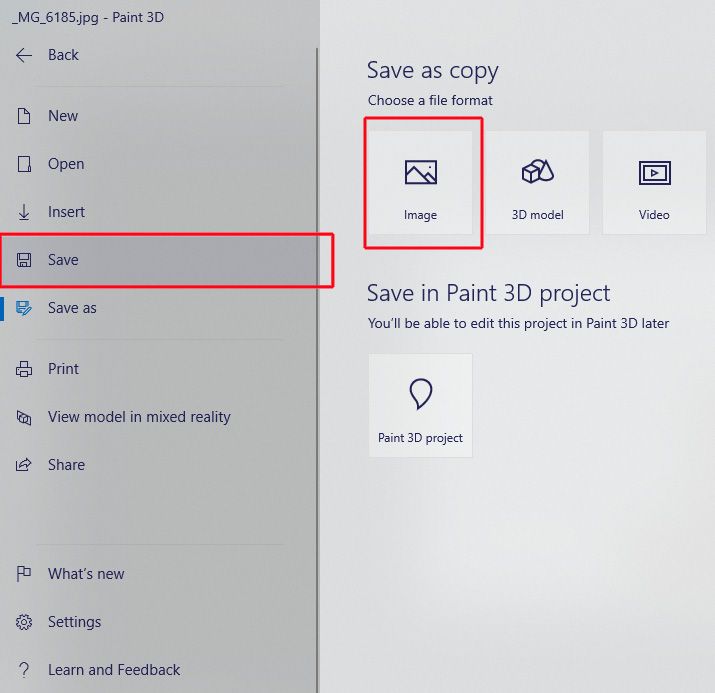
Note: PNG & GIF option will give a transparent image, JPEG will give an opaque image
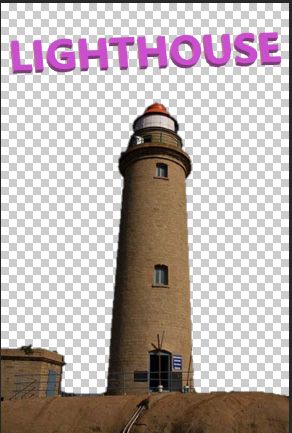
Now we have our final transparent image.
Video Tutorial to Make Background Transparent in Paint 3D