Windows 10 is the latest operating system by Microsoft, followed by Windows 8 for personal computers. Taking a screenshot in window 10 is one of the indispensable features, A screenshot is nothing but an image taken from the visual part of the entire screen. you can find print screen button on your keyboard labeled as “PrtScn”, “PrntScr”, “Print Scr” etc. Once you press the print screen button it takes the screenshot of the entire page and saves the image to the clipboard, you can paste the image in the in-built app of Microsoft such as Paint. By following this article, you will learn the different techniques to take screenshot in windows 10.
Take a Screenshot of the Entire Screen in Windows 10
A. Copy Screenshot in Clipboard
One of the easiest ways to take print screen or screenshot in windows 10 is by pressing simply the print screen button on keyboard you need to press the print screen button, and it will automatically save to the clipboard. You can paste this image to your favorite editors such as Microsoft paint, Photoshop, Microsoft Office Word, and you can also save the image in different extension like .jpg, .png and etc. to your local drive.
Whenever we take a screenshot using the print screen button, it looks like nothing happened, but in the background, it makes the screenshot of the entire screen and saves it to the clipboard.
If you are using a laptop, you may need to hold the “Function” or “Fn” key and then press the PrntScr button.
Save Print screen image with Microsoft Paint.
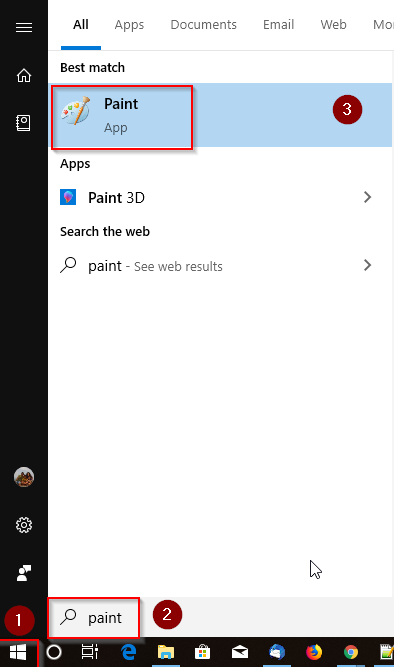
1. Open Microsoft Paint
To open the Paint app, you need to press Window Key and type Paint and then click on the Paint app, as shown in the following image.
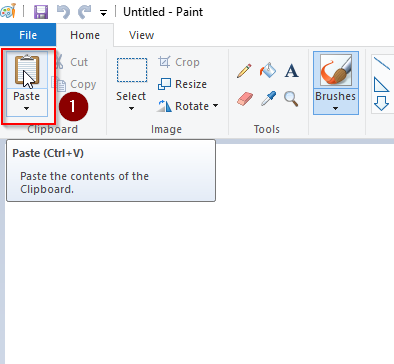
2. Once the paint window is open, then click on the paste icon or press (Ctrl + V). By doing this image will be paste in the paint window.
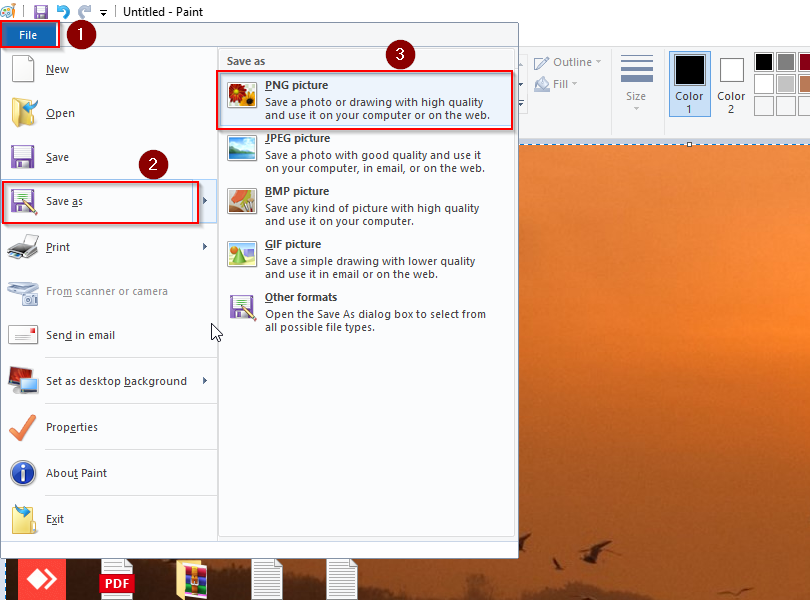
3. To save the image, click on file a drop-down menu will appear, now to go to the save-as option where you can save your print-screen image in (JPG, PNG) format.
B. Save Screenshot Directly as an Image file.
1. Screenshot of Entire Window/Screen.
You can save the screenshot directly as the image file of the entire window by performing the following steps for
Desktop User :
Press the Window key + PrntScr key
Laptop User:
Press the Fn (Function key) + Window key + PrntScr key
While performing the task, you will see the screen gets dim for a moment which means the system has taken a screenshot and here is the location of the folder where you can find your screenshot as image “C:UsersXYZPicturesScreenshots”.

2. Screenshot of Single Window.
If you have to take the screenshot of the particular window, first, you need to click on the title bar of the same window and then perform the following instructions.
For Desktop User: Alt + PrntScr
For Laptop User: Fn + Alt + PrntScr
It will take the screenshot of your current window and save it to the clipboard. You may use your favorite editor such as Photoshop, Microsoft office, and Paint to save the screenshot as an image by simply pasting the screenshot in any of these apps.
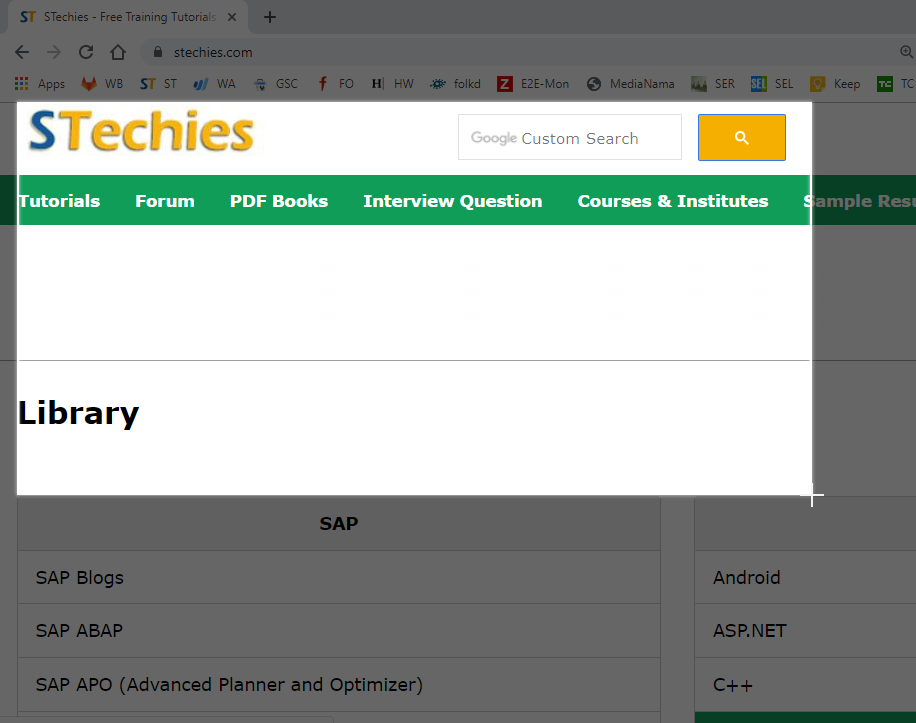
3. Screenshot of a Specific area or part of the Screen.
Press (Window key + Shift + S) on Desktop or Laptop screen will turn to diminish, and our cursor will change to sign “plus” as shown in the following image.
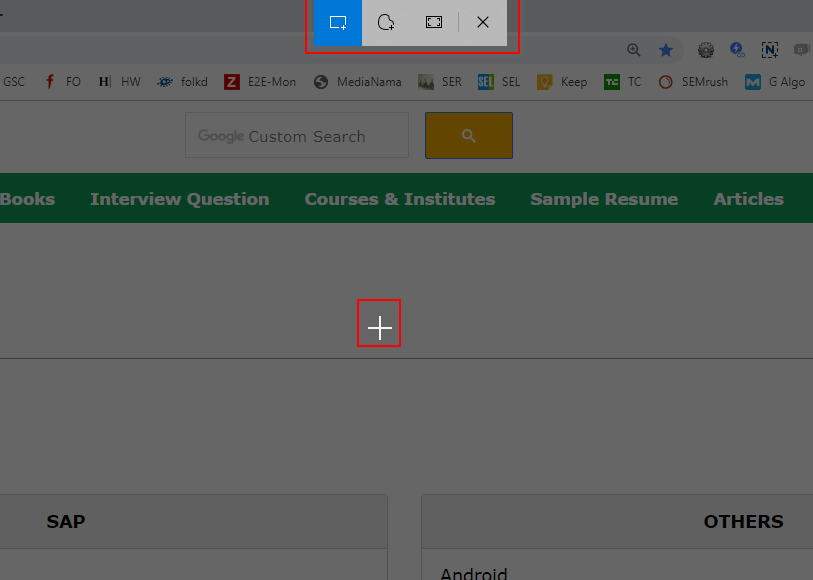
It will give you three option to take a screenshot of the screen:
- Rectangular Snip
- Free form Snip
- Full-screen Snip
You can select any of the above option according to your necessity. Here we have chosen the rectangular snip. Now select the specific area of the screen by dragging the plus sign. Once you choose the area, it will capture the particular area, which will convert as a screenshot, and it will automatically save to the clipboard.
Rectangular Snip
A pop-up window will appear on your screen, as shown in the following image.
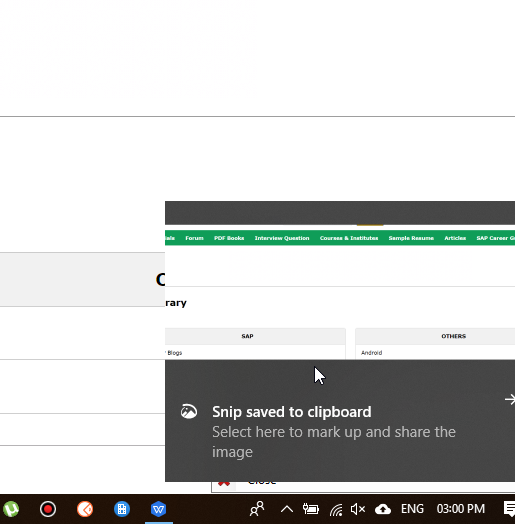
When you click on the pop-up window, it will open the snip(saved screenshot) in Snip & Sketch Tool.
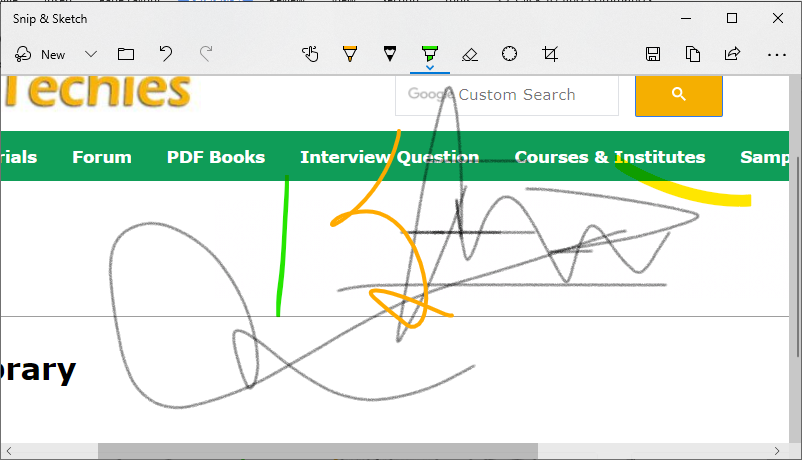
Snip & Sketch Tool provides us fundamental image editing options such as:
- Image Crop
- Ruler
- Protector
- Eraser
- Highlighter
- Pencil
- Ballpoint pen
- Touch Writing
Once the editing part of the image is done, click the save icon on the top of the window to save the screenshot in different image formats.
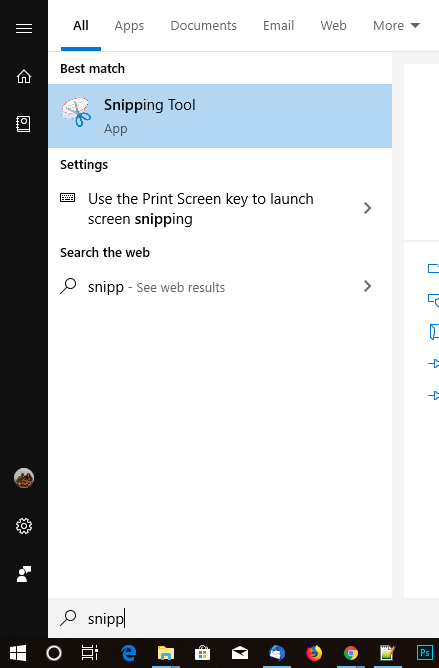
Take Screenshot with Snipping Tool
Snipping tool is an in-built app of Microsoft windows 10, To open Snipping Tool press Window Key and then type Snipping tool, Now click on the app as shown in the following image.
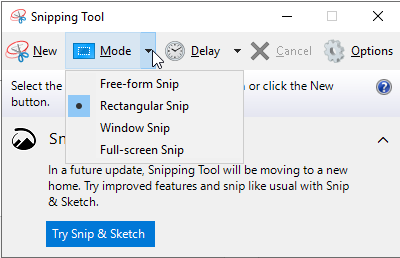
Snipping Tool with Mode Option
With the help of the Snipping Tool, you can take the screenshot of windows in a different mode such as:
- Rectangular Snip
- Free form Snip
- Full-screen Snip
- Window Snip
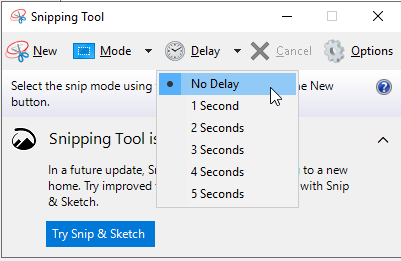
Snipping Tool with Delay Option
This delay feature of the Snipping Tool gives you a delay of seconds to take the screenshot.
To do so, open the Snipping Tool, and then click on the delay icon. A drop-down menu will appear with different options, select the option of seconds you want to delay to take a snapshot.
Once you are done with the basic settings of the tool, click the New Icon as shown below image to start the screenshot.

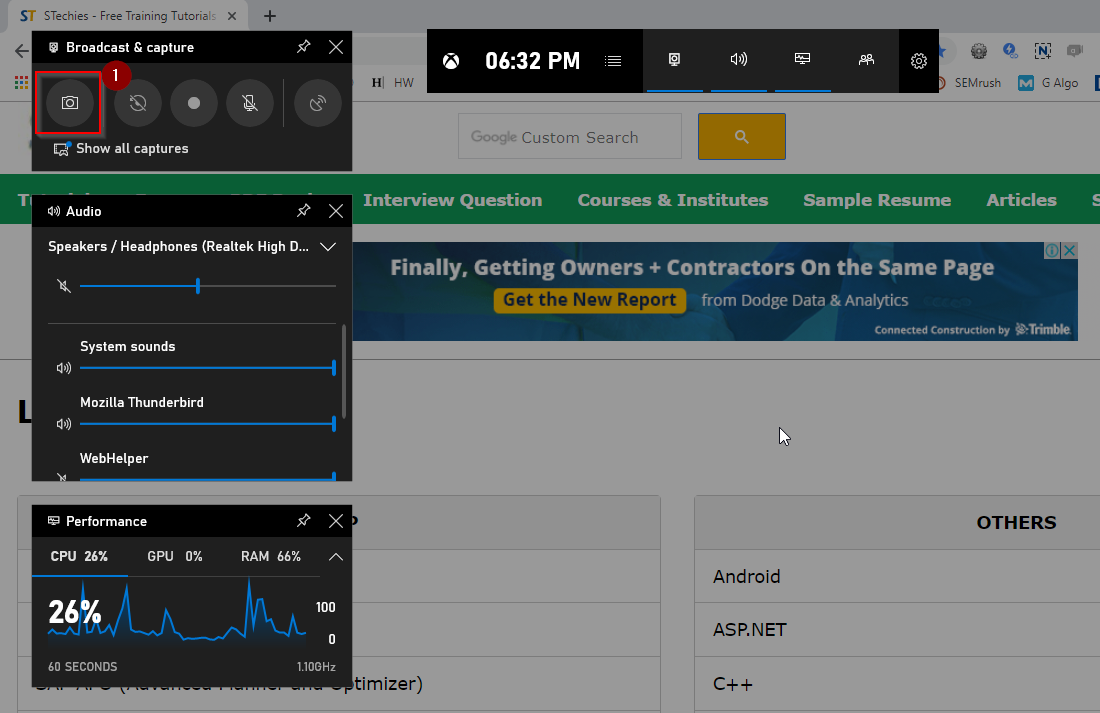
Screenshot using Game Bar in Windows 10
Microsoft Windows 10 has an inbuilt tool know as Game Bar, which allows the user to capture images or videos of the on-going game.
To Open Game Bar press (Window Key + G), the game bar window will appear now click on the camera icon as shown in the following image or press the (Window key + Alt + PrntScr) for Desktop and (Fn + Window key + Alt + PrntScr) for Laptop user to take the screenshot directly.
Once you performed the task, you will get a notification stating “Screenshot saved”, when you click on the pop-up notification, it will open the window where all the screenshot has saved. You can also directly navigate to “C:Users[User]VideosCaptures” path.