How to Develop User Interface (UI) in Android App?
This tutorial explains how to design User Interface (UI) for Android Android Application. It’s one of the more fun and also one of the more easier to understand topics.
What is (User Interface) UI in Android?
User Interface in an Android Application can be build using the layouts (ViewGroup objects) and widgets (View objects).
Various types of pre-installed UI components like the structured layout, objects and UI controls are provided in Android Studio which enables user to build a Graphical User Interface (GUI) for their Android app.
UI modules for special interfaces like dialog box, notifications box, menus etc are also provide by Android
Please follow the steps below in order to design UI (User Interface) for Android
So from here what I want to do is - click start a new Android studio project.
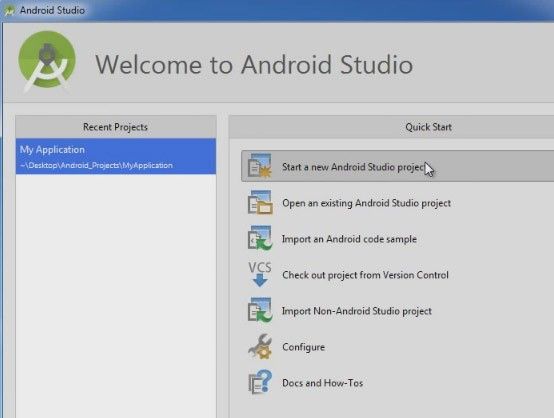
And you can actually name this - anything you want for example I’m going to name mine ‘Hamblaster’.
.jpg)
And click next –
.jpg)
This is still good, we are still making something through the phone. Now, instead choosing the blank activity, what this would do is it would make that one default blank screen, but I wanna show you guys how to add activities manually. So, instead of that choose to add no activity.
.jpg)
So, when you click finish what’s gonna happen is it's gonna load up and you’re pretty much gonna have an empty, completely empty project. I meanit'ss gonna have those core files, but check it out. Alright, so when it's done setting up this is what you get.
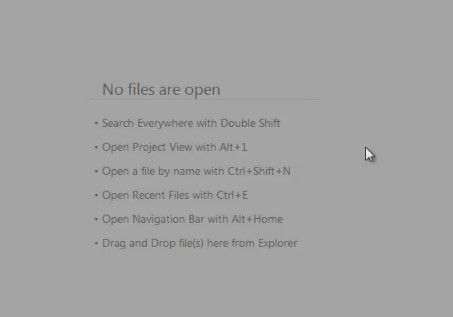
Now, obviously if we click on project on the left-hand side, we can see that it does indeed have some files created for us but definitely no activities or screens anywhere and well, our app would be pretty stinking useless if the user didn’t have any screen to look at.
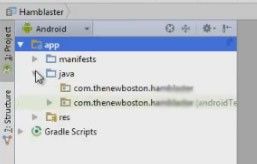
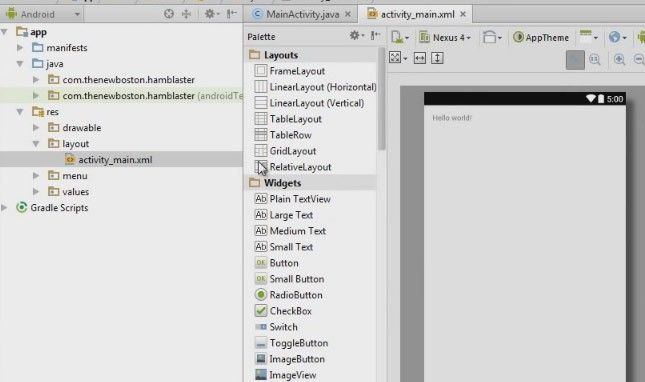
So let's go ahead and do that first. So, make sure you’re in Android view, you can actually look at project view if you want, but I’m gonna be in Android view.
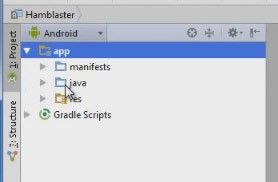
and in your app expand that and go to java, expand that as well and now remember this is where we are gonna be building the activity, if you remember from last time, this is actually where that file was.
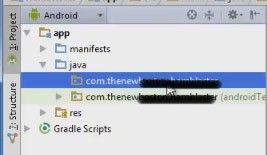
So now, if you right click it and select new; scroll down to activity and we’ll just choose blank activity.
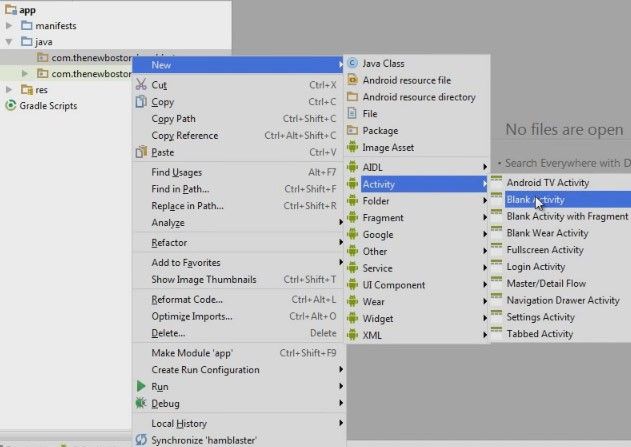
So again, once we’re looking at the screen - what this is, is basically if we click blank activity whenever we are setting up our project then this is where we would be but that’s how you do it manually and also whenever you add additional activities to whatever projects you’re working on in the future that’s how you do it.
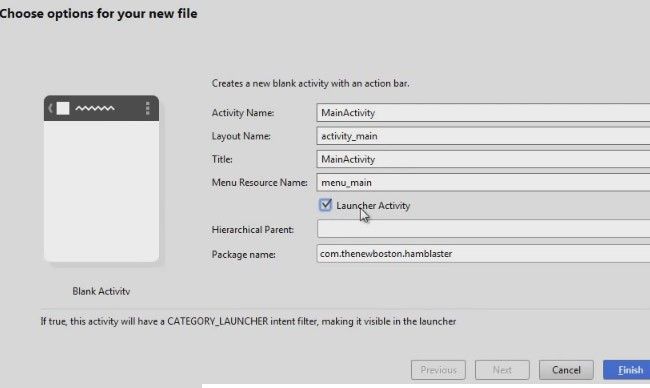
Now, for right now, this example is only going to have one activity so I really don’t need to give anything like a name because I’m not really gonna get disorganised with one activity. However, since this is the only activity, its very important that you choose this - launcher activity.
Now, remember, the launcher activity is the very first screen that whenever android is trying to open your app its gonna look for this. So, without it if you have a bunch of activities and none of them are the launcher activity, then your app is not going to open correctly.
So, since this is your only activity we need to make it the launcher activity, aka the starting point.
So as soon as you create an activity what android studio is gonna do is it's gonna create those 2 files first.
Below is the main activity, the job of the brains behind our activity.
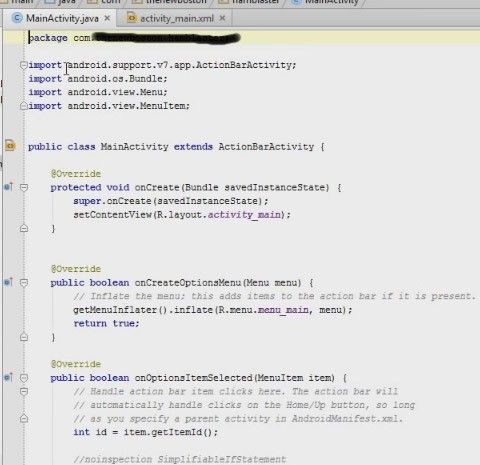
And the interface.
No need to discuss everything because you guys already know what all that means. So, one other thing I want to point out is that there was one more thing that all of my activities had to be taken care of in the manifest so just look at the manifest and you probably have to do something here - open and check it out - Android studio actually took care of all of that for us, whenever we just created that new activity.
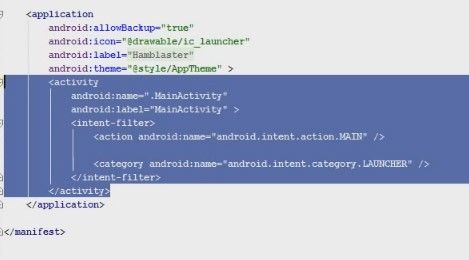
Again in the manifest, this is where all your activities have to be declared, it did everything for us. That is one of the reasons I love Android Studio.
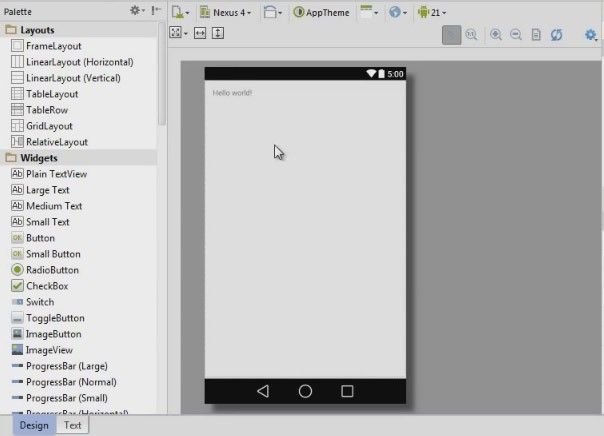
Now just close out of that and we can continue with the good stuff. So over an ‘activity_main.xml’ the first thing I want to do is delete this little thing right here - this text.
So just go ahead select it like before and just delete it.
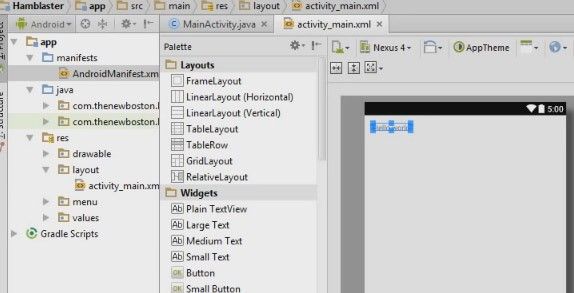
Now, just for this example, this is just to demonstrate a few things, so I’m building the very first page to the social network so what we need are a couple of things.
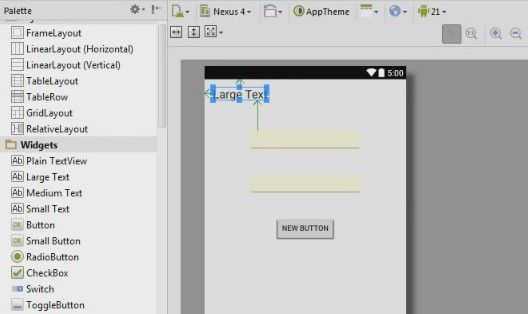
The first thing is this ‘Large Text’.
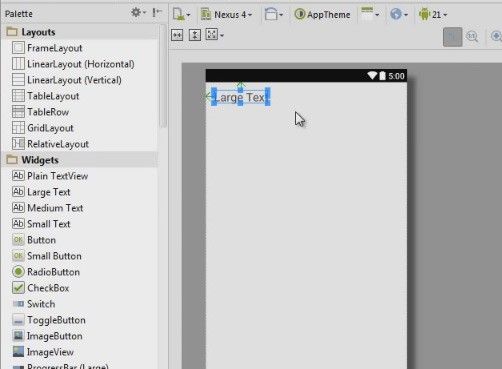
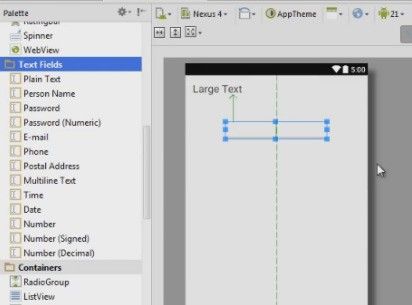
Alright, so that’s a little bit easier to read, I’m just gonna organize everything before I start customizing any of these widgets. So drag in ‘Large Text’ - it’ll say - “sign in or log in”, so this will be the log in screen. So under this, of course, we need two little input areas for the user to enter their log in information - an email and a password. So first, lets get the email, we should go down, its actually under text fields, so click that if its not expanded and for email - just drag that over and we can tell when its aligned with the middle because of this little green line. So drop that right there.
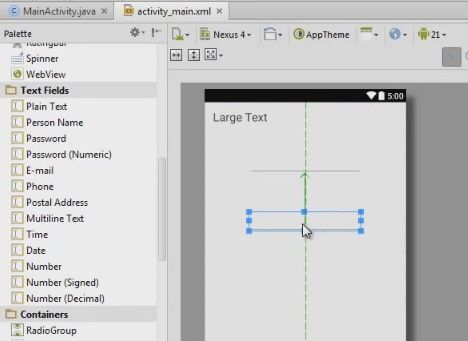
Alright looks pretty good. Now, under here we will have a password field, so drag that and drop it.
Now of course, if I was actually designing this then what I would do is I would have to make a little text area here that says - email and password. But for right now, just demonstrating some stuff.
Now, after they are done typing in their information they need some button to click on, so if you scroll way back up, its no way back up - its like 2 inches away but we are going to select this button and drag it right underneath here and you know what actually align this in the dead center of your app by using those little alignment things and alright, looking pretty good.
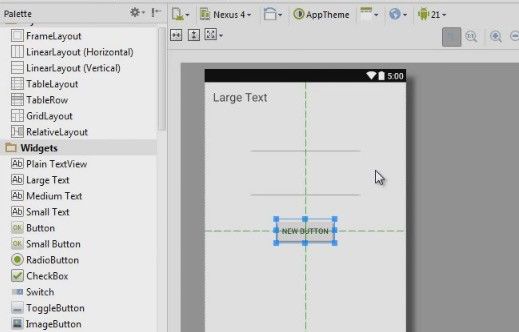
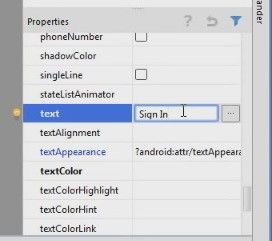
So, what I wanna do now, is I actually wanna change the text on this right here and also on the button.So select this ‘Large Text’,
and if we scroll down to a property called Text then what we can see is, it says ‘Large Text’ that’s the text that displays, what we actually wanna do is click on this and we’ll change it to something like ‘Sign In’ and hit enter.