Adding a border to an image creates visual interest and gives a classy edge to an image. You can add easily different kinds of the border to your image using Photoshop.
Adobe Photoshop provides a user with many in-built plugins with the help of these plugins you can easily apply various kinds of borders and textures to your image.
In this tutorial, you will learn how to make border in Photoshop around an image. This will include the following steps –
How to Add Border in Photoshop
Please follow the steps below to add a border in photoshop:
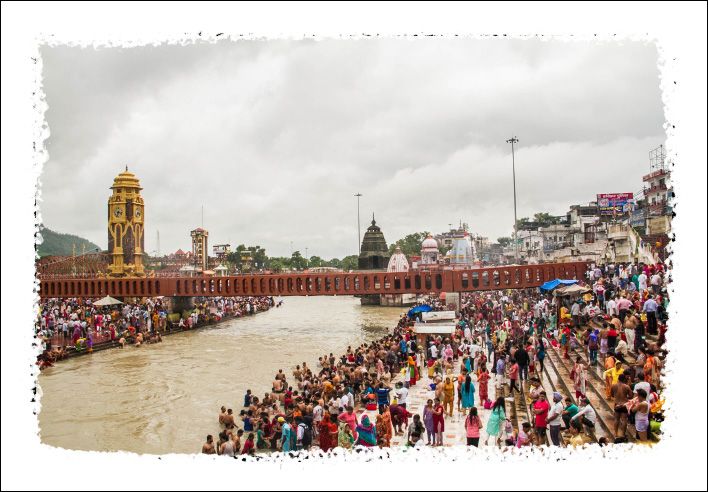
1) Open Image in Photoshop on which you want to add Border or Frame
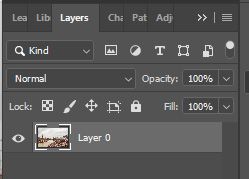
2) Unlock the Background layer
Note: If you open any image in photoshop it opens as a locked background layer by default. To unlock the layer, just click on the lock icon in the layer panel.
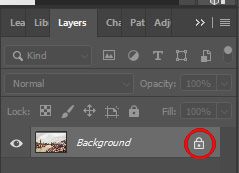
You need to unlock the layer because you need to add layers under it.
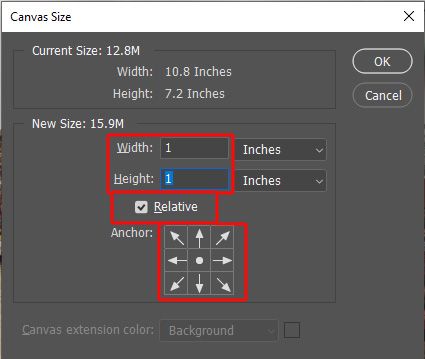
3. Increase the size of the Canvas
Now for example, If you want to add 1-inch border around the image you need to add 1-inch additional space around the image, therefore, increase the canvas size by 1 inch.
Go to Image >> Canvas Size or just press (Alt + Ctrl +c ) to open canvas dialogue box.
Make sure Relative checkbox option is selected and also add 1 Inch to Width & Height and press OK
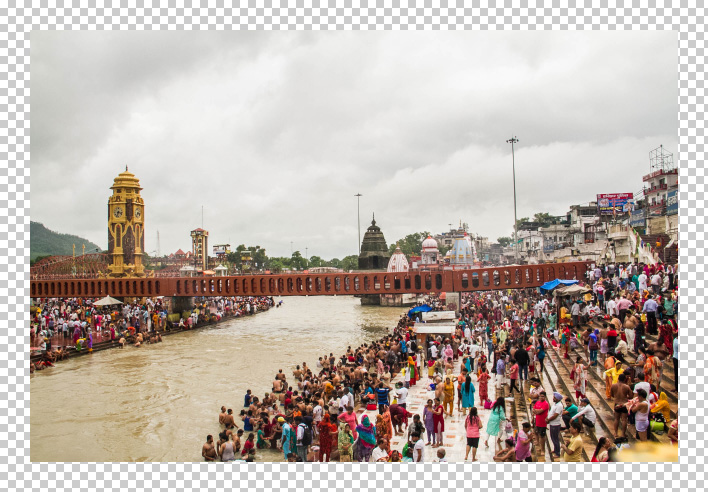
And now you will see a transparent space around the image as shown below:
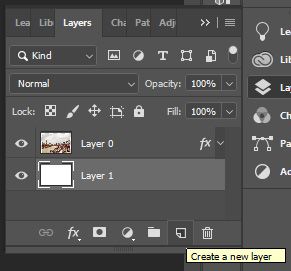
4. Add Border layer
Add a new layer (layer 1) and drag it under your Image layer (Layer 0) as shown in figure
![]()
![]()
5. Fill Solid color to border.
Select Layer 1 and fill any color as required,
.jpg)
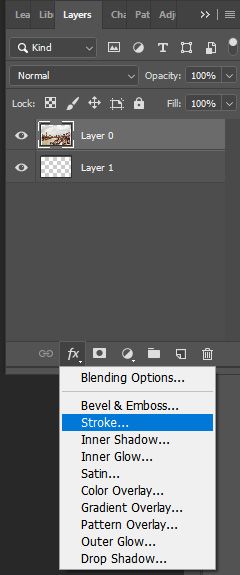
Adding second small border under main border.
To add a small border between image and our main border, you need to add a stroke to the main image.
Select Layer 0 from the layer panel and click on Add a layer style icon and choose stroke
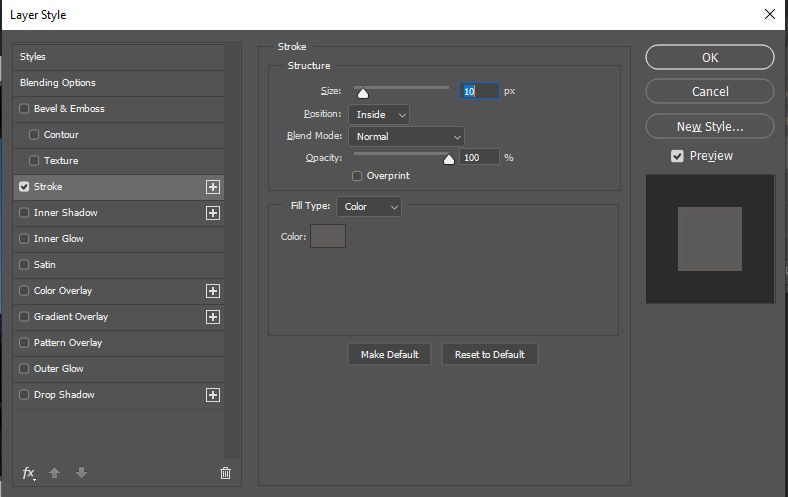
In Layer style window, select the stroke checkbox and set the stroke settings as follows
- Size:10px
- Position: Inside
- Color: (any color that goes with your image)
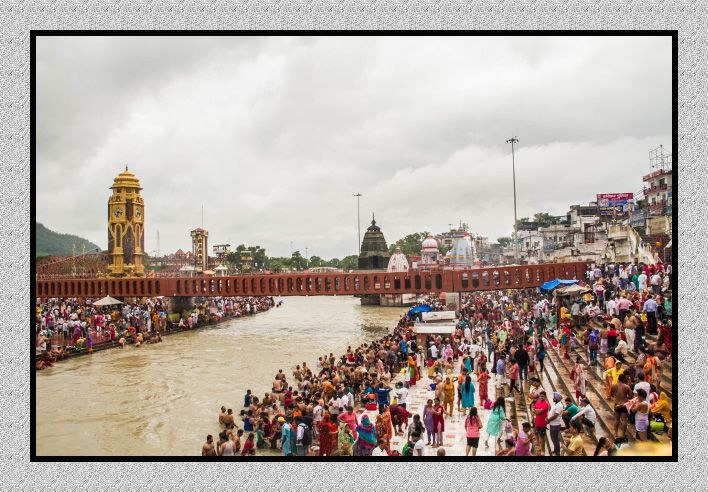
The final image will look like this.
.jpg)
How to Add Texture / Gradient in Frame or Border
Please follow the steps below to add Texture to Frame:
1) Create a New layer (layer 1) in your Layer Panel. Select Layer 1 to add Pattern into it.
2) Go to Menu >> Paint Bucket tool or Press (G) from keyboard to open Paint Bucket tool.
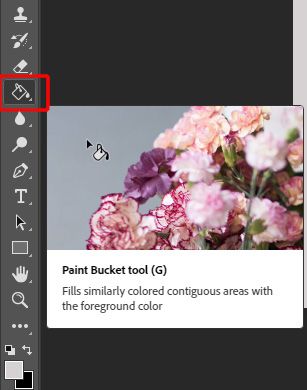
3) Change the property of 'Paint Bucket Tool' to 'Pattern'

4) Now choose any pattern you want for your image and fill that pattern in your Frame
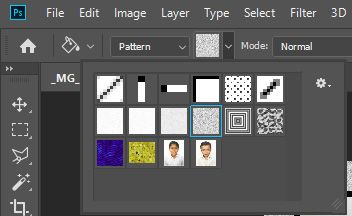
5) Now your final image is ready with a Pattern border.
Add Brush Stock to Photo Frame
Create one more layer (layer 3) and move this new layer to the top of your photo layers as shown in the image below
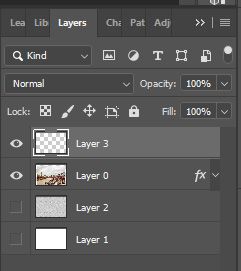
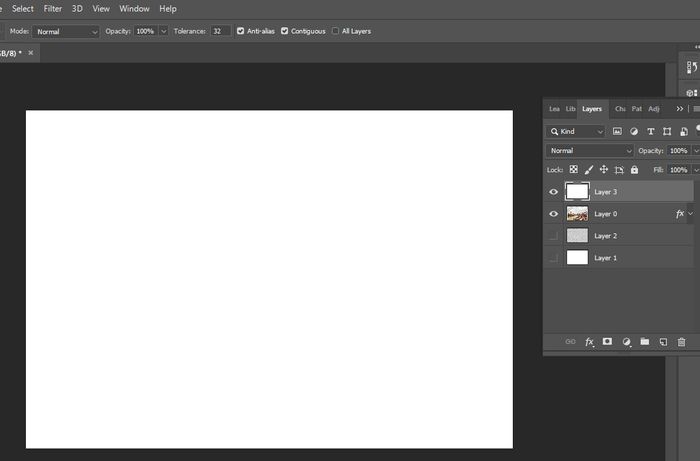
Now select Layer 3 and fill solid color into it using Paint Bucket Tool
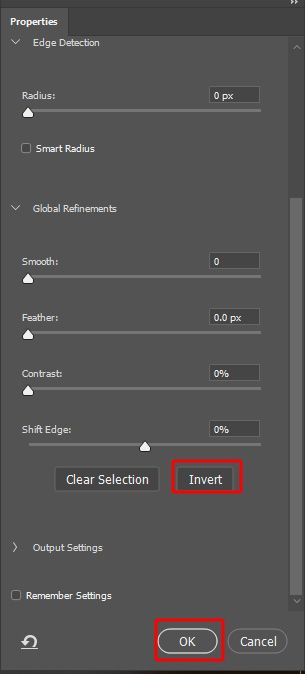
Then click on Masking icon from the bottom of your Frame panel to add mask on Layer 3
![]()
![]()
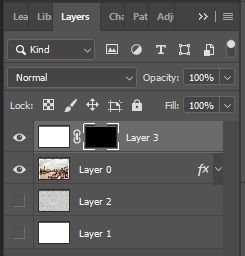
Double click on Layer mask thumbnail to open 'Property' window and then select 'Invert' and click 'OK'
'Layer Masking' on layer 3 will look like this
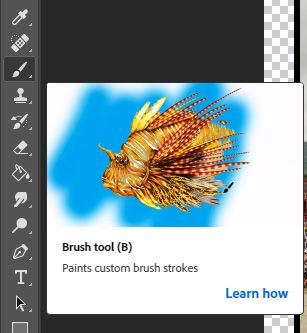
Now select 'Brush' tool from Tools Panel
Choose the brush size and type of brush from 'Brush Property' window
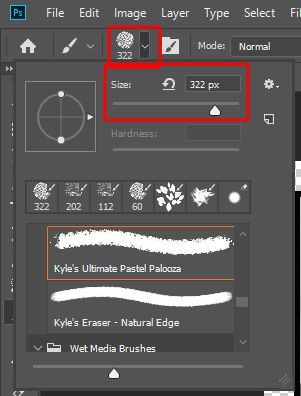
At last, apply brush on the border area of your photo frame