A watermark is a logo, text or pattern carved on image for copyright purposes. It helps you protect your work from theft and market it at the same time. But sometimes watermarks can distract the viewer from the image, and you might want to remove it.
Using Adobe Photoshop we both add as well remove the watermark from any Image. In this post, we will learn how to remove watermark in Photoshop.
Step-by-step tutorial to remove watermark in Photoshop
Please follow the steps below to remove watermark in photoshop
Step 1) Open the image in Photoshop from which you want to remove the watermark.
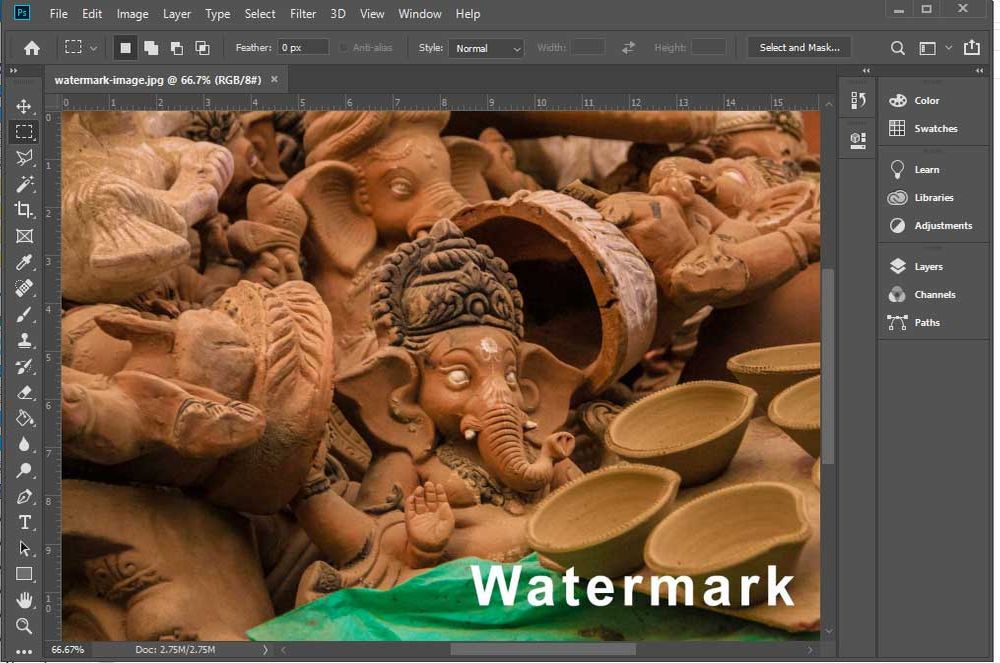
Step 2) Select Magic Wand Tool (or press W) and zoom to the area of the image with watermark by pressing CTRL & + symbol.


Step 3) Now using the Magic Wand Tool, select the watermarked area which you want to remove.

Now you have to make some small changes to the selected area, you need to expend the selection to 5px to add some background pixel to make it wider-
Step 4) To expand the selected watermark area, Go to Select >> Modify >> Expand
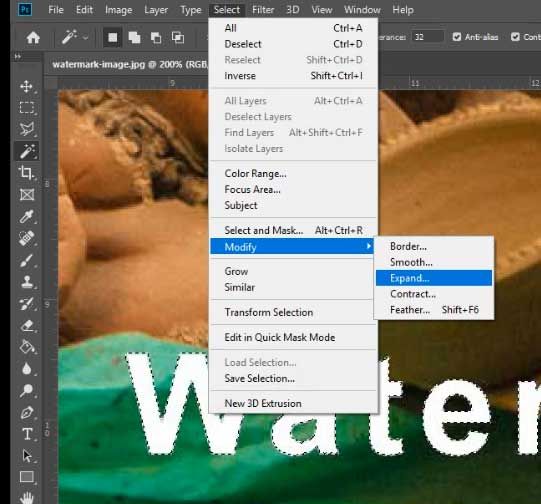
Step 5) In the newly opened dialog box, set the Expand Selection to 5 Pixels and press OK.

The expanded section will look like this
 Now, we will use Photoshop's Content-Aware Fill feature of Photoshop to remove the unwanted object from the image
Step 6) Go to Edit >> Content-Aware Fill
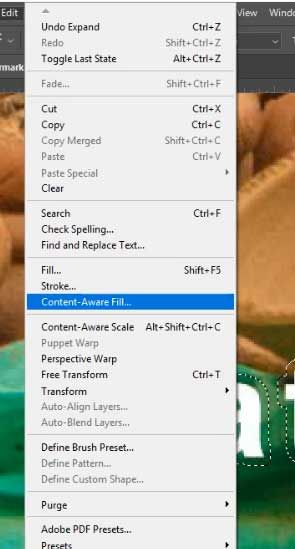
And now the Content-Aware Fill Window will automatically remove the watermark and show you the result
.jpg)
You will see that the Watermark has been removed successfully.

Remove Watermark using Clone Stamp Tool
Another way to remove the watermark from a picture in Photoshop is by using the Clone Stamp Tool. Here are the steps –
- Locate the Clone Stamp tool on the left-hand side tool bar of your Photoshop window. The shortcut is S, for both Windows and Mac systems
- After that, right-click on the image. Set the brush size and hardness for editing the image
- Now you have to take sample pixels near the watermark which will be used to remove it. Then, place the cursor near the watermark area and hold the Alt key
- While holding the Alt key, click on the area to extract sample pixels. Once you’re done, release the Alt key
- Next, left-click on the image and begin painting over your watermark
- There may be some spots of the watermark still left. To remove this, select the Healing brush from the left-hand side toolbar
- Right-click on the image and select brush settings for size and hardness. Then, you can take pixel samples like you did earlier and paint with small clicks on the image
- Keep painting until the watermark is gone completely!
Using the Magic Wand tool and the Content-Aware fill feature is simple. For the Clone Stamp tool and Healing brush tool, it takes some time to perfect their use. But in the end, it is worth the effort as your watermark will be removed without any traces.