SAP Query enables data from multiple tables to be extracted in one report, as long as at least one field of data can be linked from one table to another e.g. by Document Number. Unlike table browser (SE16), reports from SAP Query can be saved.
You will need the required tables and fields before running SAP Query (if not known, refer to the list of tables PDF within the Data Extraction section).
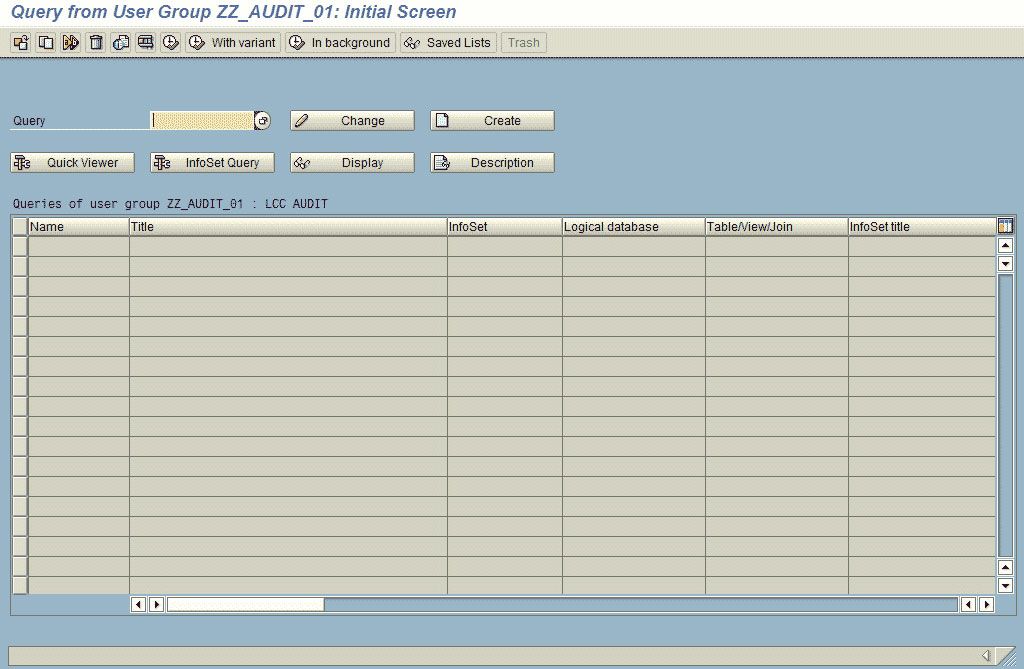
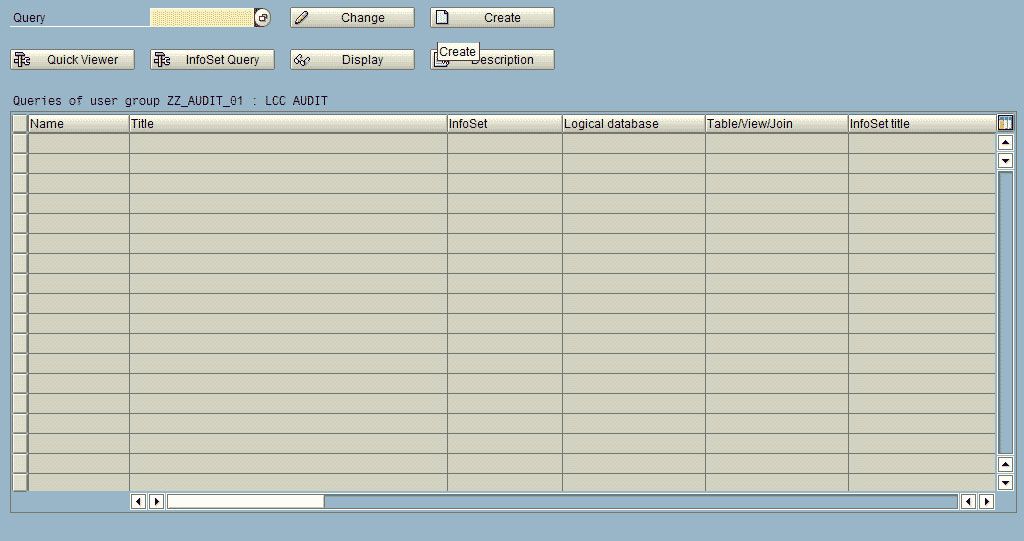
Click on the Quick Viewer button
The next screen enables new reports to be created or saved reports to be run or amended.
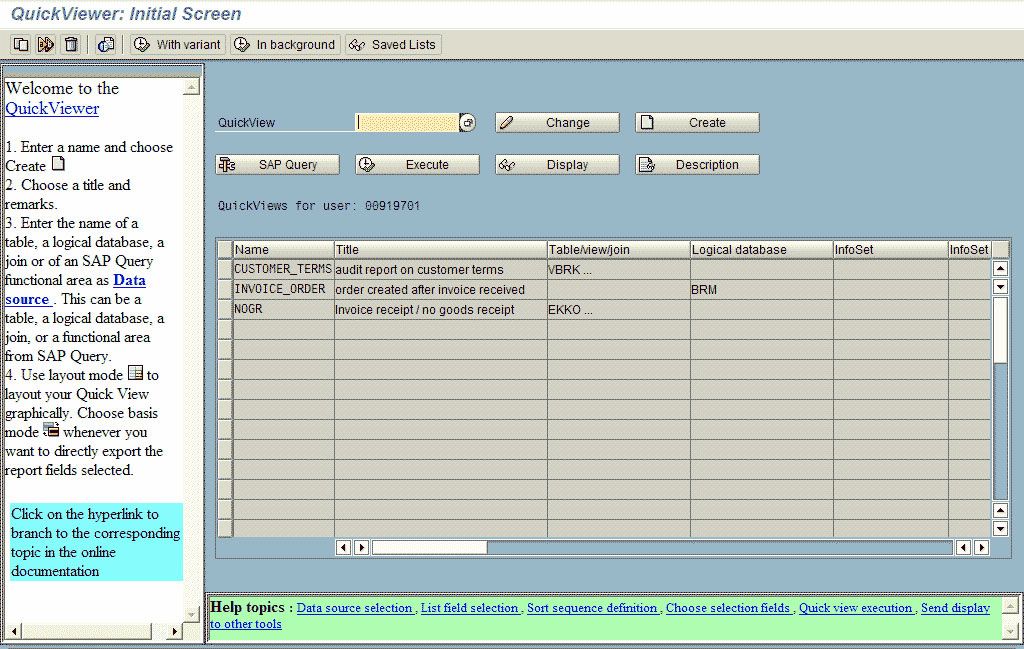
Note: The Help topics at the bottom of the page are referenced to the SAP Library on Internet Explorer.
In this example, we are creating a report to show all vendors for a particular Company with name, address, payment method and bank details.
This will involve joining three tables:
| Table Name | What it contains | Fields Description (not a comprehensive list) | SAP Name |
|---|---|---|---|
| LFA1 | Vendor Master | Vendor Name City Postal Code Search Term Street Address Created On Created By Account Group | LIFNR NAME1 ORT01 PSTLZ SORTL STRAS ADRNR ERDAT ERNAM KTOKK |
| LFB1 | Vendor Master Data by Company | Vendor Company Code Personnel Number Created On Created By Reconciliation Account Payment Methods Payment Terms | LIFNR BUKRS PERNR ERDAT ERNAM AKONT ZWELS ZTERM |
| LFBK | Vendor Bank Details | Vendor Bank Key Bank account number Account Holder |
LIFNR BANKL BANKN KOINH |
Note: A query will only work with actual tables and some e.g. BSEG are too large to work with. The system will let you know if it cannot work with a specific table. When this happens, logical databases should be used instead. These can be identified using transaction SE12 (See separate instructions).
To create a new report:
- Enter a name for the report in the Quickview display box.
- Click ‘Create’
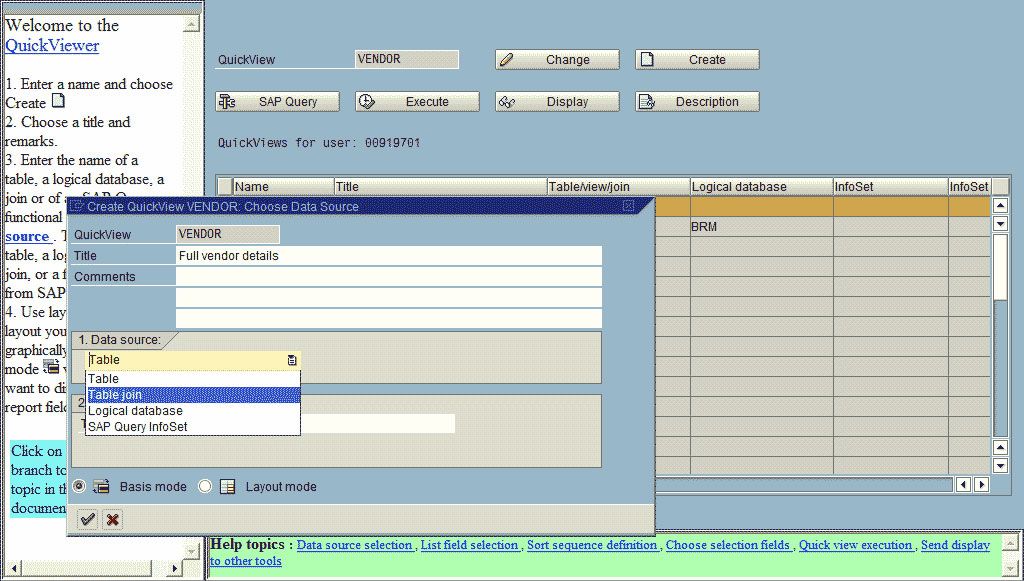
- Enter a meaningful title for the report in the new box that has appeared.

- Enter a meaningful title for the report in the new box that has appeared.
- If more than one table is to be used then select ‘Table join’ from the Data source box.
Select ‘Basis mode’ then, click the ‘green tick’.
- On the next screen, click ‘Insert table’.
.gif)
To avoid resorting fields later, tables should be entered in the correct sequence.In this example, we will display the Company data then the Address data and finally, the Bank data.
Enter table LFB1.
‘Green tick’.
Click ‘Insert table’ again and enter the next table (LFA1).
‘Green tick’.
Enter the last table name (LFBK).
‘Green tick’.
The screen should now look like this.

This shows all available fields within the selected tables and all the links between them. In this instance, there is only one link between all three tables and that is the vendor number(LIFNR). The links need to be checked as sometimes they are not correct.
1) To check a link
- Right-click on the line and select ‘Display join condition’. Both fields should be the same (apart from the numbering).
2) To delete an incorrect join
- Right-click on the line and select ‘Remove join condition’.
3) To add the correct join
- Click and drag the field from the left-hand table to the corresponding field on the right-hand table and release.
Once the tables and joins have been set, click the Green ‘Back’ Arrow. The following screen should be displayed.
On

On the left-hand side are the tables selected.
The right-hand side shows the available fields for selection/report layout.
For some reason, the field name text is different from the field description on the actual table,
However, the left-hand screen can be expanded to display the SAP field name (which is constant) and to specify list and selection fields from each table as shown below:
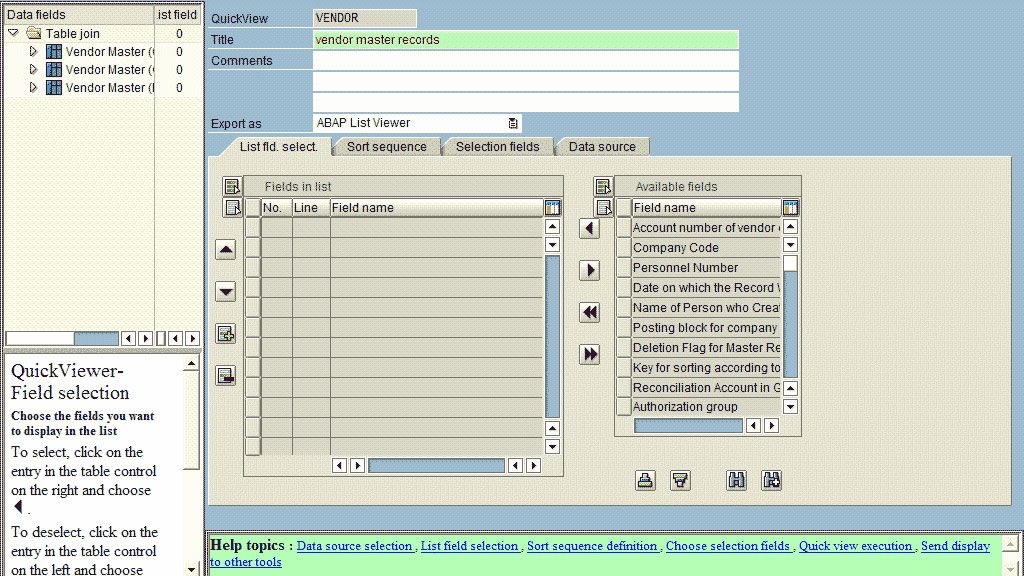
- As the link to vendor number has already been made, this field only has to be selected from one of the tables. Likewise, for other fields that appear more than once, they only have to be selected once, for where they are to appear in the report.
- As each field is selected it appears on the right-hand side display when this process is complete click on ‘Execute’.
- The next screen enables the selection criteria to be entered.
- If this is not as expected then go back to the previous screen and add/delete selection boxes.

- Click on the options icon in the ‘Output format’ area to display all available formats.
- ‘Spreadsheet’ is the preferred option for downloading to IDEA.
- If the report is too big for this, an error message will be displayed and either ‘SAP List Viewer’ or ‘Display as Table’ can be used instead.
- Select ‘Table’ and Green tick.
.gif)
- ‘Green tick’ the next screen to run the report.
.gif)
- A spreadsheet titled ‘Worksheet on Basis (1)’ should be displayed.
- Click on File, Save copy as…..
- Rename the file and save in the SAP download area (it’s a good idea to create a specific folder in your audit directory for this purpose).
- To run or change an existing query, click on Quick Viewer.
- Click the button to the left of the required query (to highlight it).

- Click ‘Change’ to add or remove display/selection fields.
- Or click ‘Execute’ if changes are not required to the fields.
- This takes you to the selection screen. Selections can be entered and the report runs.