In this tutorial, you will step by step process to create a role for the System user. Also, you will learn to create a profile where you specify the necessary authorizations.
What is CPIC (System Users)?
System users are also known as CPIC users (in the previous versions of SAP) are needed for the internal communication within the systems in an ALE group. They are defined in the target systems and are entered in RFC destinations in the calling systems.
How to Create ROLE and Profile for System Users?
Please follow the steps below to create role and profile systeme users:
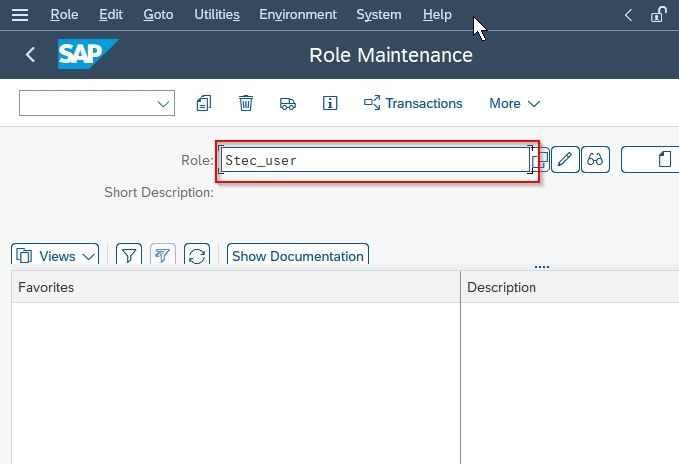
Execute t-code PFCG in the SAP command field to open the Role Maintenance window.

On the next screen, type a new name in the Role field.
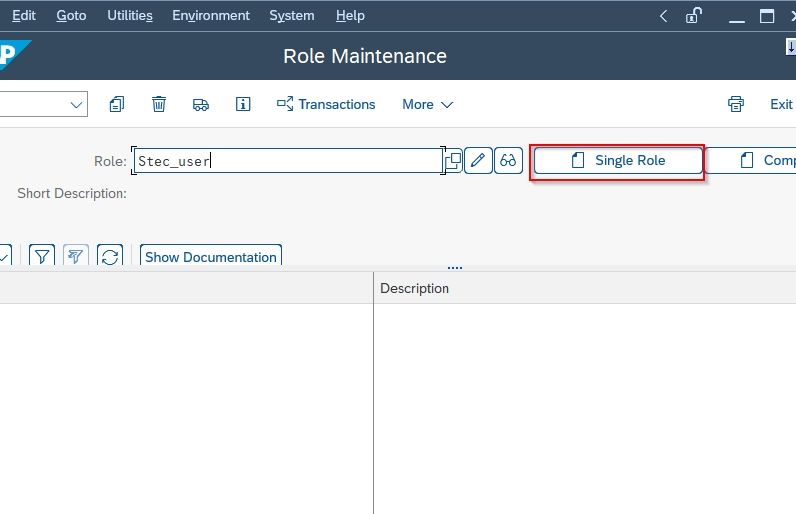
Next, click the Single Role button to create a new role
Now on Create Role screen enter a short description in the Description field.
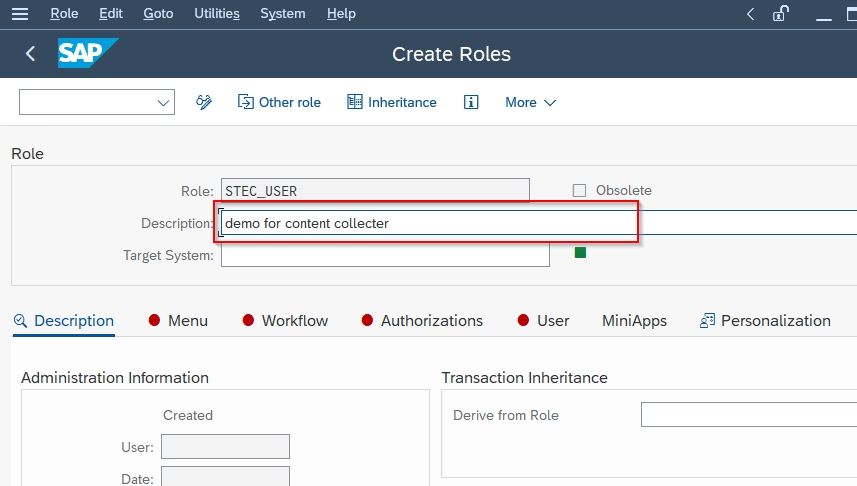
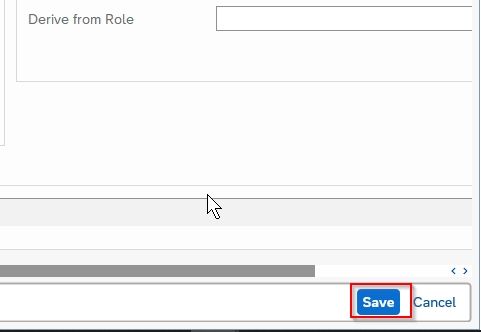
Next, click the Save button to save the new role.
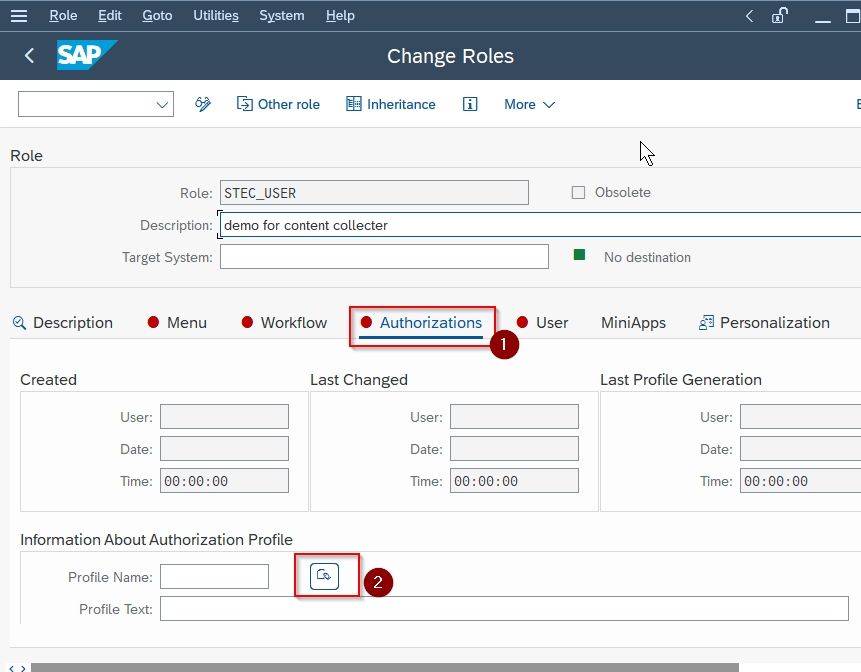
Now go to the Authorizations tab and click click the Propose Profile Names icon under Information About Authorization Profile section as shown in the image below:
Once you click the Propose Profile Names icon SAP system automatically generates a profile name and a description.
Note: You can make changes in the description but don't make any changes in the generated profile name.

Again click the Save button to save your settings
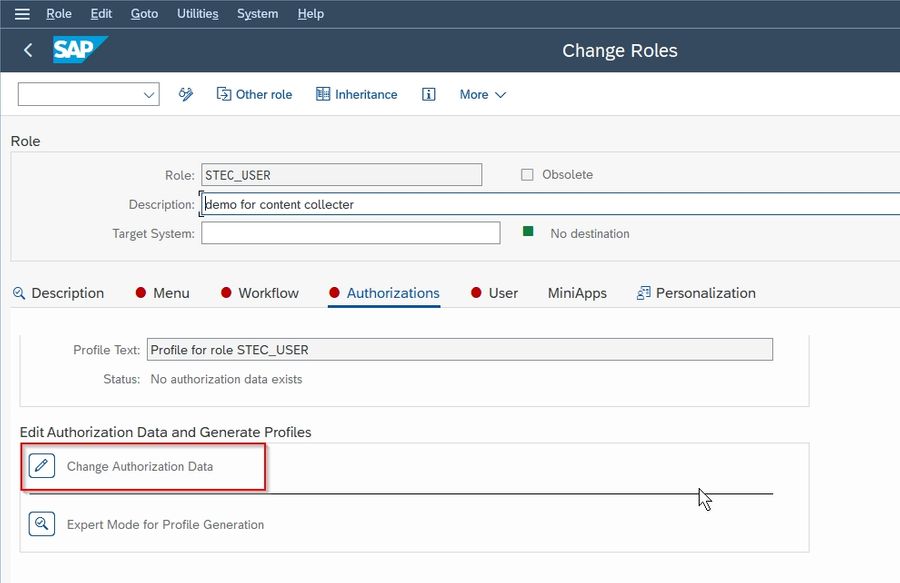
Now go to Maintain Authorization Data and Generate Profiles and click the Change authorization data icon.
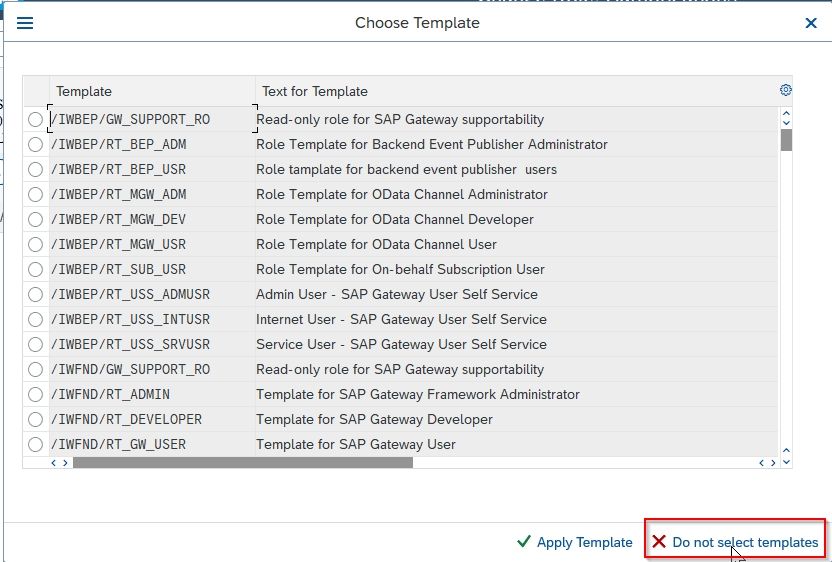
On the next screen click the Do not select templates button.
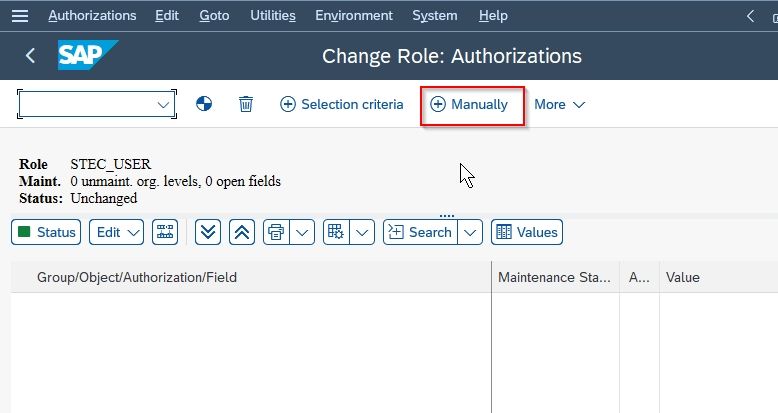
Then click the Manually icon from the above taskbar.
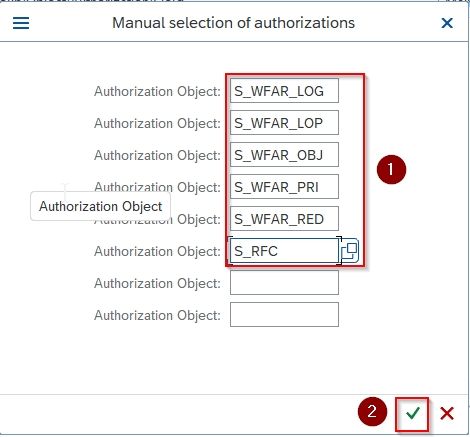
Next on the Manual selection of authorizations screen, type the following authorizations in the right column as shown in the image and then click the Continue button.
- S_WFAR_LOG
- S_WFAR_LOP
- S_WFAR_OBJ
- S_WFAR_PRI
- S_WFAR_RED
- S_RFC
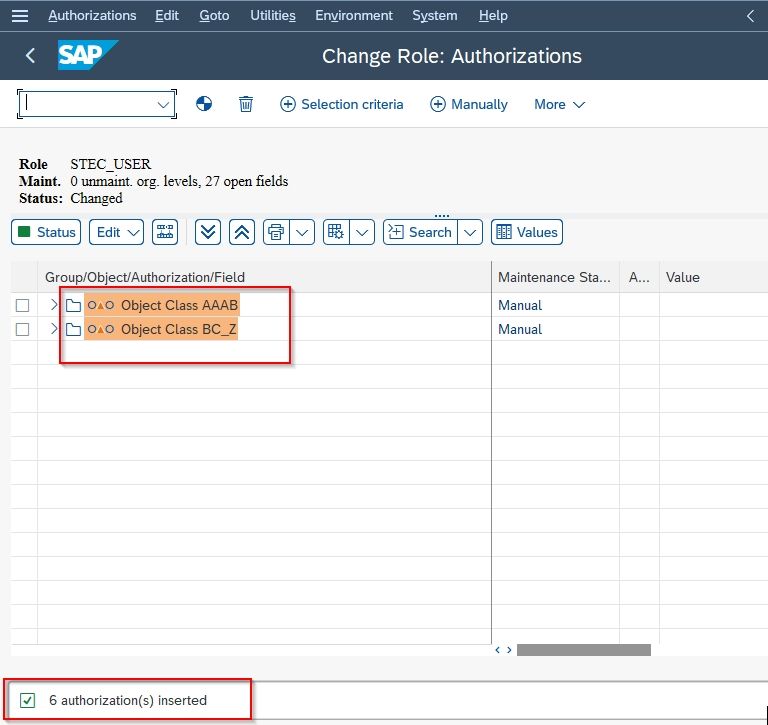
Now you will be back to the Change role: Authorizations screen where you will see a message 6 authorization(s) inserted.
Next, expand all authorization nodes and click each red triangle to Activate all the individual authorizations.
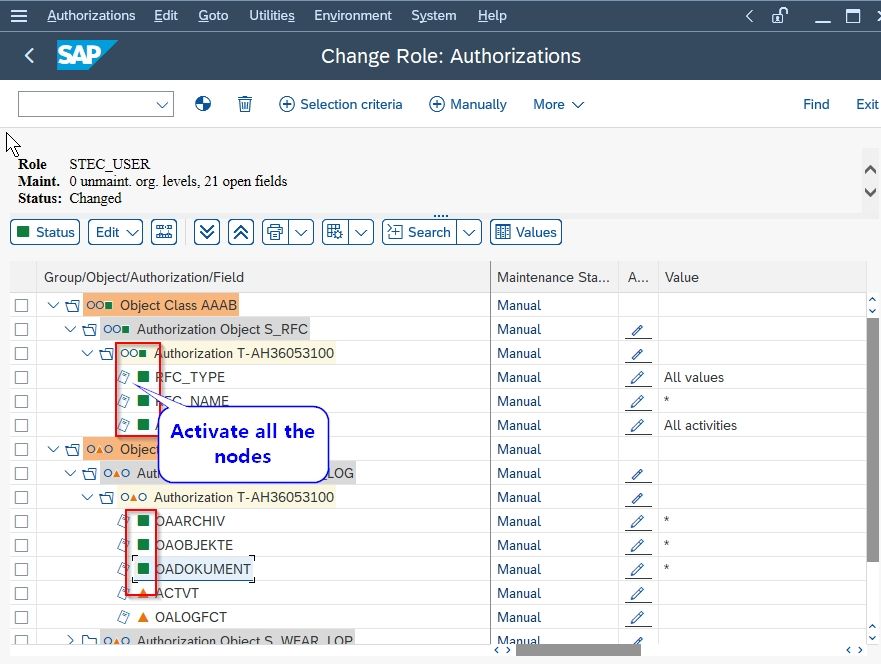
Note: The red triangle changes from a green square. When all red triangles change to green square background, the status of the nodes automatically changes from yellow to green.
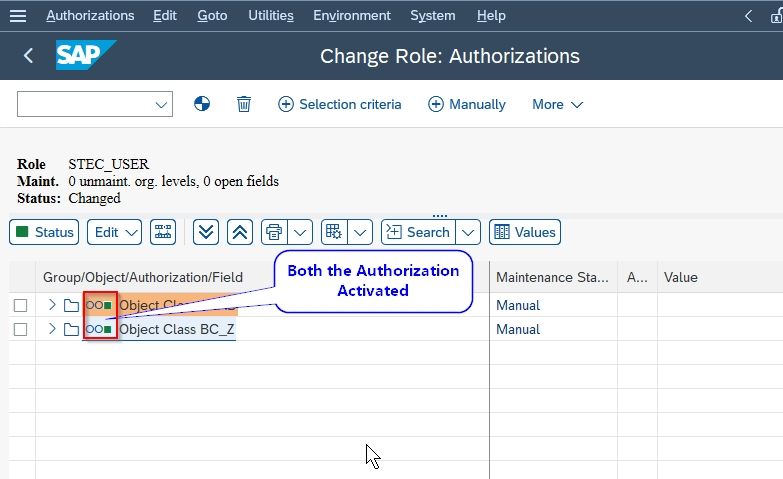
This is how the screen will look like when all authorizations get activated.
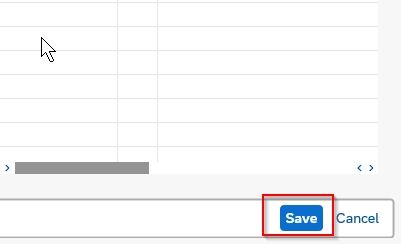
Now click the Save button to save all your settings
At last, click the Generate icon to create the role and thus the profile.
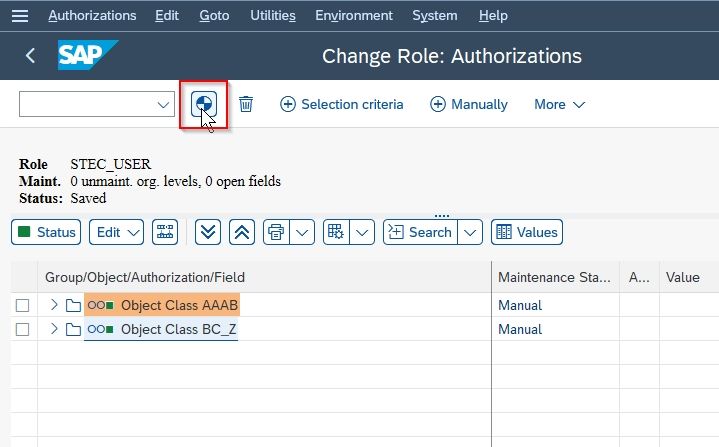
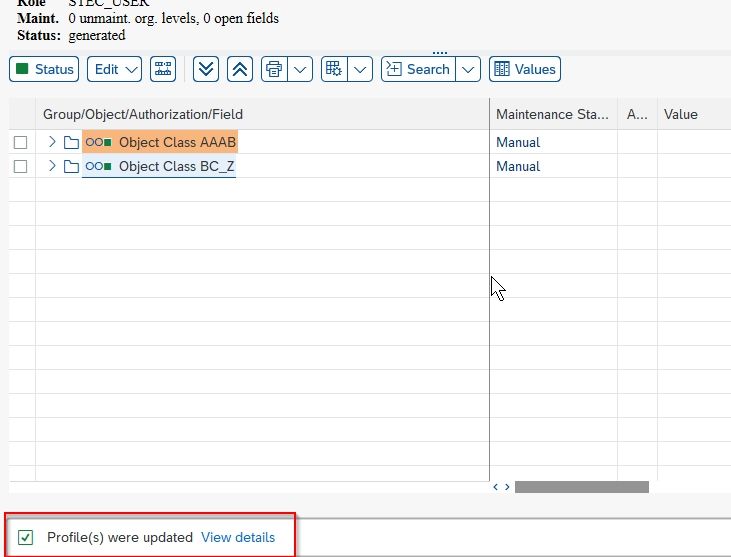
Once you click the Generate icon you will get a message Profile(s) were updated on the bottom of your screen.