This article aims to help SAP users learn how to install an SAP GUI for Java on their MAC OS. But due to Oracle's new Java licensing model, users must remember that the installation process has become a little more complex.
The following steps can help users install the SAP GUI with Java JDK (Java Development Kit) mentioned below. JDK (Java Development Kit) is a cross-platformed software development environment that provides a different collection of tools and libraries.
The following steps help in installing the SAP GUI for Java on MAC OS:
Step1: Download and Install JDK
Download and Install Java SE
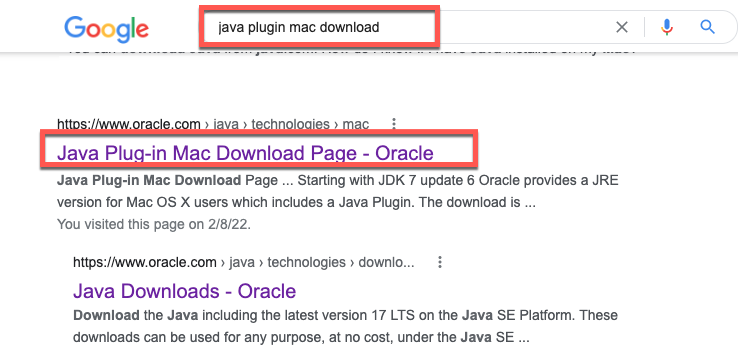
First, open Google and type the java plugin mac download in the search button. Then select the Java Plug-in Mac Download Page - Oracle.
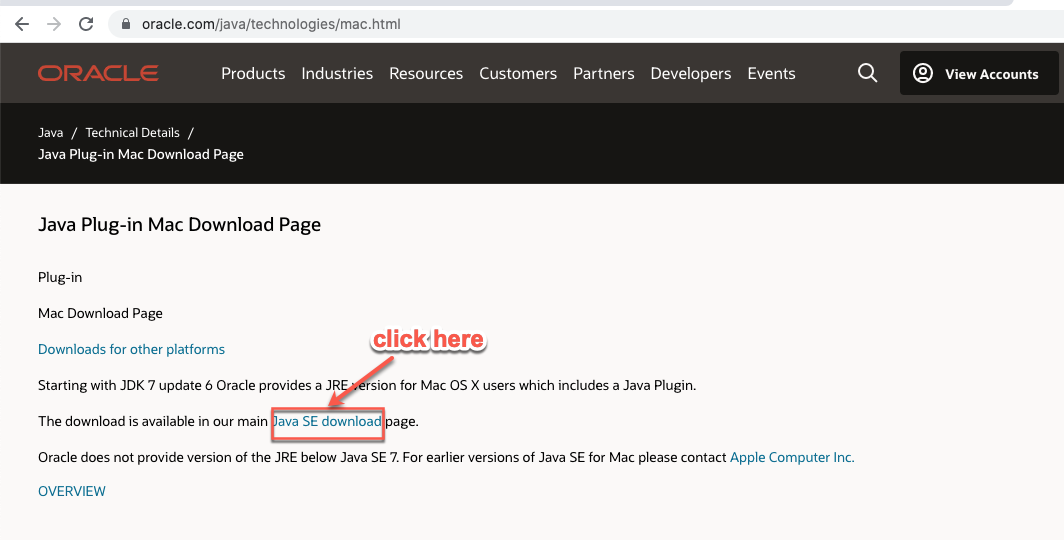
We will install the ECC version 7.5 of SAP on the Macbook. This version supports Java SE8 and the versions above. Go to the Java Plug-in Mac Download Page and click on Java SE download.
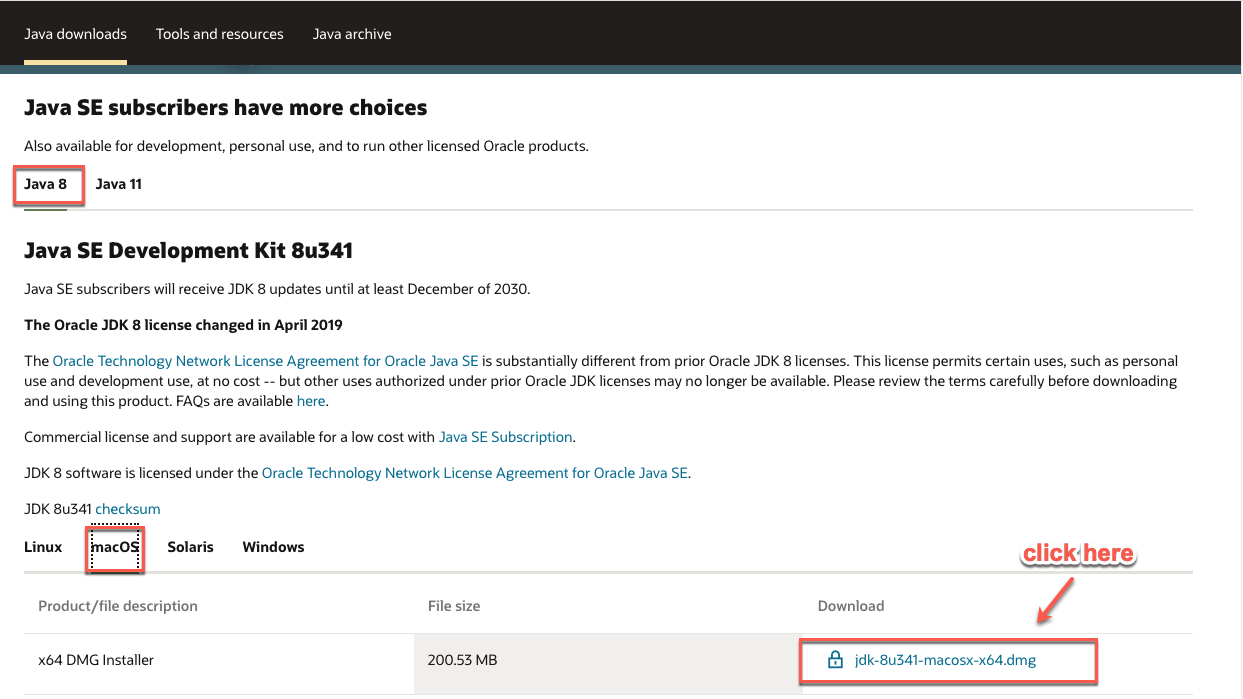
After this, you select the file with the .dmg file extension and accept the Oracle license agreement for a standard install. To download Java JDK 8, select the file jdk 8u341-macosx-x64.dmg. Going through this step will install the Java file into your system.
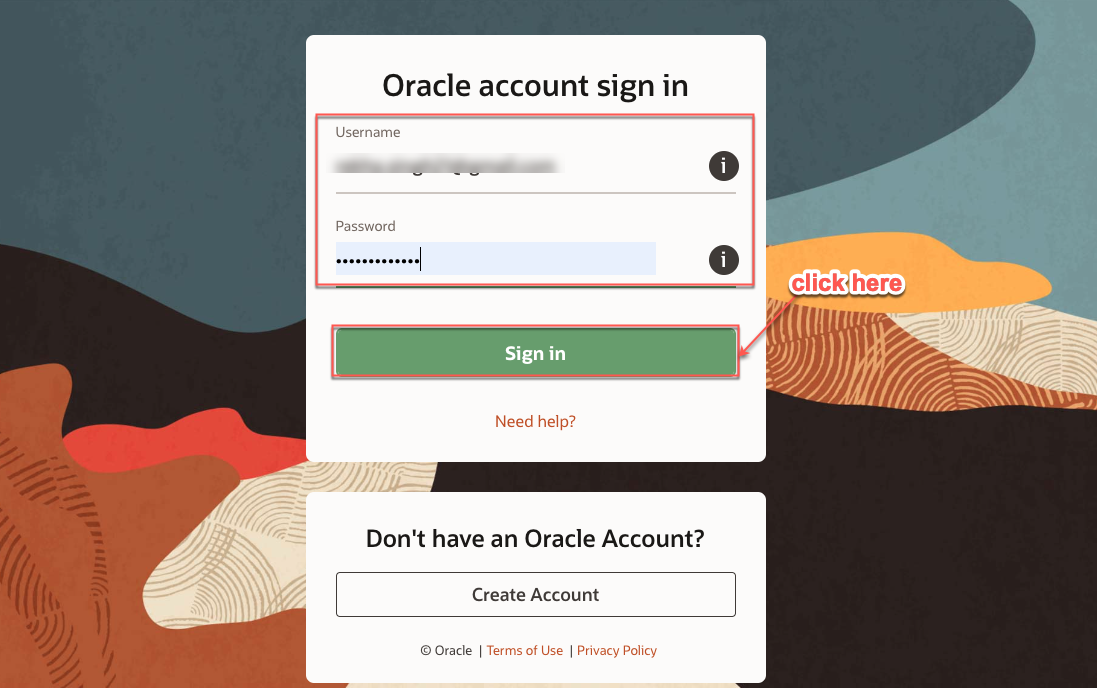
Once you select the correct JDK version, you will receive a prompt where you have to accept the Oracle license agreement. You have to create an Oracle account to download Java JDK8.
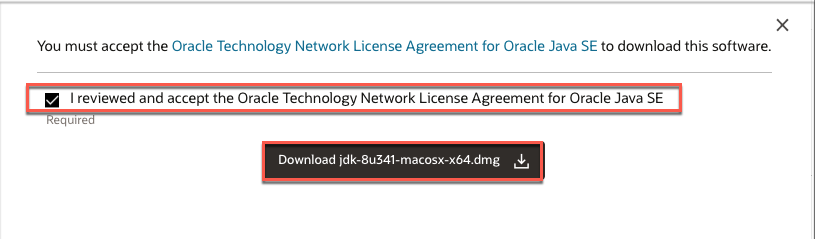
After you create an account, you will need to sign in or create a free Oracle account and access the download.

Once the download is over, you double-click the JDK8 Update 341.pkg file to open, located at the bottom of the screen.
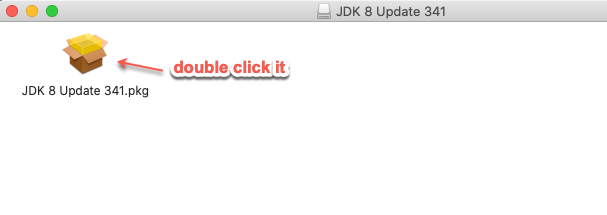
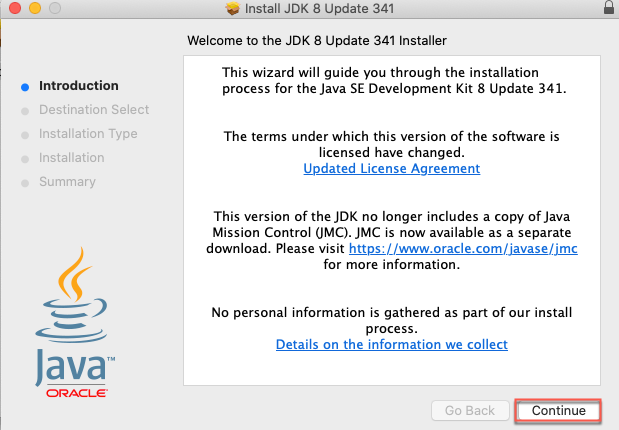
Double-click the box icon, and the installer page Install JDK 8 Update 341 opens.
Then, click on the Continue button.
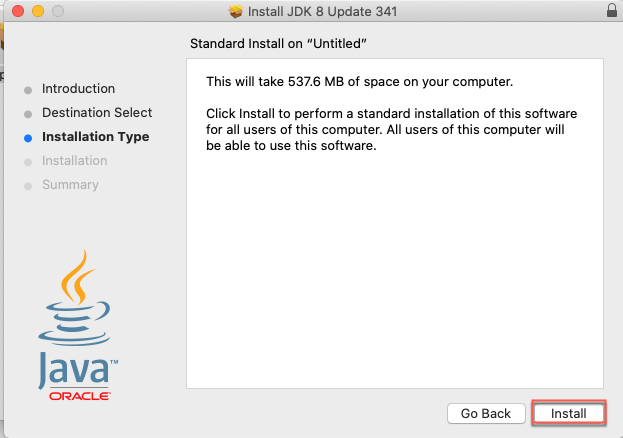
In the Installation Type window, you click on the Install button to perform standard installation.
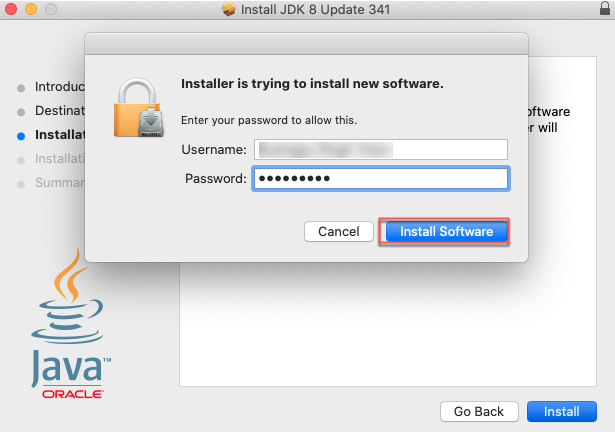
Here, a pop-up message will appear that wants your Username and Password. Enter the username and password of your Mac system and select the Install Software button to perform the installation.
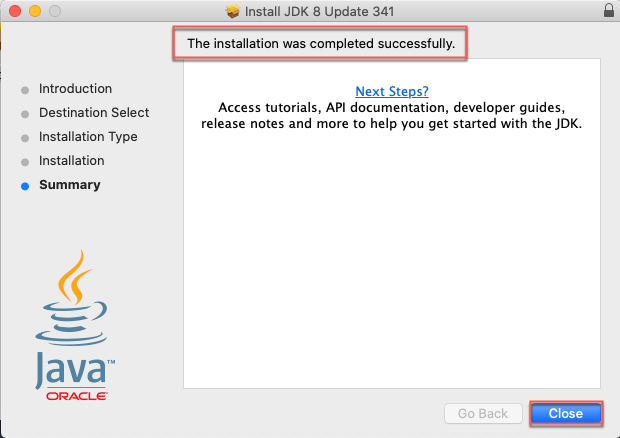
After you install the Java Development Kit successfully, you can see the message saying: "The installation was completed successfully." Last but not the final step, select the Close button to finish the installation. Now Java is installed in your system.
Steps2: Install SAP GUI7.50 for MAC
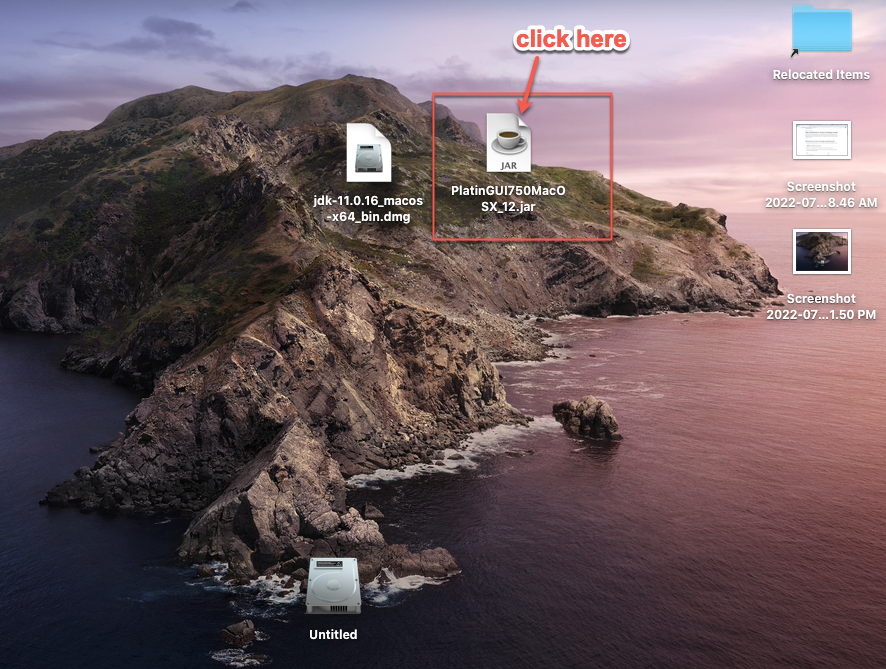
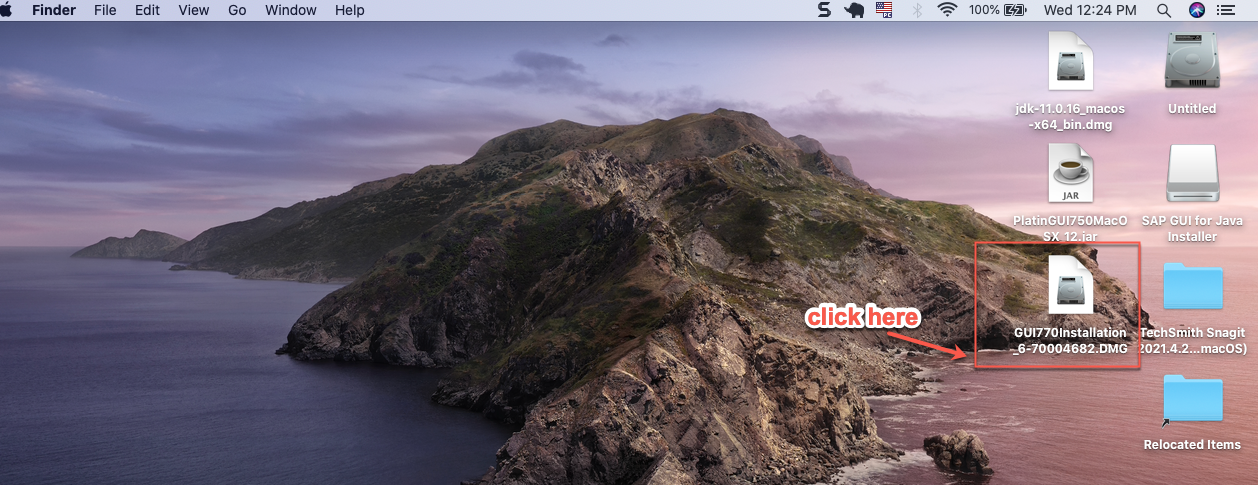
Select PlatinGUI750MacOsx-12.jar file from Apple Launchpad.
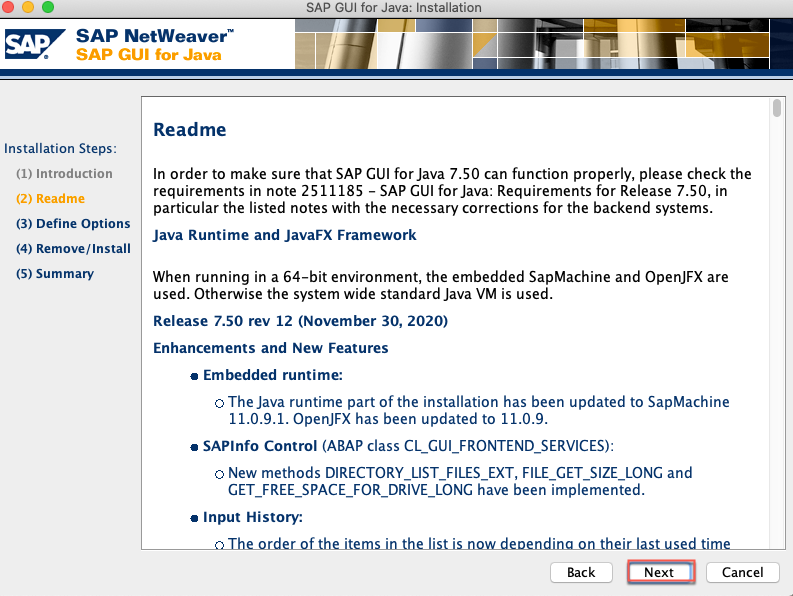
As you can see, the SAPGUI for Java Installation wizards opened, and click on the Next button.
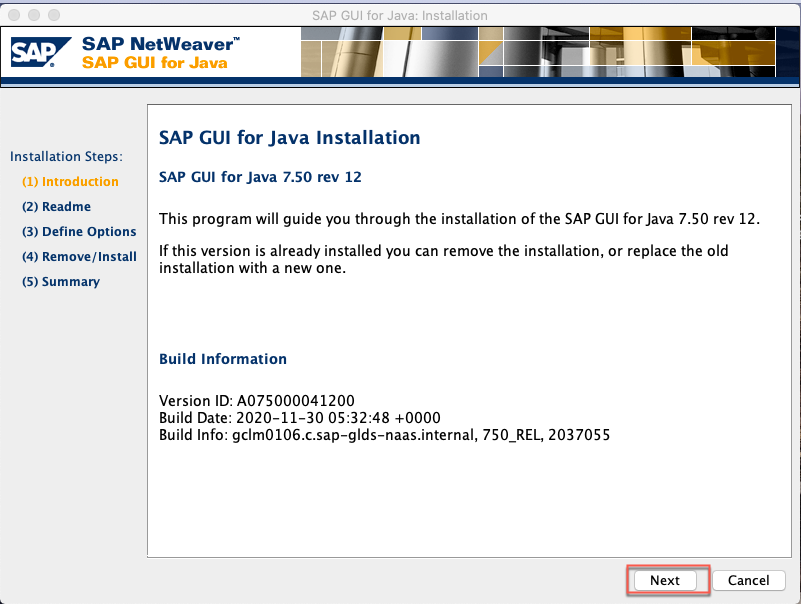
Click the Next button
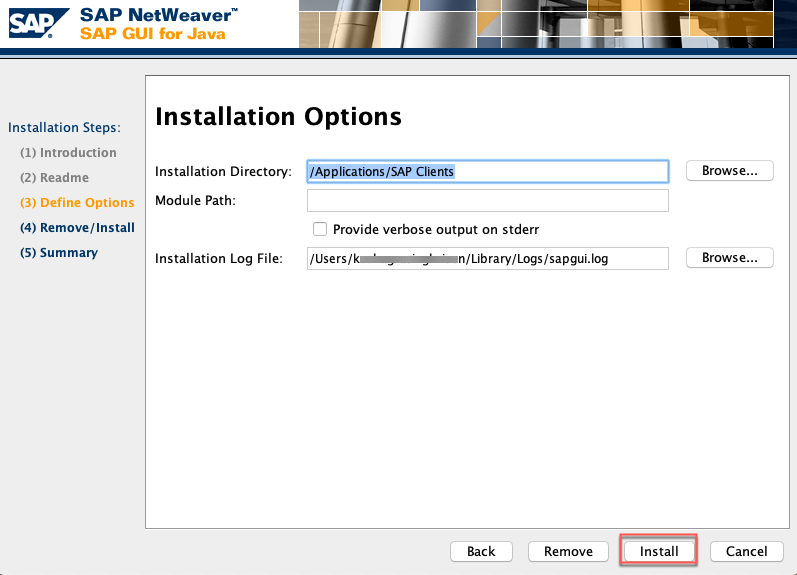
In the Define Options window, set the Installation directory (/Applications/SAP Client is the default directory) and select the Install button.
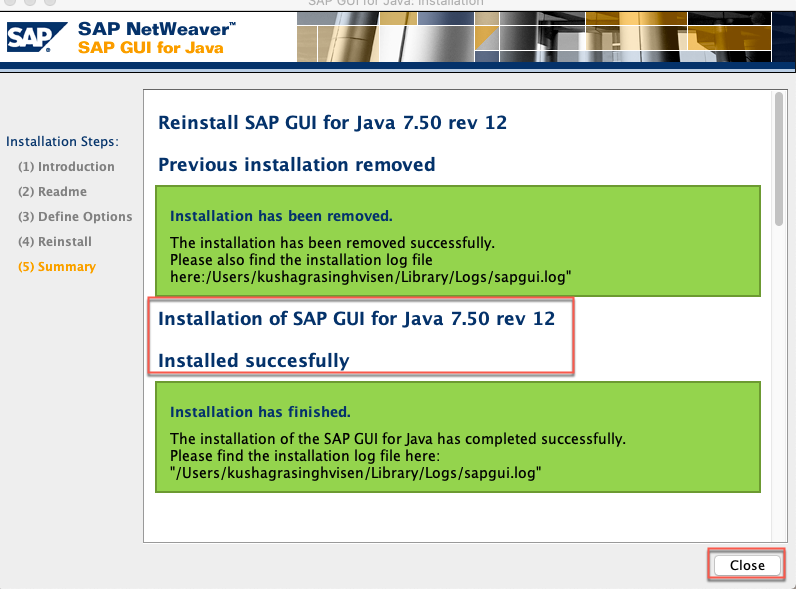
A pop-up notification will appear where you can see the message Installation of SAPGUI for Java7.50 rev 12 Installed successfully.
Press the Close button.
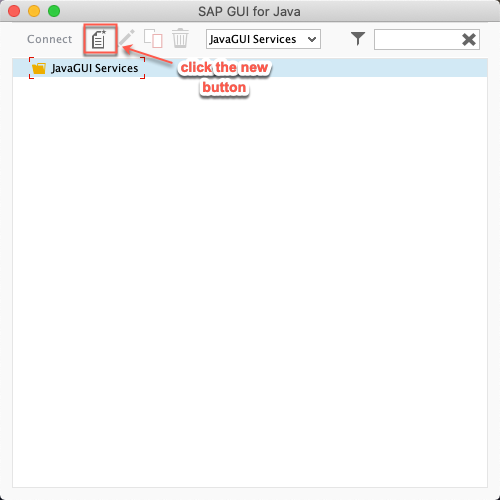
Find the SAP icon from Apple Launchpad and double-click it.

In the SAP GUI for Java window select the new icon.
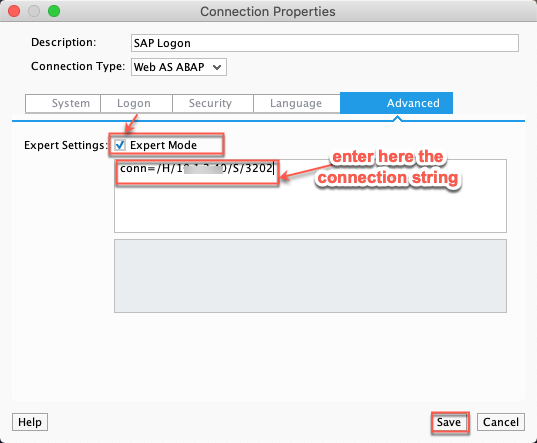
Go to the Connection Properties window, check the Expert Mode and enter the SAP router string.
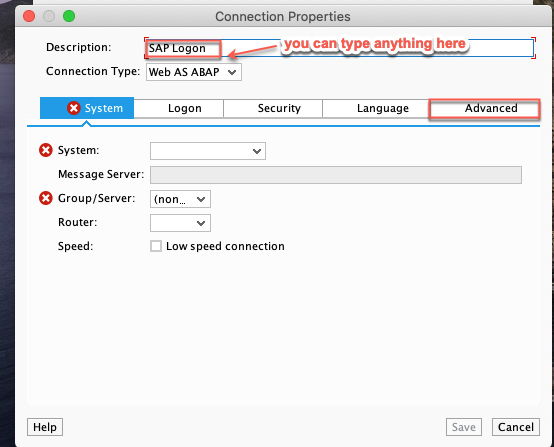
In the Connection Properties window check the Expert Mode, and enter the SAP router string.
Write the proper structure of the Connection string in the given format.
Conn=/H/<Application Server>/S/32<instance number>/&clnt=<client number>&user=<username>
(The address goes between H and S)
Here Application server: 100.100.100.100
Instance number: 02
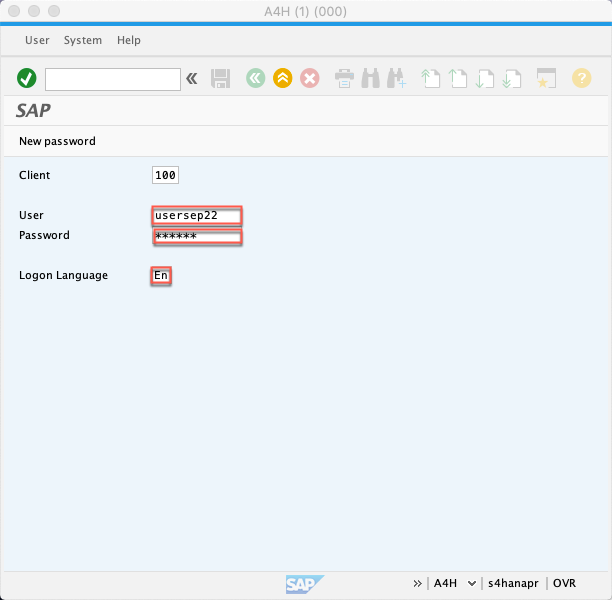
Client: 100
User: usersep22
conn=/H/100.100.100.100/S/3202
Press the Save button.
To test that everything is working fine, choose the Connect button.
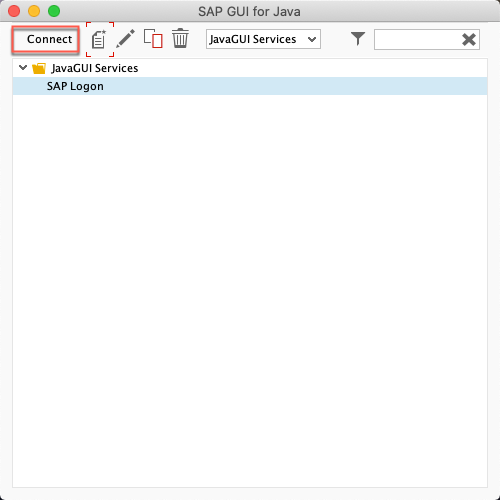
As the login window opens, it indicates that you have successfully established the connection.
Conclusion:
Installing the correct version is one of the crucial reasons behind a successful installation. This article discussed downloading the JDK with the ECC version 7.5 of SAP on the Mac book. We hope you understand the steps mentioned in the article, and download SAP GUI.