SAP ECC6 IDES Installation
The SAP IDES stands for Internet Demonstration and Evaluation System. It is a platform developed by SAP for its developers. This helps them to learn and practice the SAP ERP. It depicts a model company. Here, different business scenarios can be run in the SAP ERP. Employees working on this platform gain hands-on experience by working on real-life business scenarios.
In this article, we will talk about the detailed steps to install SAP ECC6 IDES for practice.
Requirements Before Installing SAP ECC6 IDES
Before starting SAP ECC6 IDES Installation, you need to check your system configuration. Please check your system compatibility by visiting this link System Hardware Requirement for SAP Installation.
You can install SAP on Linux, AIX and Sun Solaris. But here, we are going to install SAP on Windows server 2006 R2.
Prerequisites for installing the software –
- Java SDK 1.5 or above
- IDES EHP6 (ECC6) Installation Master
- IDES EHP6 (ECC6) Installation Export
- NW703 Kernel 720_Ext
- SL Controller 720
- Oracle Server 10.2
- SAPCRYPTOGRAPHIC Library
- JCE (Java Cryptography Extension) Policy
The above media is available on the SAP marketplace is downloadable. Store it on your local hard disk. For this installation, you need a server with the following configurations –
- 4GB and above RAM
- Processor– Intel core i3 64 bit and above
- HDD – 600 GB and above
- Windows server 2006 R2
Before starting SAP Installation we need to prepare our system for SAP Installation. It must have the following –
- Hostname: Hostname of the server where you want to install IDES should not be more than 13
- Virtual Memory: Increase the virtual memory 3 times the physical memory (> 20GB).
- SAP SID (System Identifier): PRD
- Instance Number: 00
Steps to prepare your system to start SAP Installation
- Installing Microsoft Loopbck Adapter
- Update Hosts file. (host name , saptranshost)
- Setting Virtual Memory (min 12000 MB)
- Install Java (Java 1.5 or above)
- Installing Oracle 10.2 (server)
- Installing ECC6 Central Instance
- SAP Solution Manager Key
ECC6 IDES Central Instance Installation
ECC6 IDES installation is not a simple procedure. In this process, we do the system copy from the dump we have.
The first step is to install the Central instance. This will provide you all SAP system utilities.
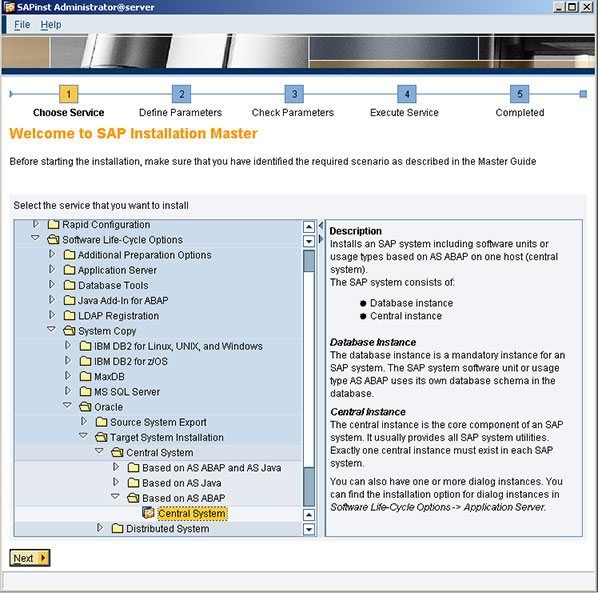
SAP Installation Master
- In the SAP Installation Master window, navigate to the shown location and select Central System to start the installation -
>> Select >> Software Life Cycle Options >> System Copy >> Oracle >> Target System installation >> Central System >> Based on AS ABAP >> Central system
- After clicking on Central System, click on the Next button
- Now you will see the Default parameters page. Here, you will select your default installation mode
Under Default Settings, select Typical. This will not allow SAPDATA file selection and DB configuration
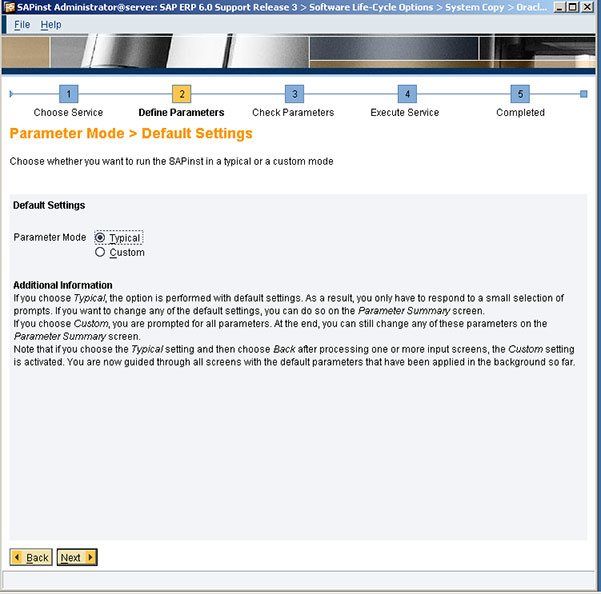
Click on Next at the bottom of the page
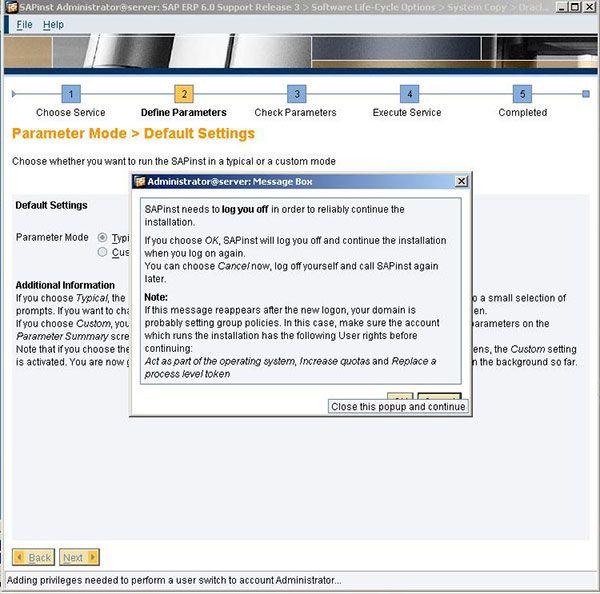
- A pop-up window will appear. Click OK to log off and continue the installation process
- Now, the Master Password Window will appear. You have to enter your Master password here. This password will be used for SAP accounts during the installation
- The length of the password will be 8-14 characters. You can use something like “abc123456”
- Type the password again to confirm it
- Click on Next when you are done
Note: The Master Password will be compatible with the operating system password policy

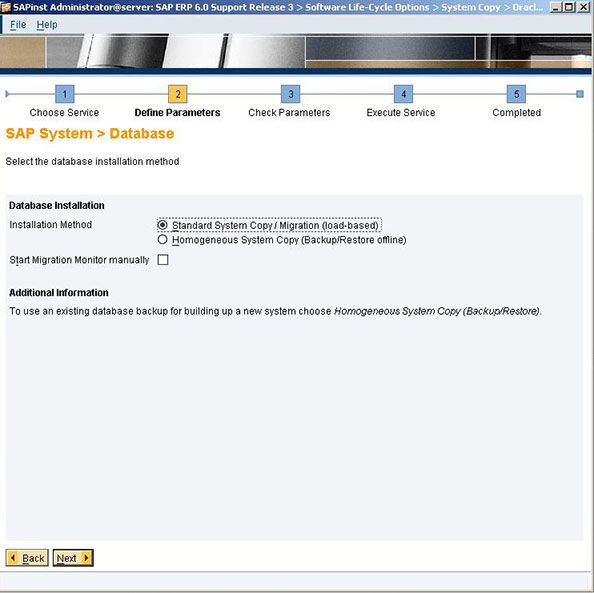
Database Installation
Now, you will be taken to the database window. You will be asked your preferred database installation method
As you are installing the IDES system, you have to copy the Practice data from the media. So, select the Standard System Copy/Migration (load-based) option
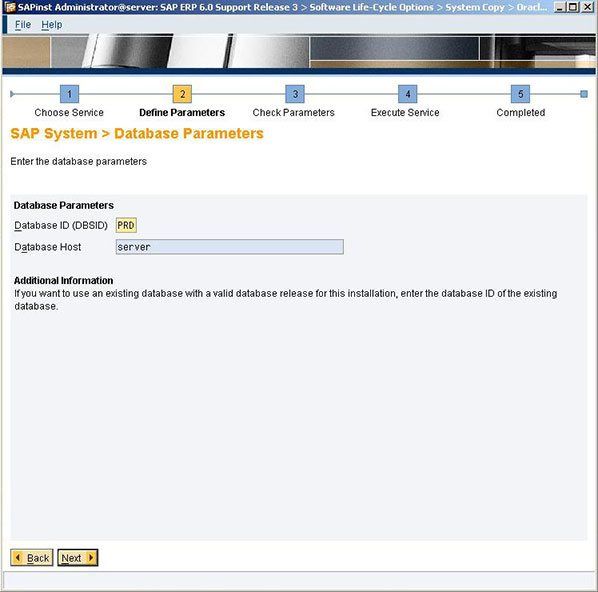
Database Parameters
- Here, we will give the system a PRD as an identifier
- So, give Database SID as PRD
- Click Next
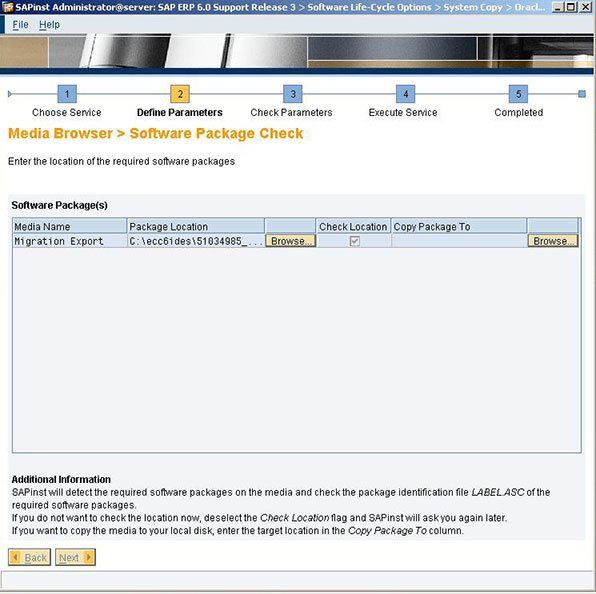
Software Package Check
- In the Software Package Check Window, you will be asked for the Migration export media. This will locate the software packages required for the installation
- Click on Browse to locate the Migration export media
- Then, click on Next to continue
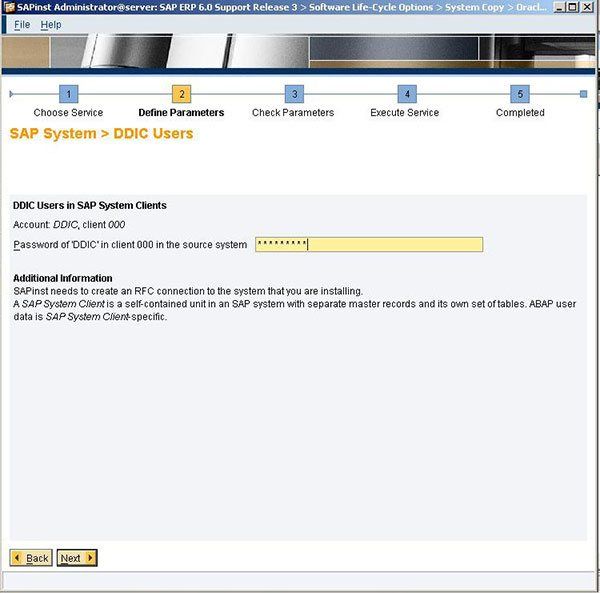
DDIC User
- In the next DDIC User Window, you will be asked for the DDIC password 000 client. You can give the same password for the DDIC user
- After entering the password, click Next
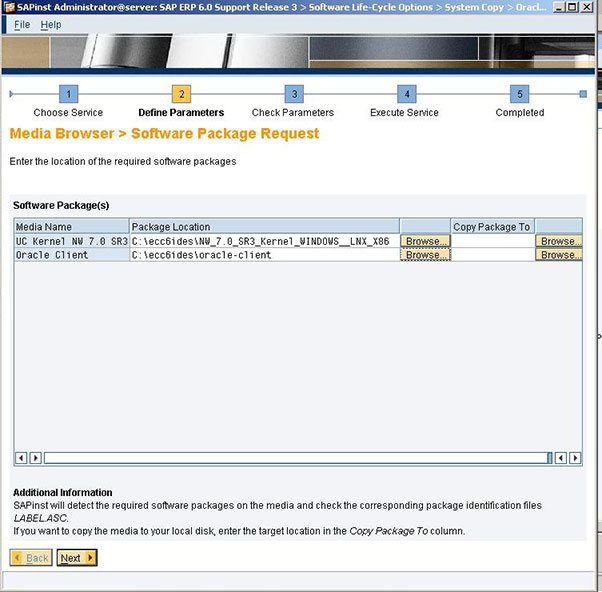
Software Package Request
- Now, you have to select the Unicode kernel and Oracle client locations.
- UC kernel NW 7.0 SR3 >> Give the location of Unicode kernel
- Oracle Client >> Give the location of oracle client
- Click Next
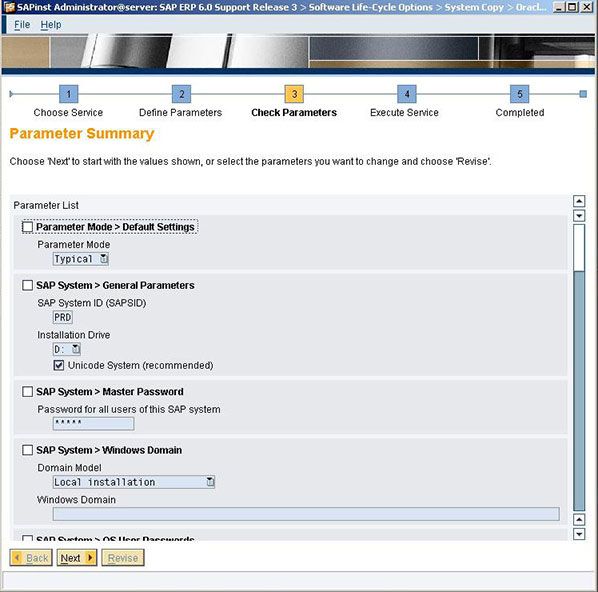
Parameter Summary
You will be taken to the Parameter Summary page. Check all the installation details before proceeding. Click on Next.
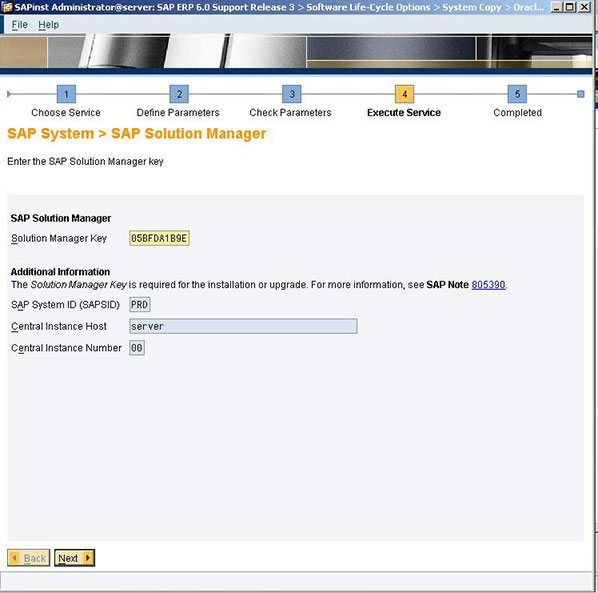
Solution Manager
You will now see the Solution Manager Window. It will ask for the Solution Manager password.
These are your settings -
- SID: PRD
- System Number: 00
- Hostname: server
- Solution Manager Password: 05BFDA1B9E
Here is the list of Solution Manager Password with their settings.
Click on the Next button.
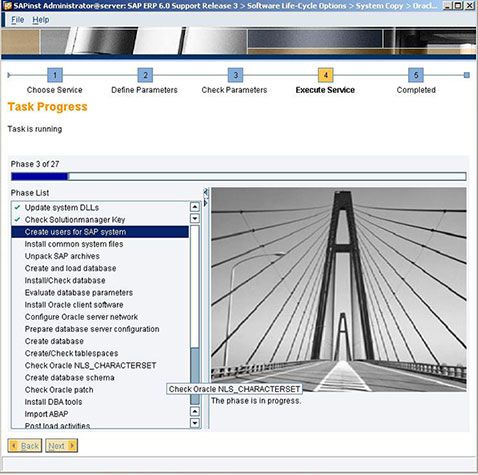
Start the Installation
After all the steps have been completed successfully, the installation will start.
Conclusion
After the entire process is over, you can then log in to the SAP system and start working. If you have any questions, feel free to put it in the comment section below.