For both the customer and the supplier, SAP invoice verification has capital importance. It assures that there will be zero mistakes in the numbers and the pricing of the delivered goods or services. Because of such a vital factor, SAP ERP uses its materials management functionality for implementing numerous methods to prepare invoice verification.
What is SAP Invoice Verification?
Once we obtain goods from a vendor and place them on the premises of any organization by goods receipt, we pay the vendor for the received goods and services. The amount we pay to the vendor along with the details of the material in the form of a document or receipt is the invoice. We are more likely to verify the invoice before paying it to the vendor. This attempt of validating the invoice before conceiving a payment is called invoice verification. Here are some of the key points one should keep in mind while performing the invoice verification –
- Invoice verification is the final stage of obtainment, after purchasing orders and receiving goods.
- Invoice verification posting will let you update all the related documents and details about the monetary and accounting.
- One can process blocked invoices that vary from an actual invoice at the time of invoice verification.
How to Enroll/Create Invoice?
Once we receive the invoice, the accounts payable section of the organization will enroll the invoice into an SAP system through transaction MIRO.
Please follow the steps below:
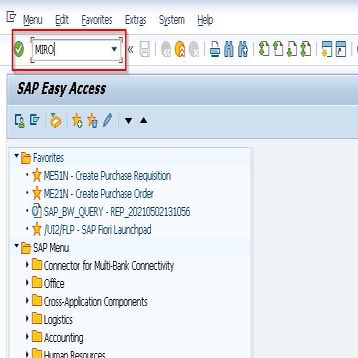
Step 1: Execute Tcode MIRO
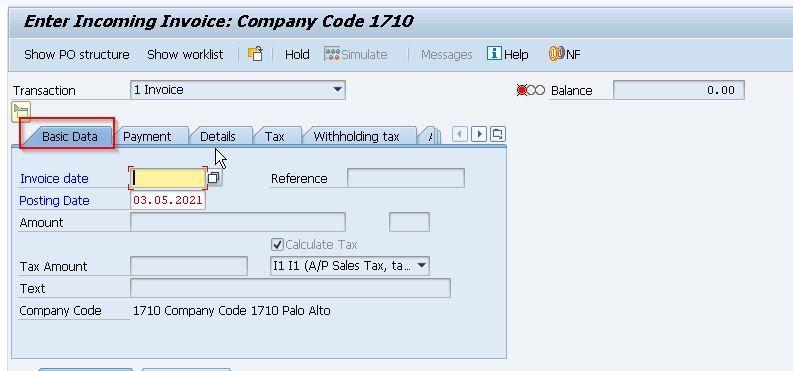
Step 2: On the next screen, under Basic Data, enter all your necessary details like Invoice Posting Date, the amount required to pay to the vendor, the number of items for which you have to pay the amount.
Step 3: Now, click on the Save option. This will now post your invoice for the receipt of the goods.
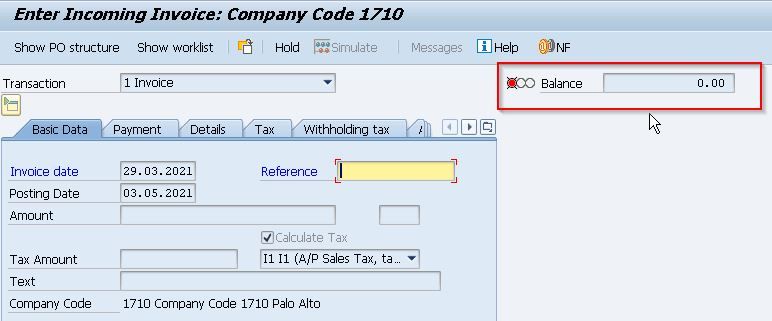
Note: Heed attention to the data by the name Balance that is shown on the top right corner of the screen. This will play a significant role later. At this stage of data entry, the balance field will have a 0.00 value, and the indicator light will be shown red.
How to perform Invoice Verification
After creating the Invoice now in the next step, we will have to perform the invoice verification.
Please follow the steps below:
Step 1: Enter the T-code MIRO and run it
.jpg)
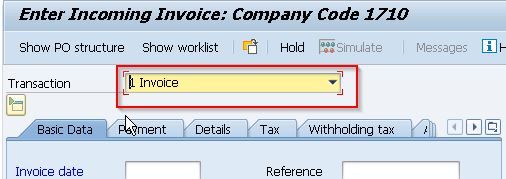
Step 2: Next, choose the Invoice from the transaction option.
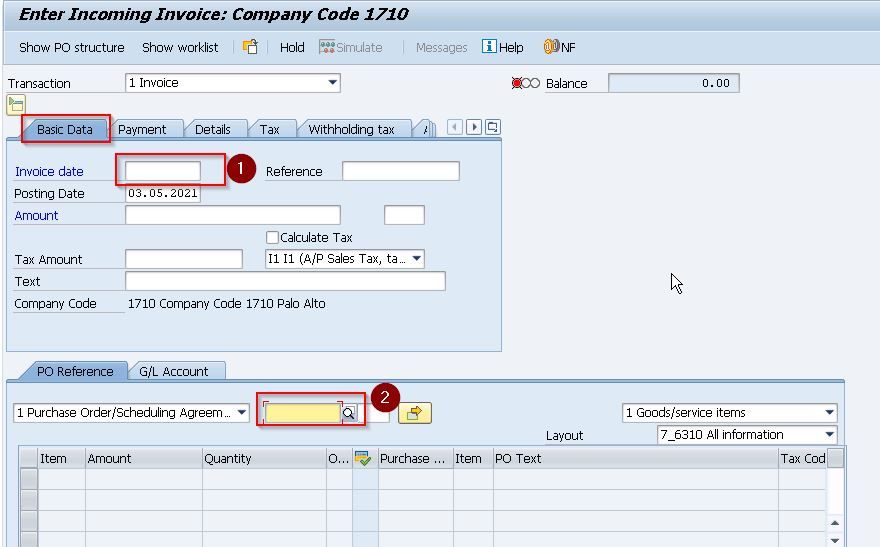
Step 3: From the next section, under the Basic Data tab, set the desired value for the Invoice date & Purchase Order Number.
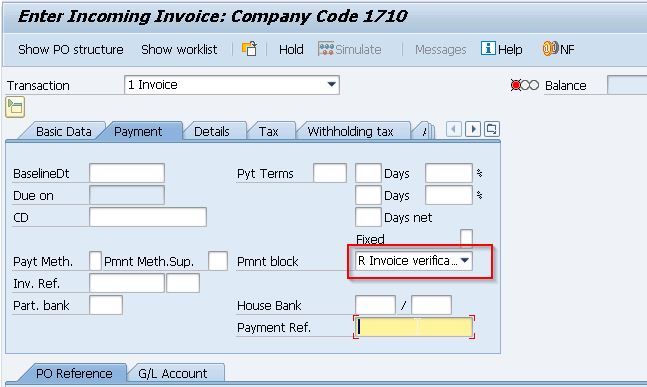
Step 4: Then, under the Payment tab, choose R-invoice verification.
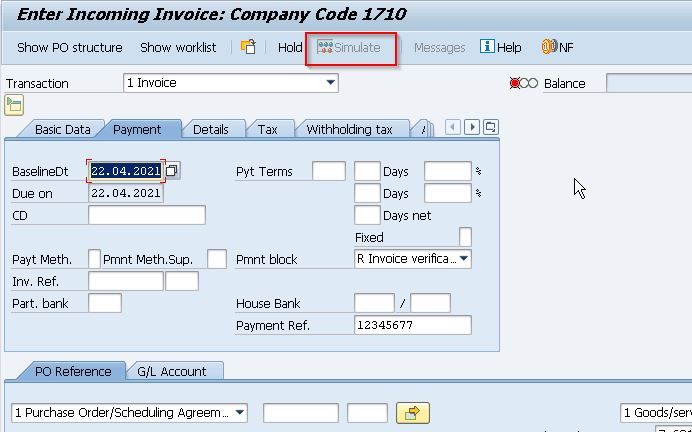
Step 5:Next, you can test the posting of the invoice by clicking on the Simulate button. If there are any issues with the invoice, simulating it will issue errors and warnings messages to the user.
Step 6: Now, press Ctrl + S to save your invoice.
Release Blocked for Payment Invoice
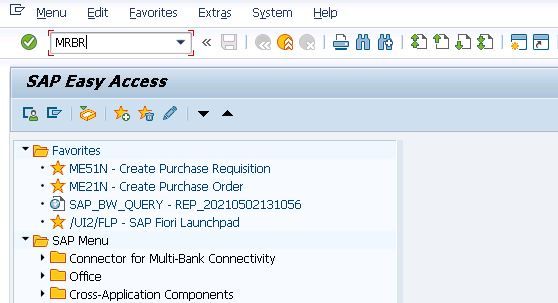
An invoice request will be blocked for payment until you manually release it. For releasing the invoice, you should use the t-code MRBR.
Please follow the steps below:
Step 1: Execute T-Code: MRBR
OR
On the SAP menu, navigate to:
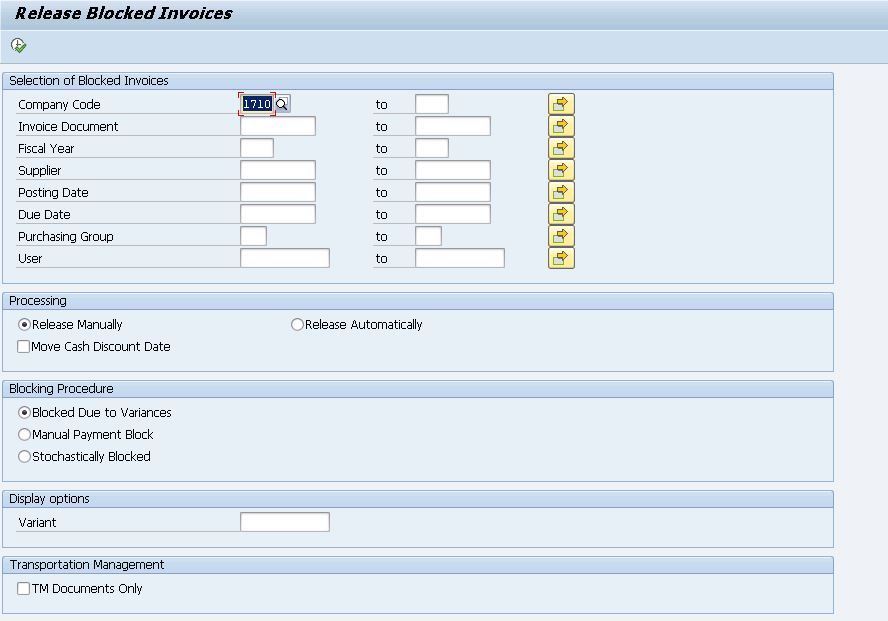
Logistics > Materials Management > Logistic Invoice verification > Further Processing > MRBR - Release Blocked Invoice
Step 2: Input the essential details in the fields like company code, invoice document number, vendor, posting date, and purchasing group have to be placed and click the Execute button. This will release the blocked invoice again.
What is ERS (Evaluated Receipt Settlement)?
Evaluated Receipt Settlement is the process of achieving goods receipt automatically. It posts the Vendor Invoices automatically (without truly getting them from the vendor) in the system as per the given information in the purchase order and goods receipt.
ERS helps its users to:
- Quickly close all purchasing orders.
- Provide no pricing and quantity variances in invoice verification
- avoid receiving an invoice from the vendor
- avoid communication errors
For implementing ERS, here are some mandatory settings that one should set up in the vendor master.
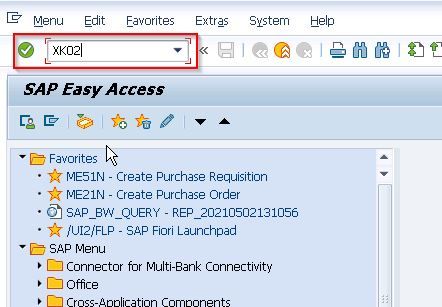
Step 1: Go to XK02 (by changing the mode of vendor master).
Step 2: Click the Control data tab.
Step 3: Now click the AutoEvalGRSetmt Del. and AutoEvalGRSetmt Ret box.
Step 4: Hit the Save option. This enables a particular vendor for ERS.
Create ERS (Evaluated Receipt Settlement)
To create the ERS, the steps are:
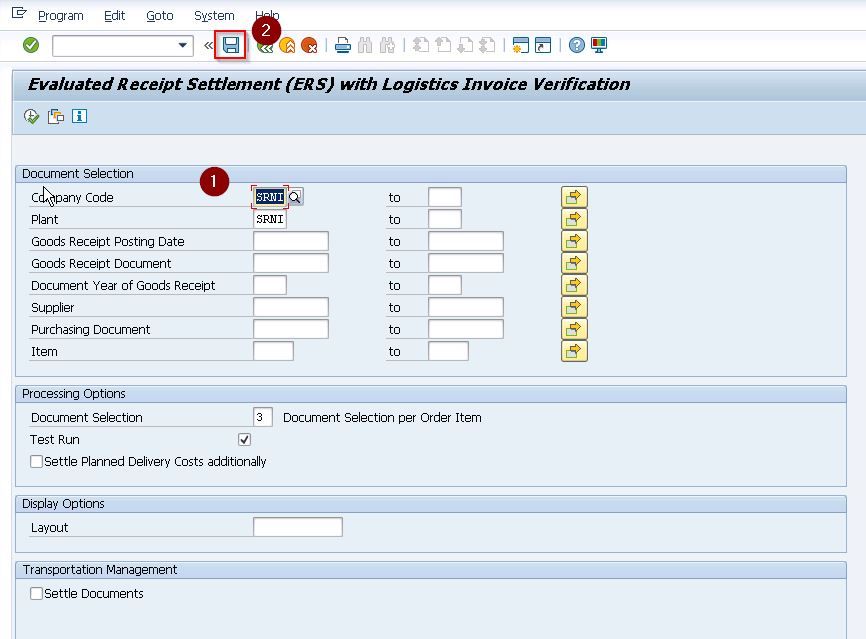
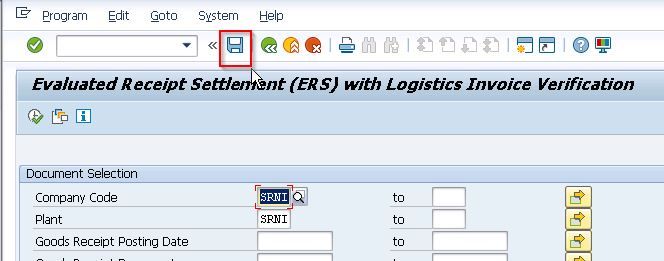
Step 1: Execute T-Code: MRRL
.jpg)
Step 2: Provide all the required details such as company code, plant, goods receipt document number & date, vendor, and purchasing document in the given field on your screen.
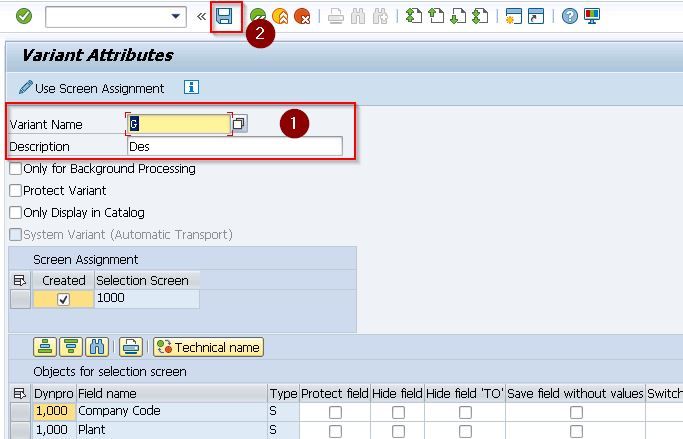
Step 3: Then hit the Save button.
Step 4: Next, add the Variant name & Description. Then, click the Save button again. This will create the ERS for the corresponding purchase order & goods receipt.